

Popular box series! This origami box uses rectangular paper such as A4 or newspaper, and it’s incredibly easy to make. Whether you choose thick colored paper or simple drawing paper, you’ll finish with a sturdy, slender box perfect for small items or gifts. Follow these 12 simple steps for a quick and practical folding project.
DIY Rectangular Origami Box
Create a long, slender paper box using A4 paper, newspaper, or any rectangular sheet. Follow these easy 12 steps and enjoy a handy storage solution!
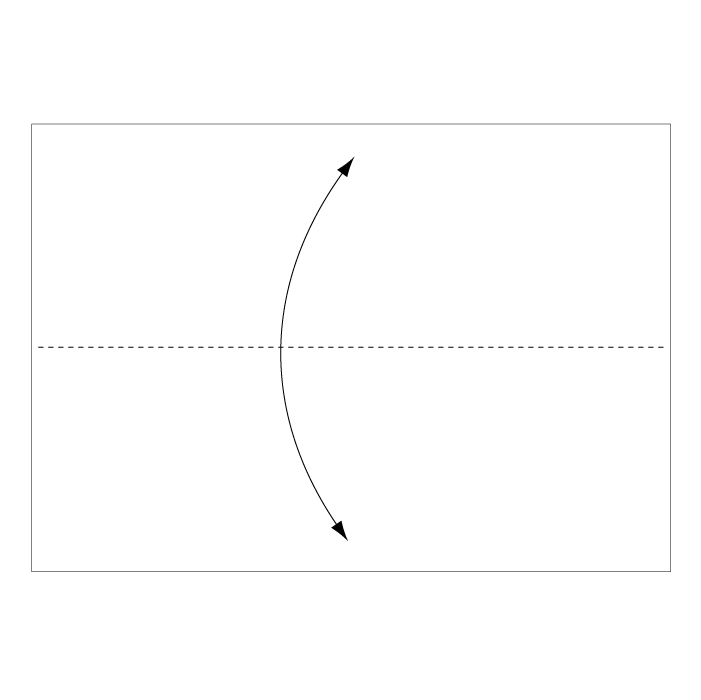
Step 1
Fold and crease in the direction of the arrow.
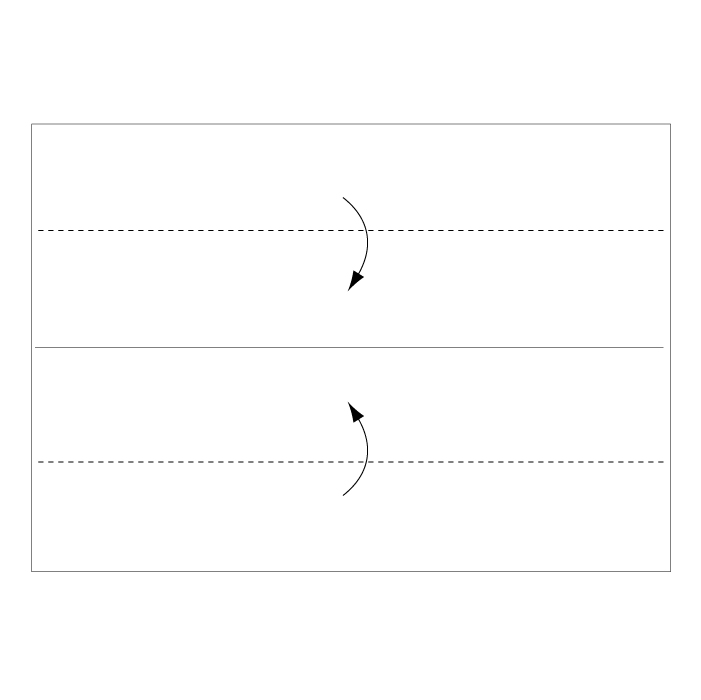
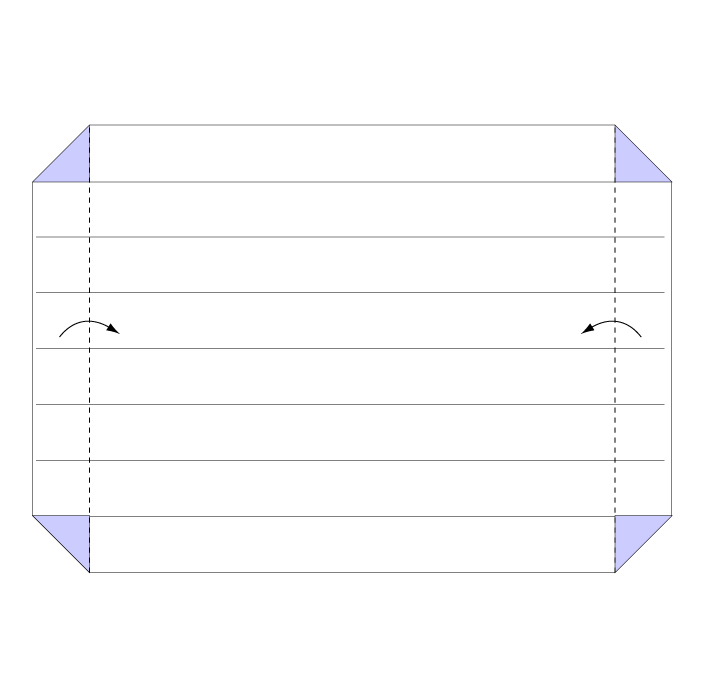
Step 2
Fold the paper along the dotted line in the direction of the arrow.
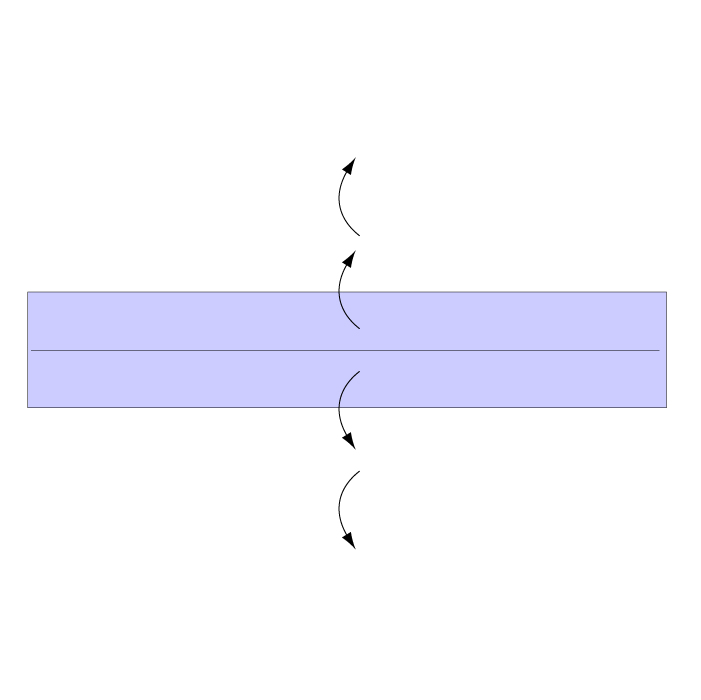
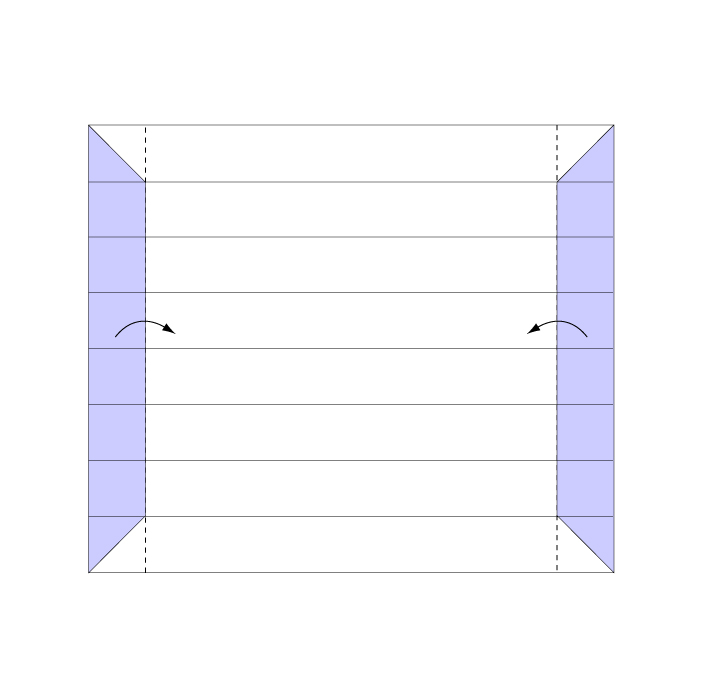
Step 3
Fold the paper along the dotted line in the direction of the arrow.

Step 4
Unfold the paper completely to reveal new crease lines.
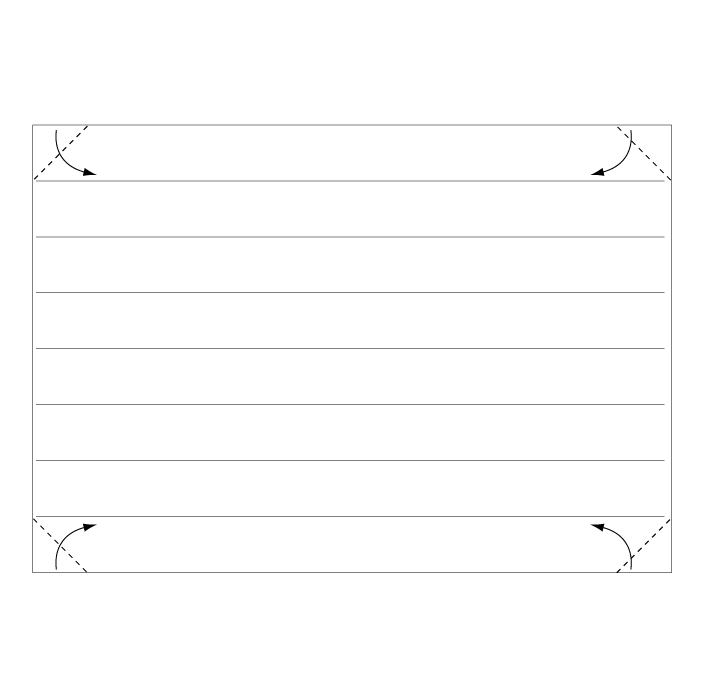
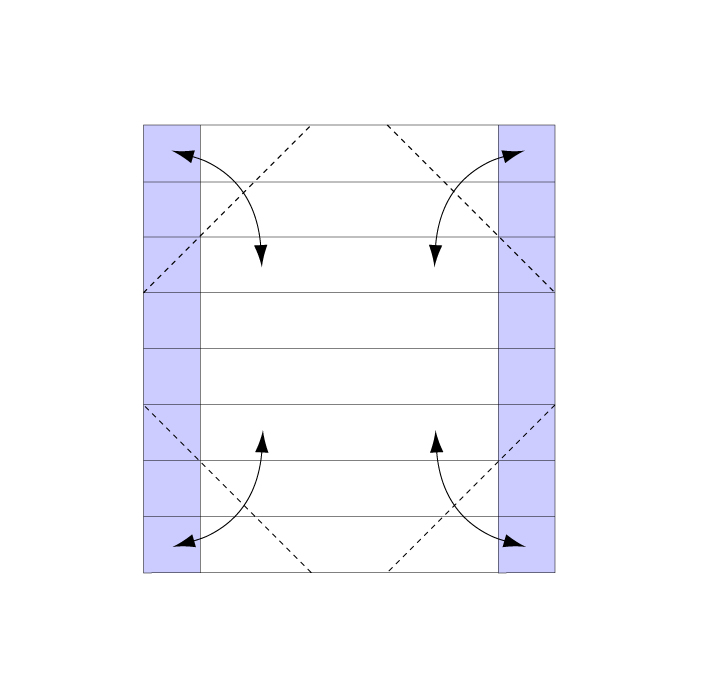
Step 5
Fold the paper along the dotted line in the direction of the arrow.
Step 6
Fold the paper along the dotted line in the direction of the arrow.
Step 7
Fold the paper along the dotted line in the direction of the arrow once again.
Step 8
Fold and crease in the direction of the arrow.
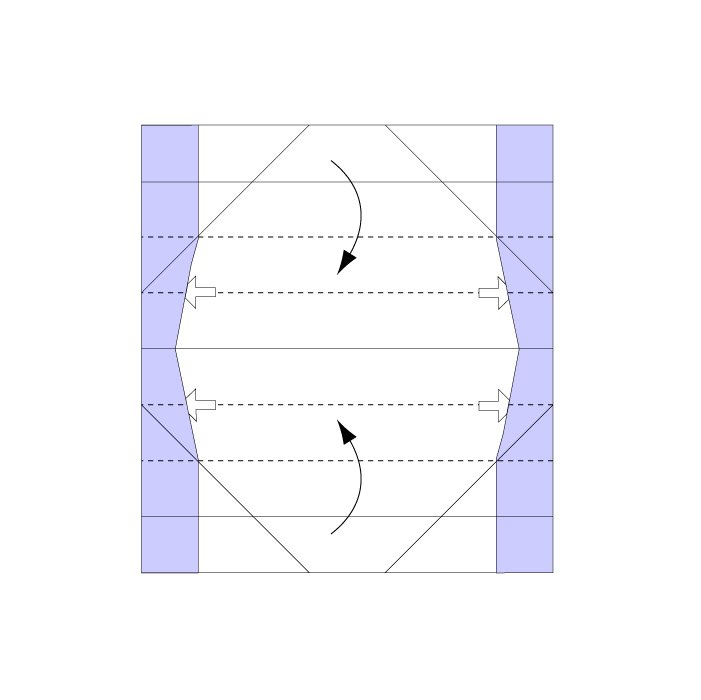
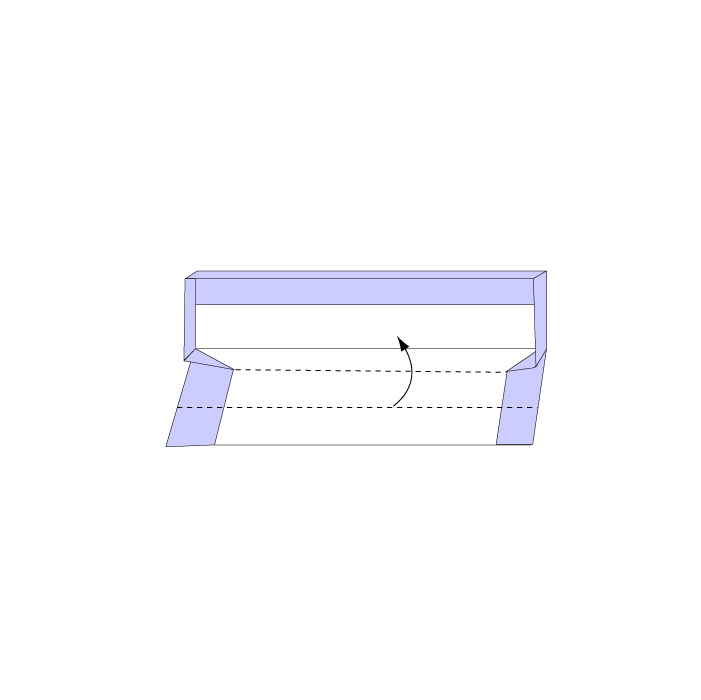
Step 9
Open the paper in the direction of the white arrow and begin to assemble the box shape.
Step 10
Continue from Step 9, pulling the sides apart to form the box.

Step 11
Fold the reverse side in the same manner, ensuring both ends match up in a box shape.
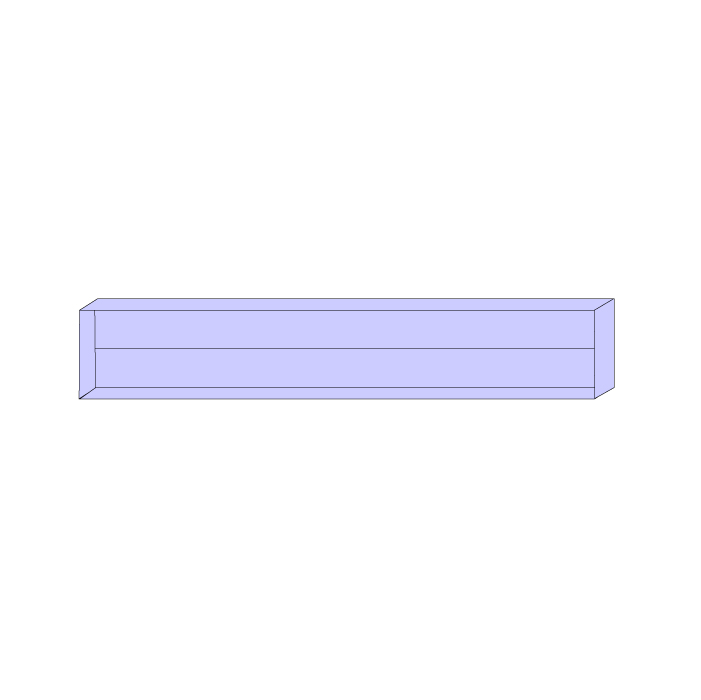
Step 12
Your rectangular origami box is complete!
Explore more boxes: Visit our box series for fun and creative origami containers using different paper sizes and designs!
Congratulations on completing your rectangular origami box! Use it for organizing desk supplies, storing small household items, or even as a unique gift box. Experiment with different paper colors or types for a personalized look. Keep exploring more creative origami projects for endless crafting fun!
Comments