

Step into the world of origami with our DIY flower plate tutorial. This project transforms a single sheet of paper into a stunning dish or bowl, ideal for showcasing jewelry, trinkets, or serving treats. With easy-to-follow instructions and room for customization, you can adjust the base width to suit your needs. Try using your favorite patterned paper to create a truly unique piece!
How to Make an ORIGAMI Flower Plate
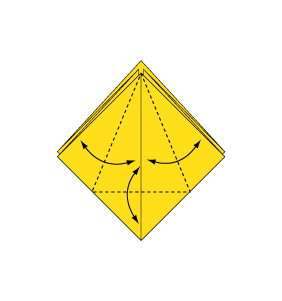
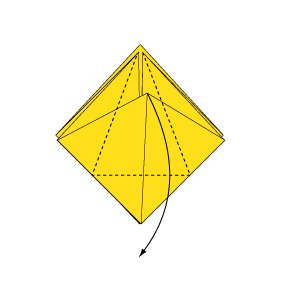
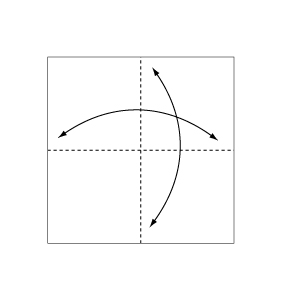 Step 1: Fold and crease in the direction of the arrow.
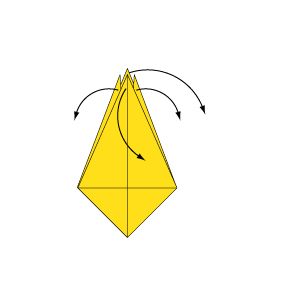
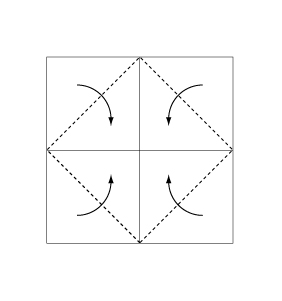 Step 2: Fold the paper along the dotted line in the direction of the arrow.
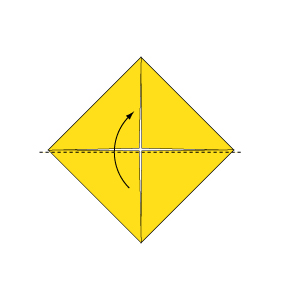 Step 3: Fold the paper along the dotted line in the direction of the arrow.
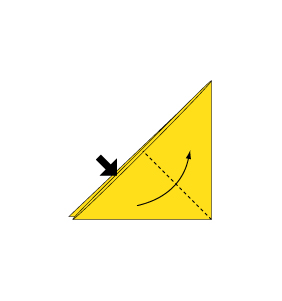
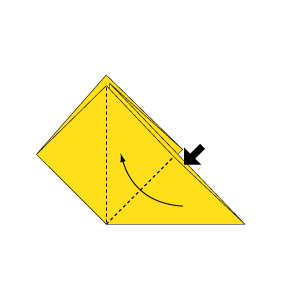
 Step 4: Fold the paper along the dotted line in the direction of the arrow.
 Step 5: Open the paper as shown to create a small pocket. Then flatten down the sides of the pocket.
 Step 6: Continue from step 5.
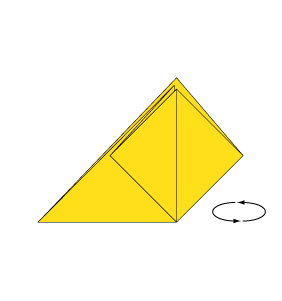 Step 7: Turn over the paper.
 Step 8: Open the paper as shown to create a small pocket. Then flatten down the sides of the pocket.
 Step 9: Fold and crease in the direction of the arrow.
 Step 10: Open the paper as shown to create a small pocket. Then flatten down the sides of the pocket.
 Step 11: Continue from step 10.
 Step 12: Turn over the paper.
 Step 13: Open the paper as shown to create a small pocket. Then flatten down the sides of the pocket.
 Step 14: Fold the paper along the dotted line in the direction of the arrow. Fold the reverse side in the same manner.
 Step 15: Open the paper in the direction of the arrow.
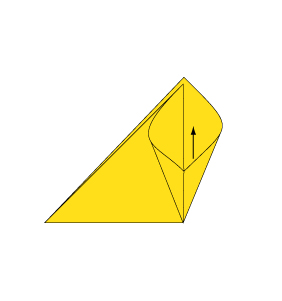
 Step 16: Complete.
You’ve successfully folded a gorgeous origami flower plate that’s as decorative as it is functional. Whether you use it to display your favorite accessories or serve up snacks, this project is a fun and creative addition to any space. Keep experimenting with different paper types and designs to personalize your craft even further.
Comments