
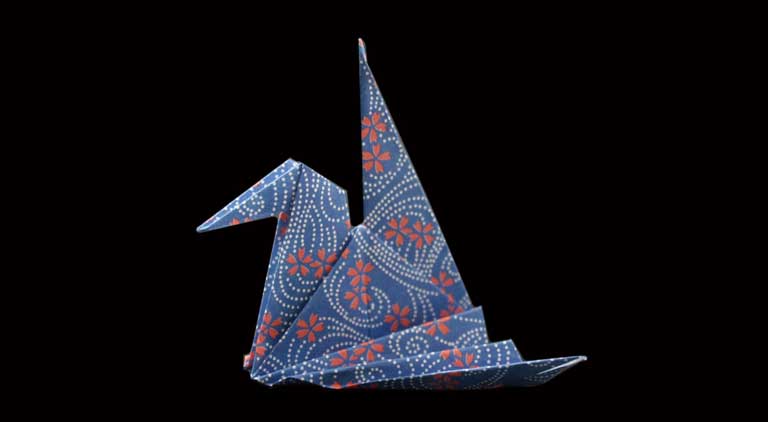
Unleash your creativity with our comprehensive tutorial on making an origami crane. Known as the Orizuru, this classic model is not only a beautiful piece of art but also a symbol of hope and peace. Whether you’re a novice or an experienced folder, this project offers a delightful challenge that appeals to all ages.
Step-by-Step Origami Crane
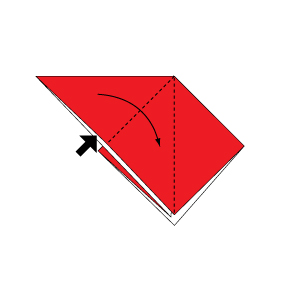
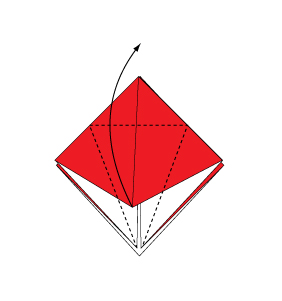
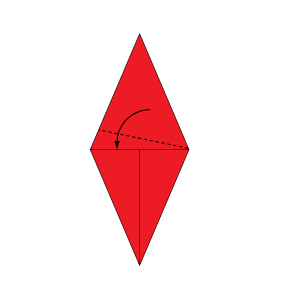
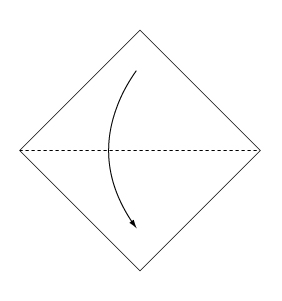 Fold the paper along the dotted line in the direction of the arrow.
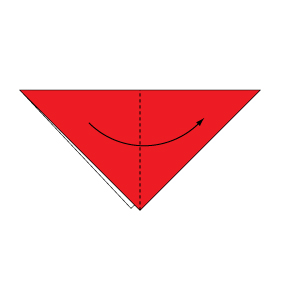
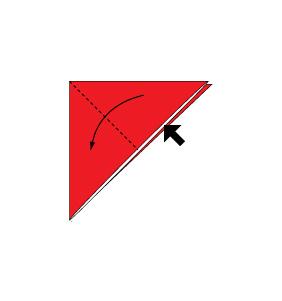
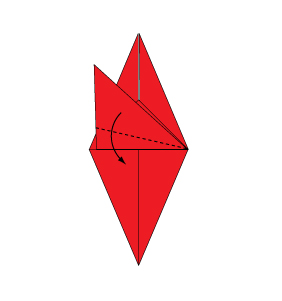
 Fold the paper along the dotted line in the direction of the arrow.
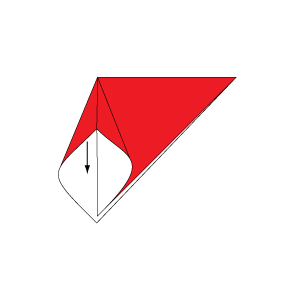
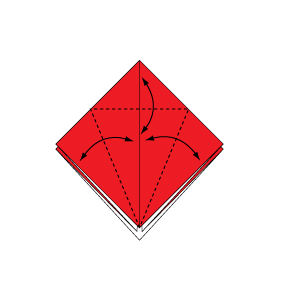
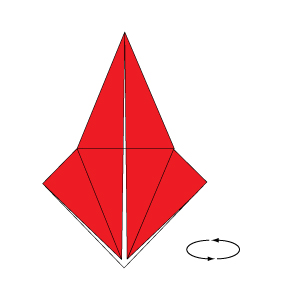
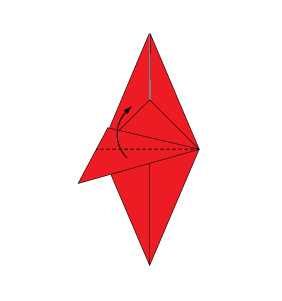
 Open the paper as shown to create a small pocket. Then, flatten down the sides of the pocket.
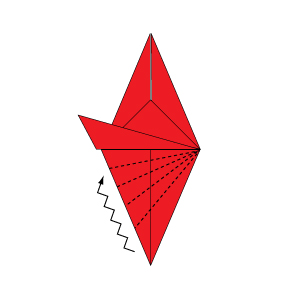
 Continue from Step 3.
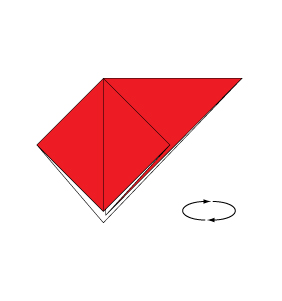 Turn over the paper.
 Open the paper as shown to create a small pocket. Then, flatten down the sides of the pocket.
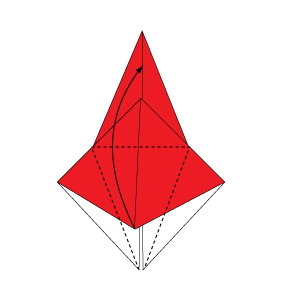
 Fold and crease in the direction of the arrow.
 Open the paper as shown to create a small pocket. Then, flatten down the sides of the pocket.
 Continue from Step 8.
 Turn over the paper.
 Open the paper as shown to create a small pocket. Then, flatten down the sides of the pocket.
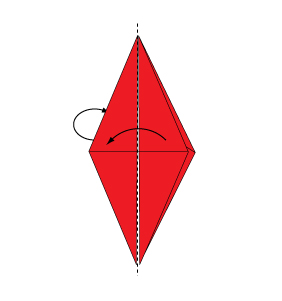 Fold to the left. Then, fold the reverse side in the same manner.
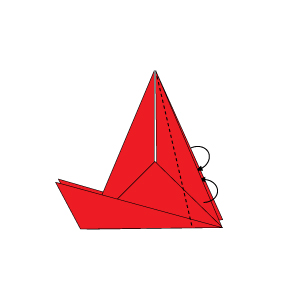
 Fold the paper along the dotted line in the direction of the arrow.
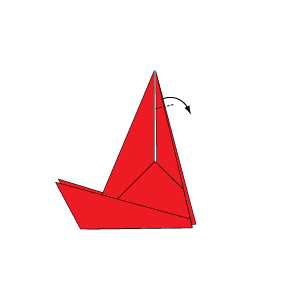
 Fold the paper along the dotted line in the direction of the arrow.
 Fold the paper along the dotted line in the direction of the arrow.
 Fold the paper along the dotted line in the direction of the arrow.
 Fold the paper along the dotted line in the direction of the arrow.
 Same as previous step. Fold the paper over on itself 4 to 5 times.
 Fold the paper with the dotted line on the inside. Then, fold the reverse side in the same manner.
 Fold the paper with the dotted line on the inside.
 Open the paper in the direction of the arrow.
 Complete.
Creating an origami crane is a rewarding experience that combines artistry and patience. Embrace this timeless craft and add a touch of Japanese elegance to your collection. Enjoy the process and let your creativity soar!
Comments