
Discover the art of origami with our easy-to-follow guide on making an origami card case. This creative project not only helps children develop fine motor skills and creativity but also provides seniors with an enjoyable brain exercise. Follow these step-by-step instructions to create a practical card holder that adds a touch of charm to your everyday life.
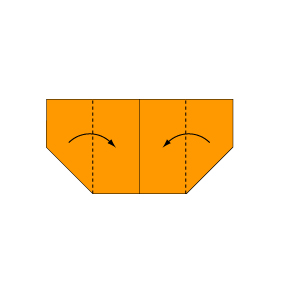
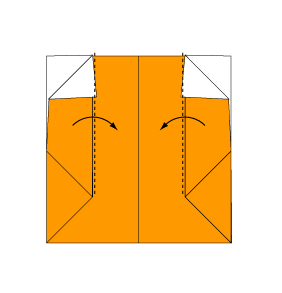
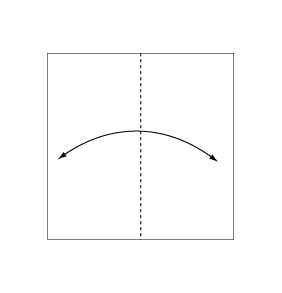 Fold and crease in the direction of the arrow.
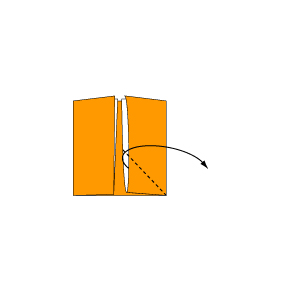
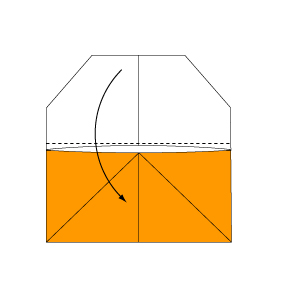
 Fold the paper along the dotted line in the direction of the arrow.
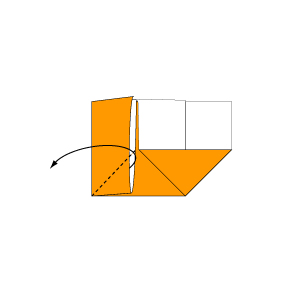
 Fold the paper along the dotted line in the direction of the arrow.
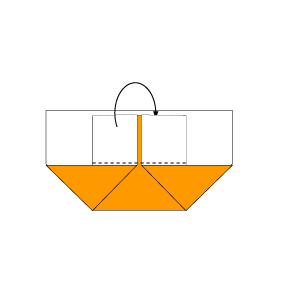
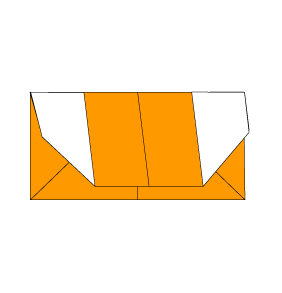
 Open the paper as shown to create a small pocket. Then flatten down the sides of the pocket.
 Open the paper as shown to create another pocket. Flatten down the sides for a neat finish.
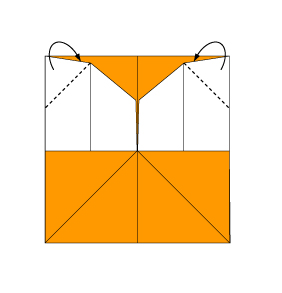
 Fold the paper with the dotted line on the inside.
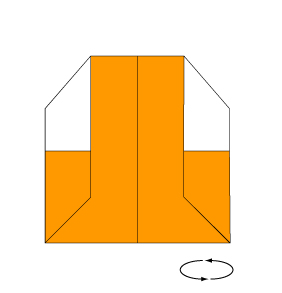
 Turn over the paper.
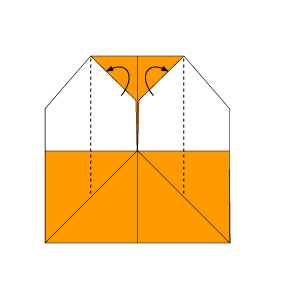
 Fold the paper along the dotted line in the direction of the arrow.
 Fold the paper along the dotted line in the direction of the arrow.
 Fold the paper along the dotted line in the direction of the arrow.
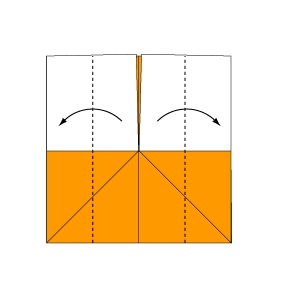
 Open the paper in the direction of the arrow.
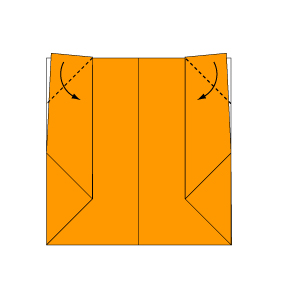
 Fold the paper with the dotted line on the inside.
 Fold the paper with the dotted line on the inside.
 Turn over the paper.
 Fold the paper along the dotted line in the direction of the arrow.
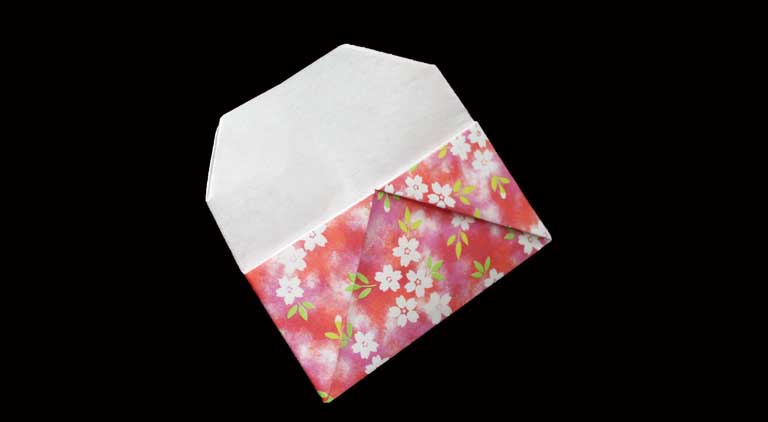
 Your origami card case is complete! Enjoy your new creation that’s perfect for organizing your cards.
Creating this origami card case is both a rewarding craft and a practical way to organize your essentials. Whether you’re fostering creativity in children or keeping your mind active with a fun challenge, this project offers something for everyone. Enjoy the process, and happy folding!
Comments