

Welcome to the ultimate DIY paper craft tutorial! In this guide, we’ll show you how to turn a simple A4 sheet into a stunning origami pen holder box. Whether you’re a seasoned origami enthusiast or just looking for a fun craft project, this step-by-step tutorial makes it easy to create a chic and practical accessory for your desk. With clear instructions and detailed diagrams, you’ll quickly learn the art of paper folding while adding a personalized touch to your workspace. Let’s dive in and transform your paper into an elegant organizational tool!
Strong and simple! Easy “vertically elongated box” folding method
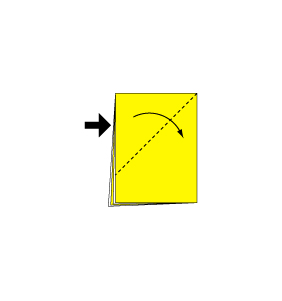
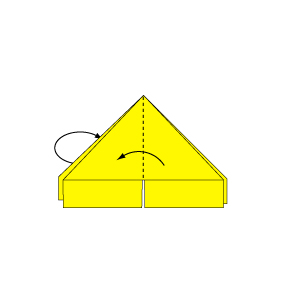
Step 1
Fold along the dotted arrow lines to create a crisp crease.

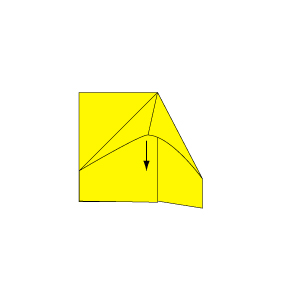
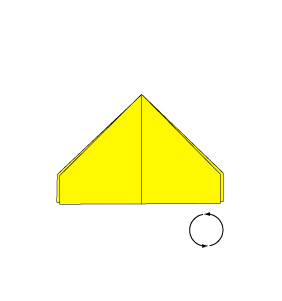
Step 2
Fold again along the dotted line in the direction of the arrow.

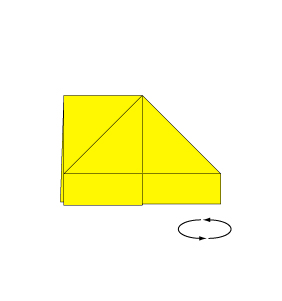
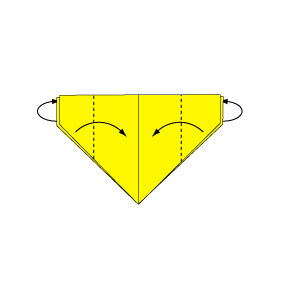
Step 3
Repeat the dotted line fold along the arrow direction.

Step 4
Open the flap and press it flat, as if crushing it gently.
Step 5
Continue by folding the flap as in Step 4.
Step 6
Turn the paper over to reveal the other side.
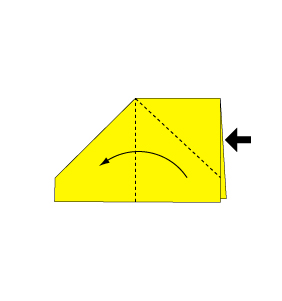
Step 7
Fold the paper along the dotted line in the direction of the arrow.
Step 8
Fold along the dotted line in the direction of the arrow; repeat the fold on the back side as well.
Step 9
Fold the paper along the dotted line in the direction of the arrow and then open the paper in the direction indicated by the white arrow.
Step 10
Fold along the dotted line in the direction of the arrow and insert the edge into the pocket.
Step 11
Your paper box is complete!

Comments