

Looking for a fun and interactive origami project? The origami talking fox is a perfect choice! 🦊
This easy paper fox is not only simple to fold but also moves like a puppet! Just squeeze its sides, and it opens and closes its mouth—perfect for kids’ storytelling and playtime.
In just 3 minutes, you can create a talking fox with this step-by-step tutorial. Let’s get started!
How to Make an Origami Talking Fox in 14 Easy Steps
Materials Needed:
✔ 1 square sheet of paper (any color)
✔ A marker (to draw eyes, nose, and tongue)
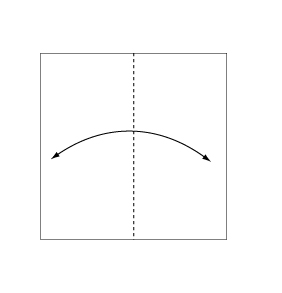
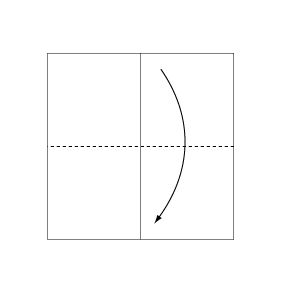
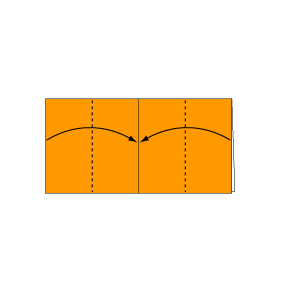
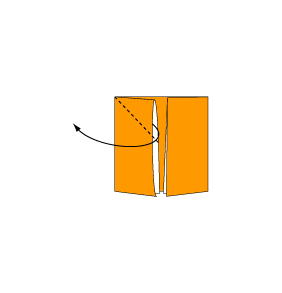
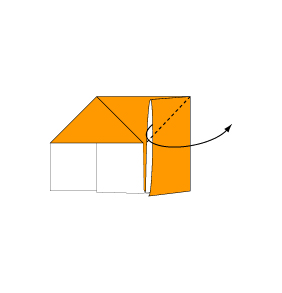
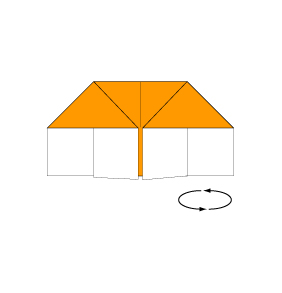
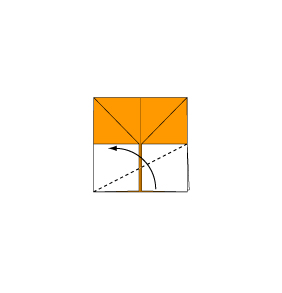
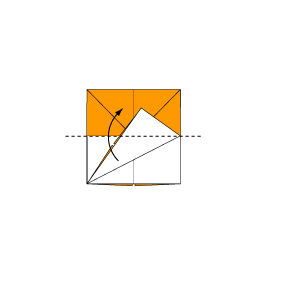
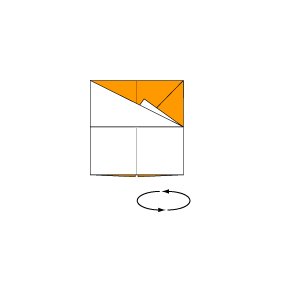
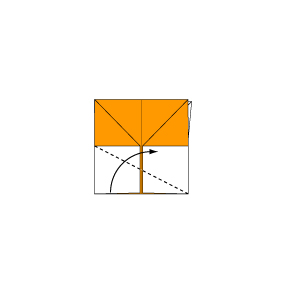
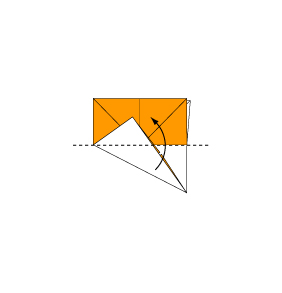
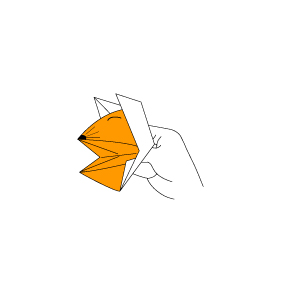
Follow these **14 easy steps** to create a fun **DIY talking fox**. Fold and crease the paper along the dotted line. Fold the paper along the dotted line in the direction of the arrow. Repeat the fold on the other side. Open the paper to create a small pocket. Flatten down the sides. Repeat Step 4 on the other side. Turn over the paper. Fold the paper along the dotted lines in the direction of the arrows. Turn over the paper again. Fold the paper along the dotted lines in the direction of the arrows. Open the paper in the direction of the arrow. Your origami talking fox is ready! 🎉 Use a marker to draw eyes, a nose, and a tongue. Squeeze the sides and watch it “talk!”Step-by-Step Guide: Fold Your Own Origami Talking Fox
Step 1
Step 2
Step 3
Step 4
Step 5
Step 6
Step 7-9

Step 10
Step 11-12
Step 13

Step 14 – Completion!
How to Use Your Talking Fox:
🎭 Puppet Fun – Use it in storytelling or playtime with kids!
📚 Bookmark – Slide it onto the edge of your book as a fun bookmark.
🎨 Decorate – Color it with markers or stickers for a custom look.
Congratulations! 🎉 You’ve made an origami talking fox—a fun and interactive paper craft. Try making different animal versions by adjusting the folds and ears!
Would you like a printable PDF version of this tutorial? Let us know in the comments! 😊
Comments