
Step into the world of traditional Japanese origami with our guide to making Samurai Trousers. With clear, easy-to-follow steps, this tutorial transforms a simple sheet of paper into stylish and functional trousers that promote comfort and agility. Perfect for origami beginners and seasoned crafters alike.
DIY Paper Samurai Trousers
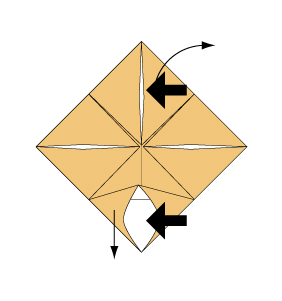
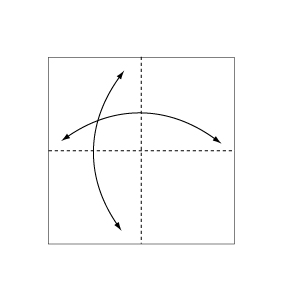 Fold and crease in the direction of the arrow.
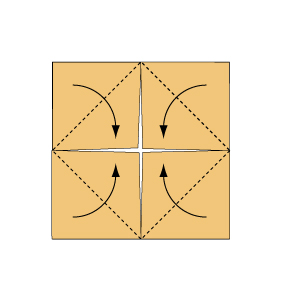
 Fold the paper along the dotted line in the direction of the arrow.
 Fold backwards along the dotted line.
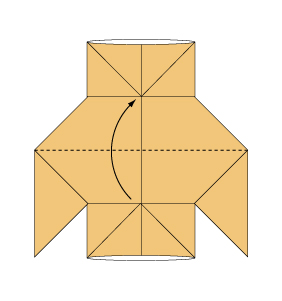
 Fold the paper along the dotted line in the direction of the arrow.
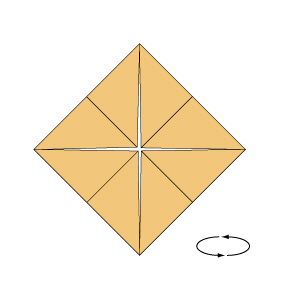 Turn over the paper.
 Open the paper as shown to create a small pocket. Then flatten down the sides of the pocket.
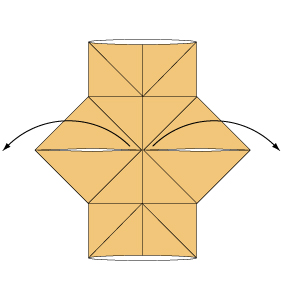 Open the paper in the direction of the arrow.
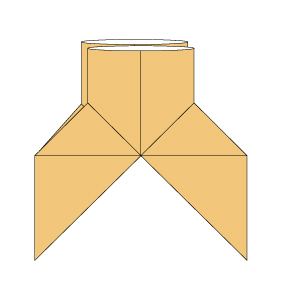
 Flatten the paper along the dotted line.
 Fold in half along the dotted line.
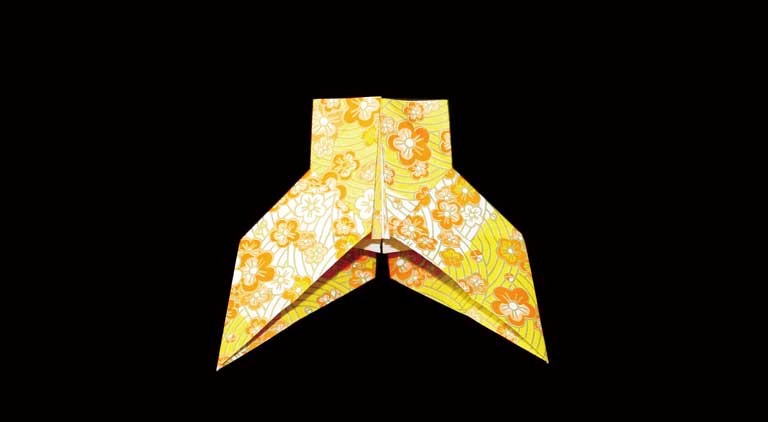
 Complete.
SAMURAI | SAMURAI’s Helmet
Your Origami Samurai Trousers are now complete—a testament to the beauty of minimalistic design and careful folding. Enjoy wearing or displaying your creation and continue exploring other innovative origami projects. Happy crafting!
Comments