
Explore the timeless art of origami with our step-by-step guide to creating an Origami Samurai—a symbol of strength and honor that has been folded for centuries in Japan. This traditional model is both elegant and meaningful, perfect for beginners and origami enthusiasts alike. Plus, check out our related guides on Samurai Trousers and Samurai Helmet for a complete samurai set.
How to Make an ORIGAMI SAMURAI
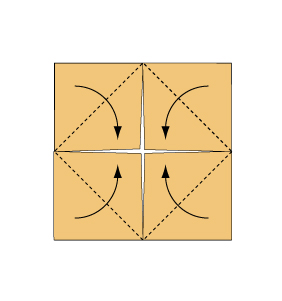
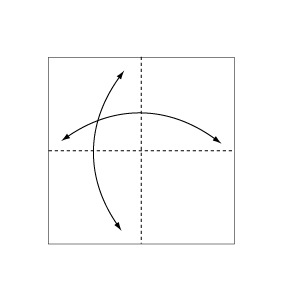 Step 1: Fold and crease in the direction of the arrow.
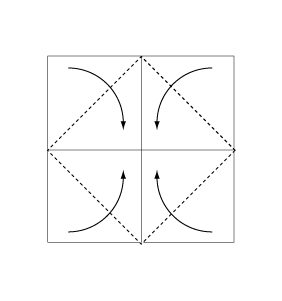 Step 2: Fold the paper along the dotted line in the direction of the arrow.
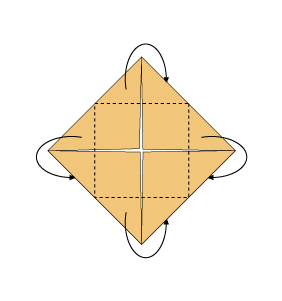 Step 3: Fold backwards along the dotted line.
 Step 4: Fold the paper along the dotted line in the direction of the arrow.
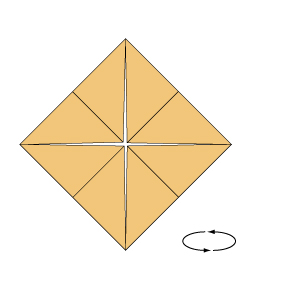 Step 5: Turn over the paper.
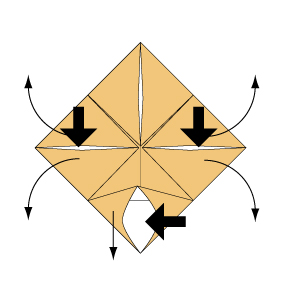 Step 6: Open the paper as shown to create a small pocket. Then flatten down the sides of the pocket.
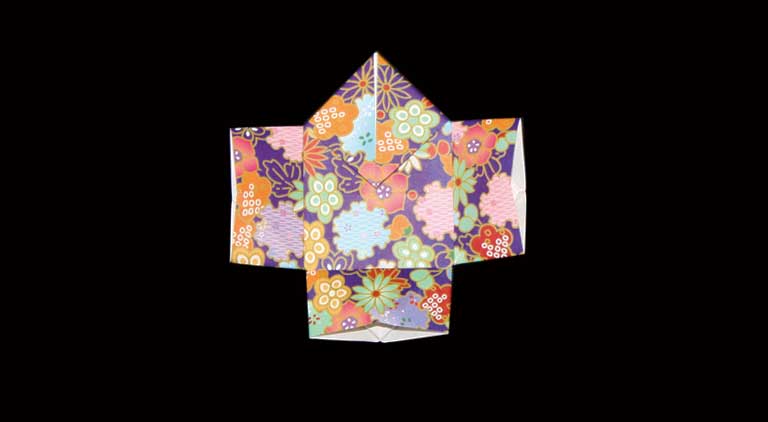
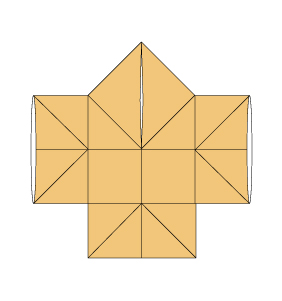 Step 7: Complete.
For more samurai-themed projects, check out our tutorials on Samurai Trousers and Samurai Helmet.
Congratulations on completing your Origami Samurai! Enjoy this classic paper craft as a symbol of strength and honor, and explore additional projects like Samurai Trousers and Samurai Helmet to further embrace Japanese tradition. Happy folding, and let your creative spirit shine!
Comments