

Explore the exciting world of origami with our detailed guide to making an Origami Penguin. This project may be challenging, but it’s incredibly rewarding and fun. Perfect for creative minds and paper craft enthusiasts, our step-by-step tutorial will lead you through every fold to bring your penguin to life.
How to Make an Paper Penguin
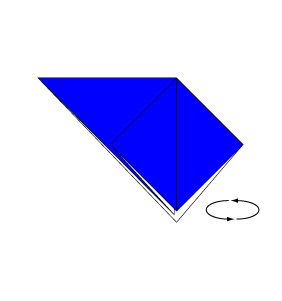
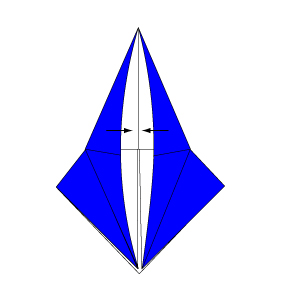
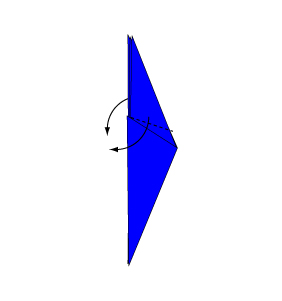
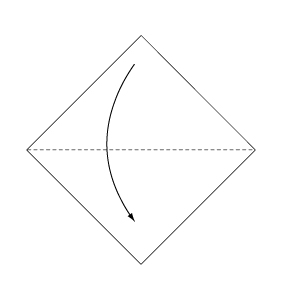 Fold and crease in the direction of the arrow.
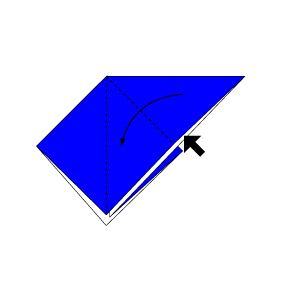
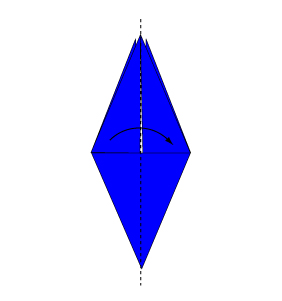
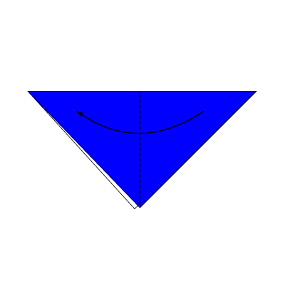 Fold the paper along the dotted line in the direction of the arrow.
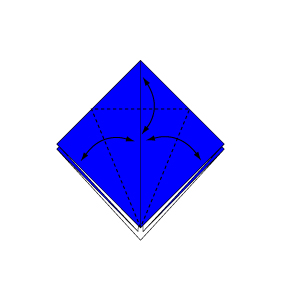
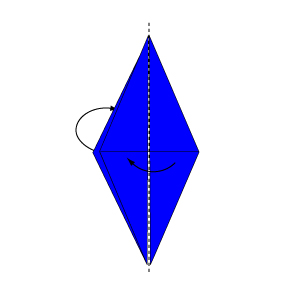
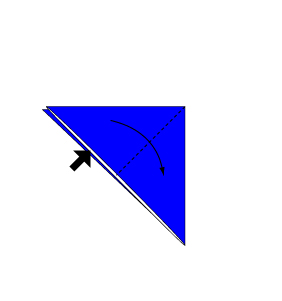 Open the paper as shown to create a small pocket. Then flatten down the sides of the pocket.
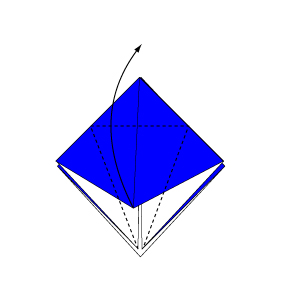
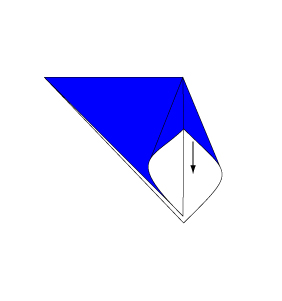 Continue from Step 3.
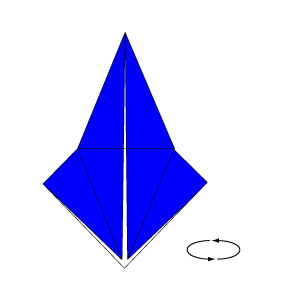
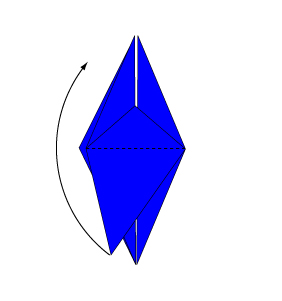
 Turn over the paper.
 Open the paper as shown to create a small pocket. Then flatten down the sides of the pocket.
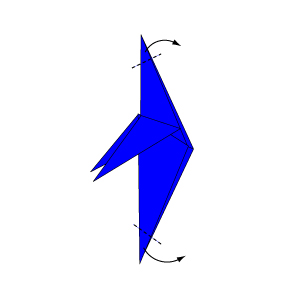
 Fold and crease in the direction of the arrow.
 Open the paper as shown to create a small pocket. Then flatten down the sides of the pocket.
 Continue from Step 8.
 Turn over the paper.
 Open the paper as shown to create a small pocket. Then flatten down the sides of the pocket.
 Fold the paper along the dotted line in the direction of the arrow.
Fold the reverse side in the same manner.
 Fold the paper along the dotted line in the direction of the arrow.
 Fold the paper along the dotted line in the direction of the arrow.
 Fold the paper along the dotted line in the direction of the arrow.
Fold the reverse side in the same manner.
 Fold the paper with the dotted line on the inside.
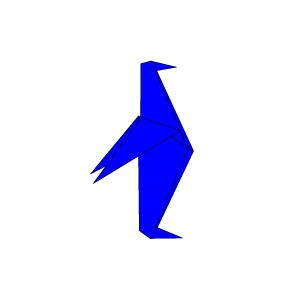 Complete.
Crafting an Origami Penguin is a delightful blend of challenge and creativity. Enjoy the art of paper folding as you produce a charming penguin that stands as a testament to your skills. Happy folding, and may your creative journey continue to inspire you!
Comments