
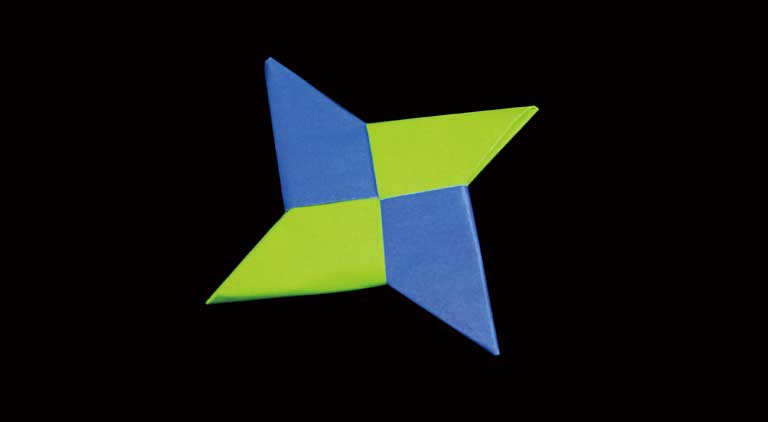
Unleash your inner ninja with our easy origami shuriken tutorial! This step-by-step guide shows you how to transform a single sheet of paper into a cool throwing knife that’s perfect for play and display. Designed for kids and families, it’s a fun way to enjoy the art of origami and engage in some interactive fun.
How to Make an ORIGAMI Ninja’s Throwing Knife – SHURIKEN
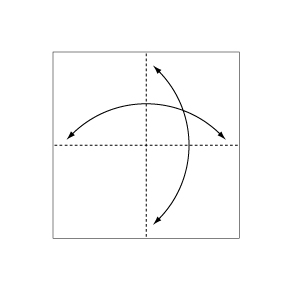 Step 1: Fold and crease in the direction of the arrow.
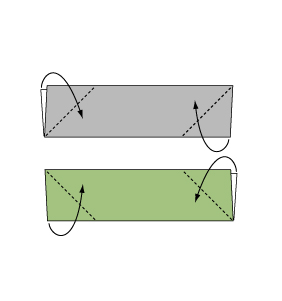
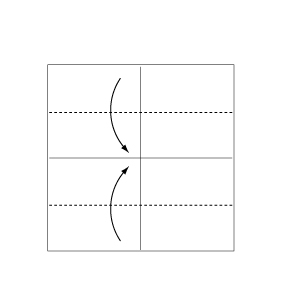 Step 2: Fold the paper along the dotted line in the direction of the arrow.
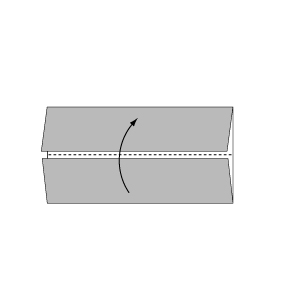 Step 3: Fold the paper along the dotted line in the direction of the arrow.
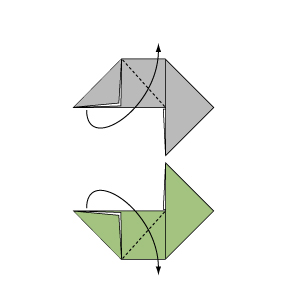
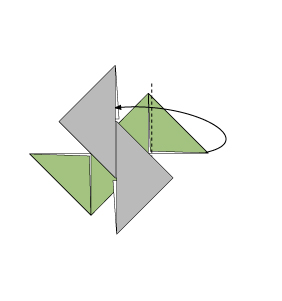
 Step 4: Fold the paper along the dotted line in the direction of the arrow, then fold the reverse side in the same manner.
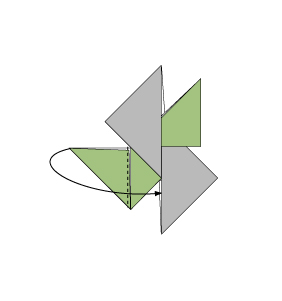
 Step 5: Fold the paper along the dotted line in the direction of the arrow.
 Step 6: Fold the paper along the dotted line in the direction of the arrow.
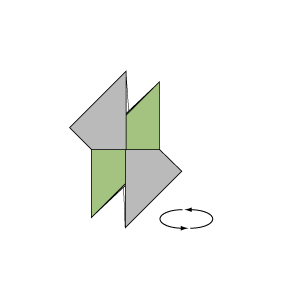
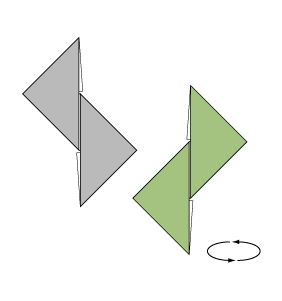 Step 7: Turn over one side.
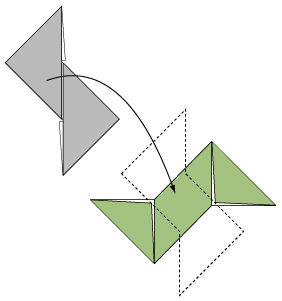 Step 8: Place one piece on top of the other as shown.
 Step 9: Fold the outside flap of the bottom sheet into the pocket of the top sheet.
 Step 10: Same as the previous step.
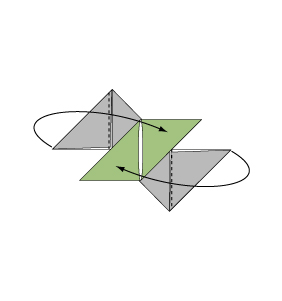
 Step 11: Turn over the paper.
 Step 12: Repeat steps 9 & 10.
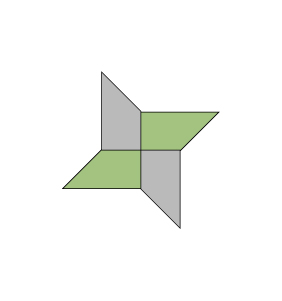 Step 13: Complete.
Well done! You’ve created an awesome origami shuriken that’s ready for action. Enjoy throwing your handmade paper knife and use it as a fun accessory for imaginative play. Keep experimenting with origami and let your creativity take flight.
Comments