
Step into the world of interactive origami with our comprehensive tutorial for making an origami moving bird. Designed to animate with a simple pull of the tail, this craft is perfect for kids and adults alike. Enjoy a hands-on project that transforms a flat piece of paper into a playful, moving toy.
How to Make an Origami Moving Bird
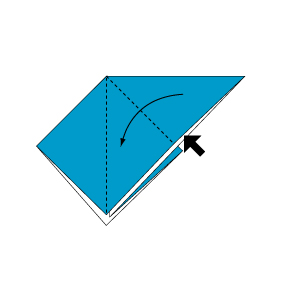
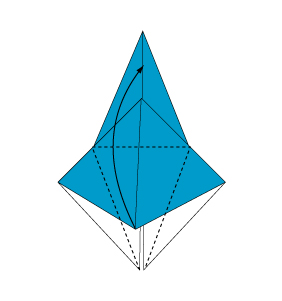
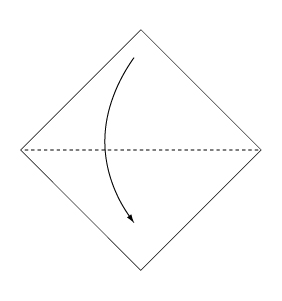 Fold the paper along the dotted line in the direction of the arrow.
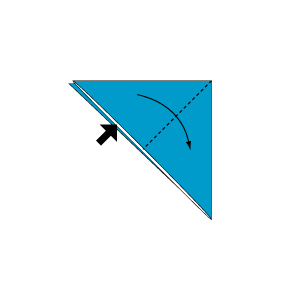
 Fold the paper along the dotted line in the direction of the arrow.
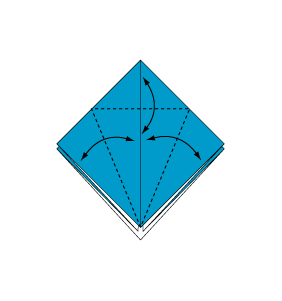
 Open the paper as shown to create a small pocket. Then flatten down the sides of the pocket.
 Continue from Step 3.
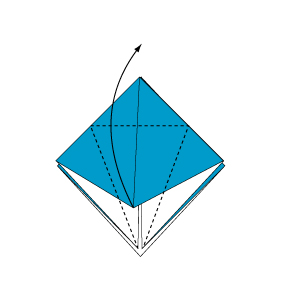
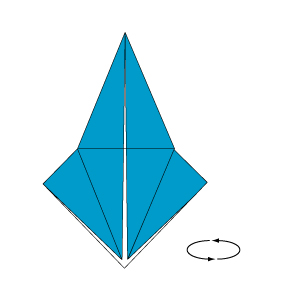
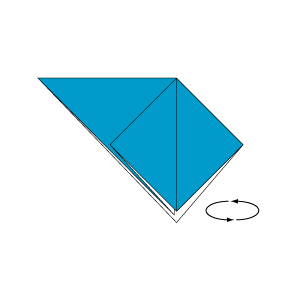 Turn over the paper.
 Open the paper as shown to create a small pocket. Then flatten down the sides of the pocket.
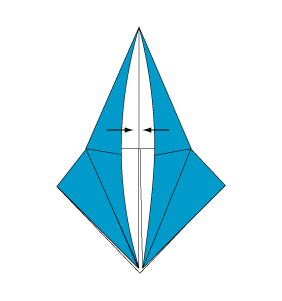
 Fold the paper along the dotted line in the direction of the arrow.
 Open the paper as shown to create a small pocket. Then flatten down the sides of the pocket.
 Continue from Step 8.
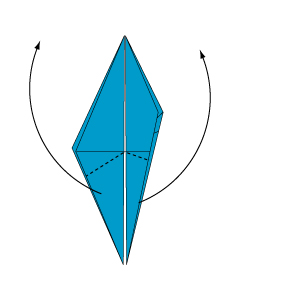
 Turn over the paper.
 Open the paper as shown to create a small pocket. Then flatten down the sides of the pocket.
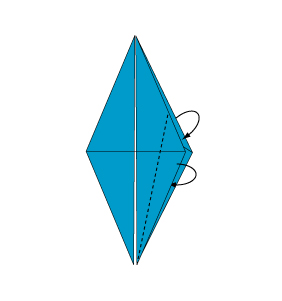 Fold backwards along the dotted line. Fold the reverse side in the same manner.
 Fold the paper with the dotted line on the inside.
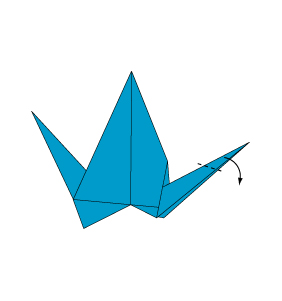 Fold the paper with the dotted line on the inside.
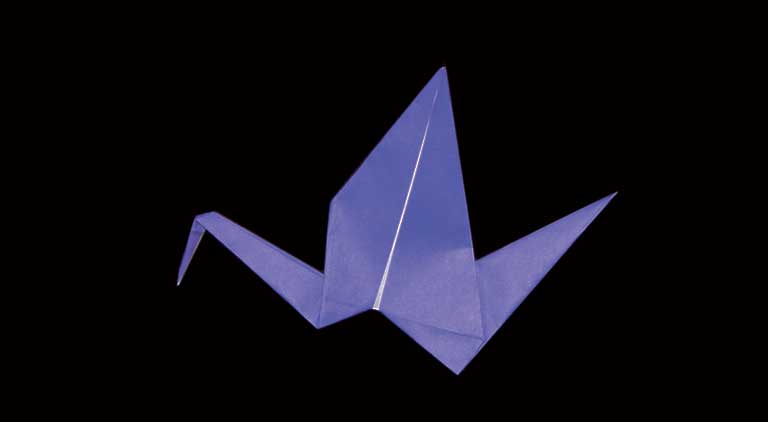
 Complete.
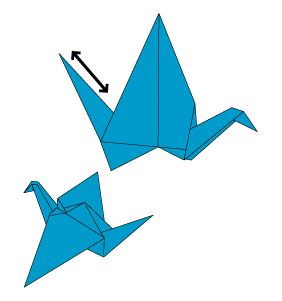
Pull back the tail, while holding the body, to make the wings flap.
Transform your paper into an interactive work of art with this origami moving bird tutorial. Enjoy the fun of bringing your creation to life by simply pulling its tail to make the wings flap. Happy folding and may your creative spirit soar!
Comments