
Step into the world of origami with our DIY paper house tutorial. This easy origami home project is ideal for kids who love to craft and decorate. With simple instructions and clear diagrams, you’ll quickly learn how to create a charming house that’s ready for your personal touches.
How to Make an ORIGAMI Home
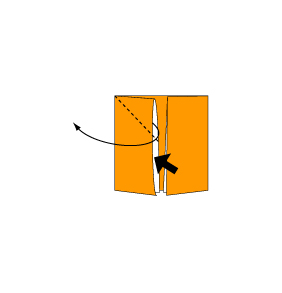
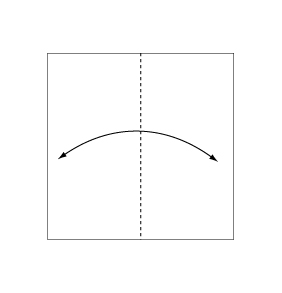 Step 1: Fold and crease in the direction of the arrow.
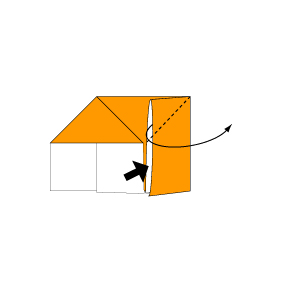
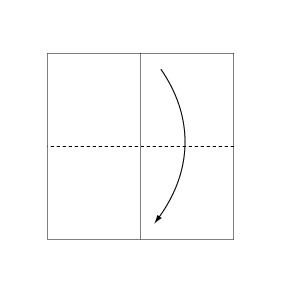 Step 2: Fold the paper along the dotted line in the direction of the arrow.
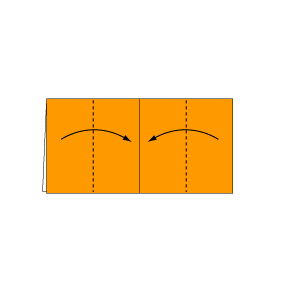 Step 3: Fold the paper along the dotted line in the direction of the arrow.
 Step 4: Open the paper as shown to create a small pocket. Then flatten down the sides of the pocket.
 Step 5: Open the paper as shown to create a small pocket. Then flatten down the sides of the pocket.
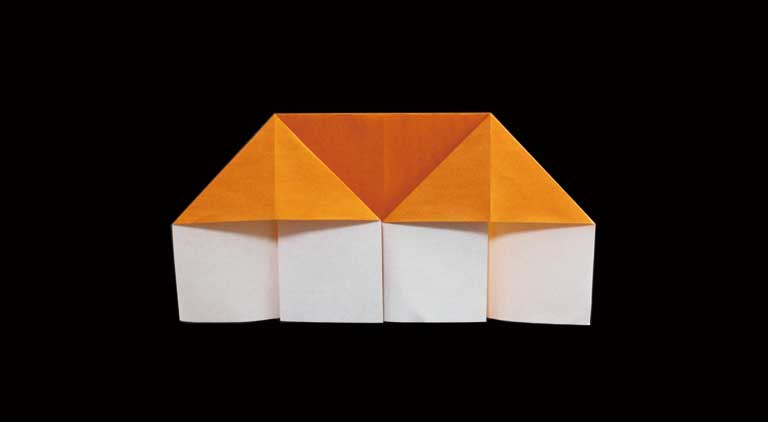
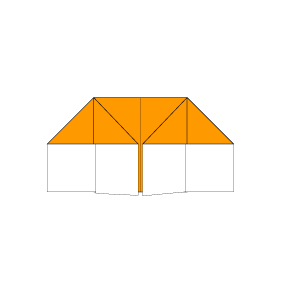 Step 6: Complete.
You’ve successfully folded an origami home—a delightful and customizable paper craft. Enjoy decorating your new paper house, and share your creative project with family and friends. Keep exploring origami for even more fun and imaginative crafts!
Comments