

Unleash your creativity with our origami triangle hat tutorial. This delightful project is ideal for kids and beginners who love fun, hands-on crafts. With simple, clear instructions, you’ll quickly learn how to turn a sheet of paper into a stylish triangle hat that’s fun to wear and show off.
How to Make an ORIGAMI Triangle Hat
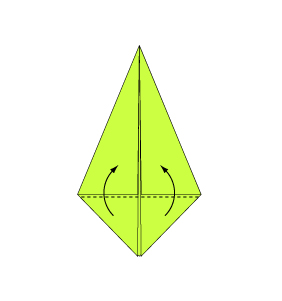
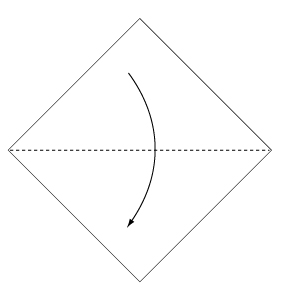 Step 1: Fold the paper along the dotted line in the direction of the arrow.
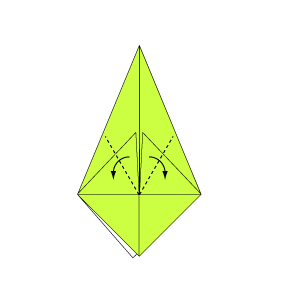
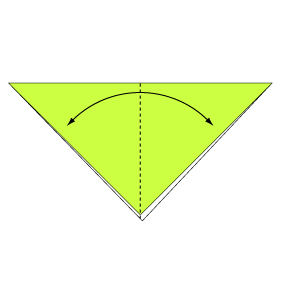 Step 2: Fold and crease in the direction of the arrow.
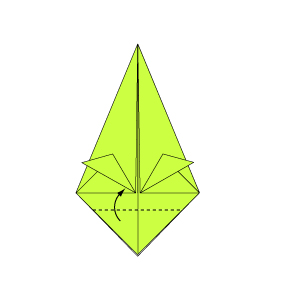
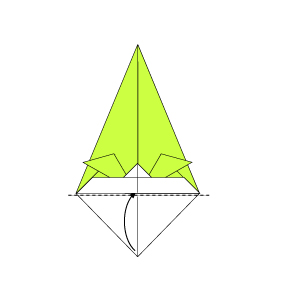
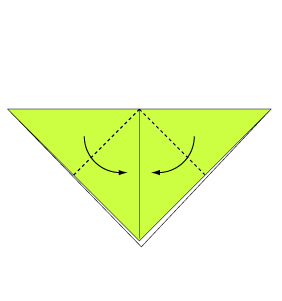 Step 3: Fold the paper along the dotted line in the direction of the arrow.
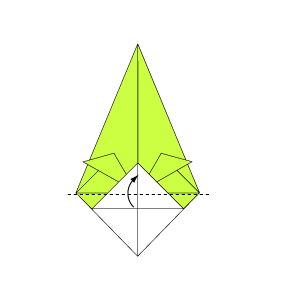
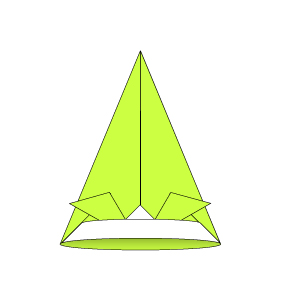
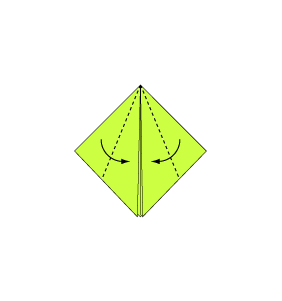 Step 4: Fold the paper along the dotted line in the direction of the arrow.
 Step 5: Fold the paper along the dotted line in the direction of the arrow.
 Step 6: Fold the paper along the dotted line in the direction of the arrow.
 Step 7: Fold the paper along the dotted line in the direction of the arrow.
 Step 8: Fold the paper along the dotted line in the direction of the arrow.
 Step 9: Fold along the dotted line in the direction of the arrow and insert the edge into the pocket.
 Step 10: Complete.
Well done! You’ve created a unique origami triangle hat that’s both creative and fun. Use it as a playful accessory or a decorative piece, and let it spark more imaginative projects. Enjoy your new hat and keep exploring the endless possibilities of origami!
Comments