
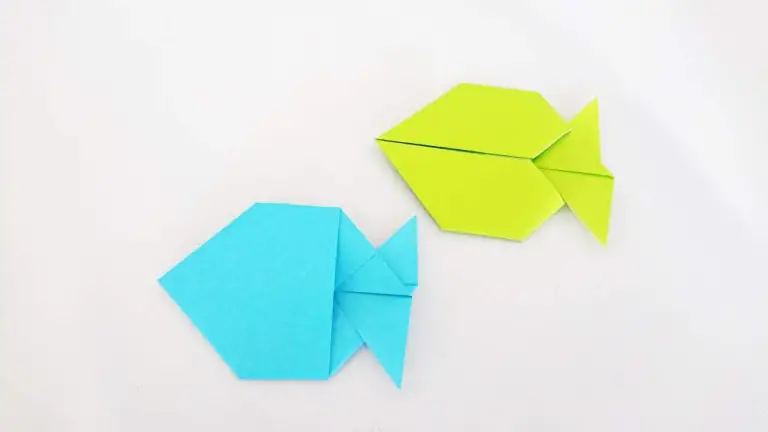
Unleash your creativity with our origami goldfish tutorial. This easy-to-follow project guides you through each step of folding a traditional goldfish, all in just 3 minutes! Perfect for both beginners and seasoned crafters, this fun paper craft is sure to add a touch of whimsy to your home or office.
How to Make an ORIGAMI Goldfish
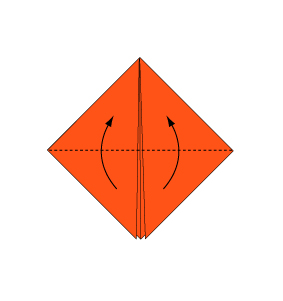
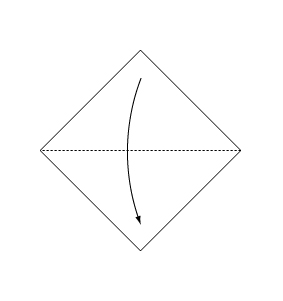 Step 1: Fold the paper along the dotted line in the direction of the arrow.
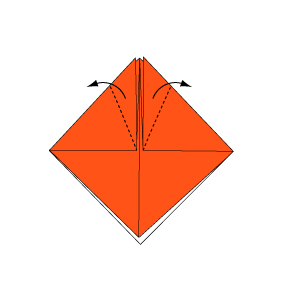
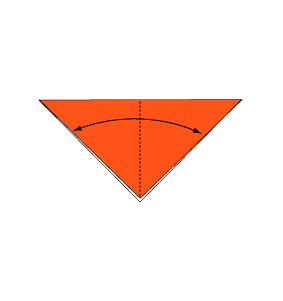 Step 2: Fold and crease in the direction of the arrow.
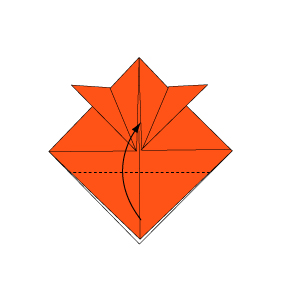
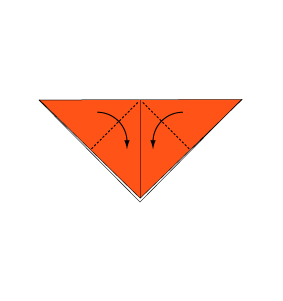 Step 3: Fold the paper along the dotted line in the direction of the arrow.
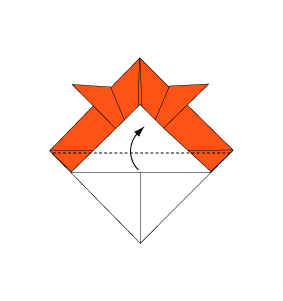
 Step 4: Fold the paper along the dotted line in the direction of the arrow.
 Step 5: Fold the paper along the dotted line in the direction of the arrow.
 Step 6: Fold the paper along the dotted line in the direction of the arrow.
 Step 7: Fold the paper along the dotted line in the direction of the arrow.
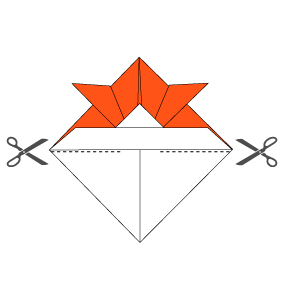 Step 8: Cut along the dotted line.
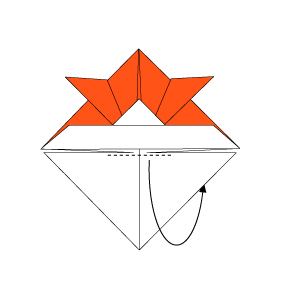 Step 9: Fold backwards along the dotted line.
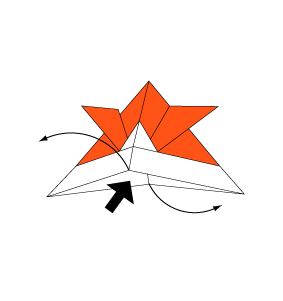 Step 10: Open the paper as shown to create a small pocket. Then flatten down the sides of the pocket.
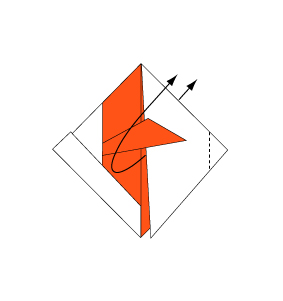 Step 11: Open the paper in the direction of the arrow.
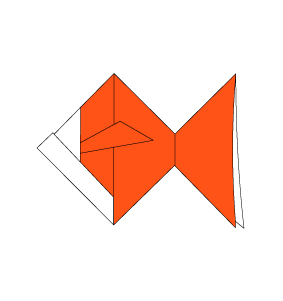 Step 12: Complete.
Well done on making your origami goldfish! This charming paper craft is a testament to how quickly creativity can take shape. Display your goldfish proudly or share it as a fun gift, and continue exploring the endless possibilities of origami.
Comments