
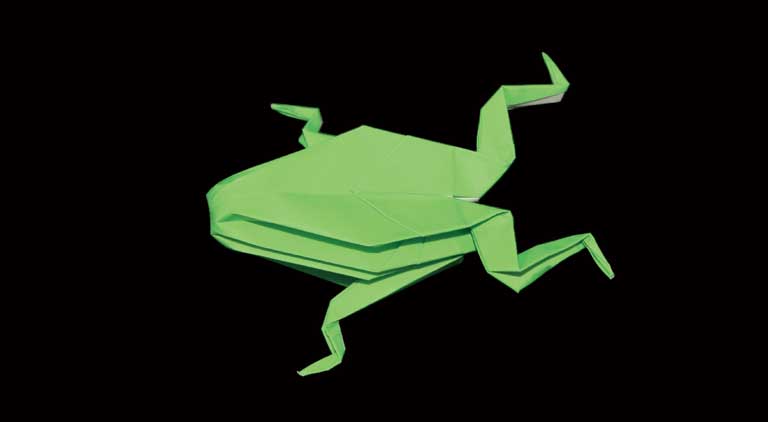
Step into the world of origami with our comprehensive guide to making an Origami Frog. This project is designed to be both fun and accessible, offering clear instructions that allow you to transform paper into a lively frog model. Ideal for all ages, this craft brings creativity and a splash of color to your day.
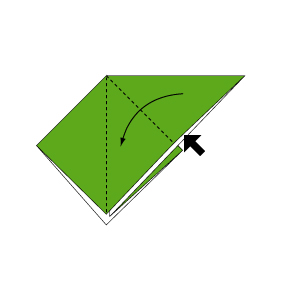
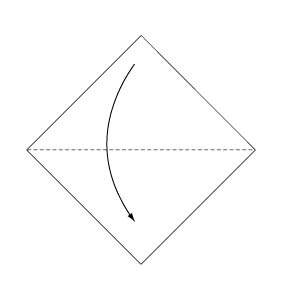 Fold the paper along the dotted line in the direction of the arrow.
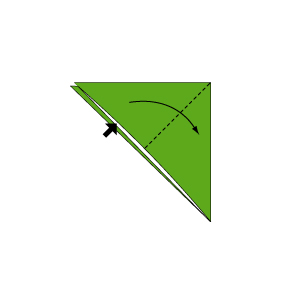
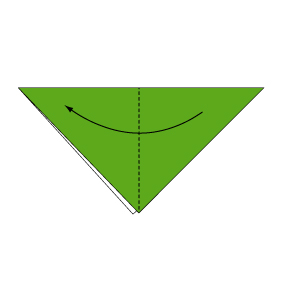 Fold the paper along the dotted line in the direction of the arrow.
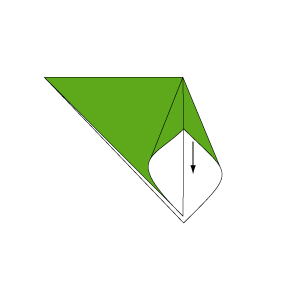
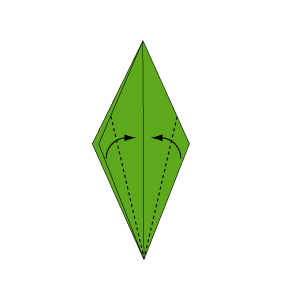
 Open the paper as shown to create a small pocket. Then flatten down the sides of the pocket.
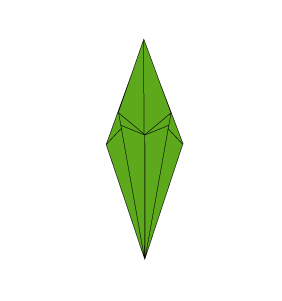
 Continue from Step 3.
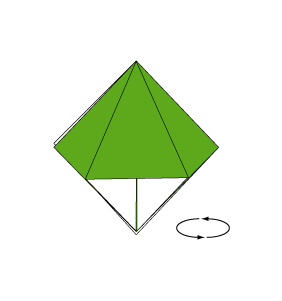
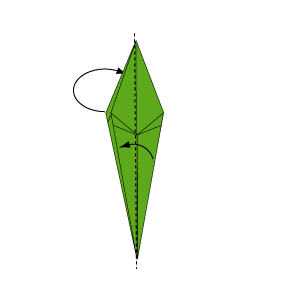
 Turn over the paper.
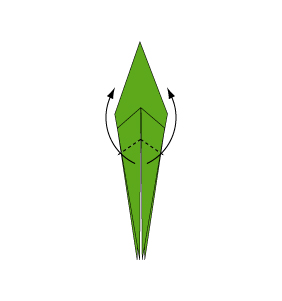
 Open the paper as shown to create a small pocket. Then flatten down the sides of the pocket.
 Open the paper as shown to create a small pocket. Then flatten down the sides of the pocket.
 Continue from Step 7.
 Turn over the paper.
 Open the paper as shown to create a small pocket. Then flatten down the sides of the pocket.
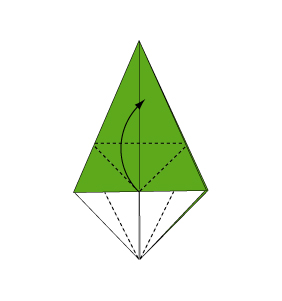
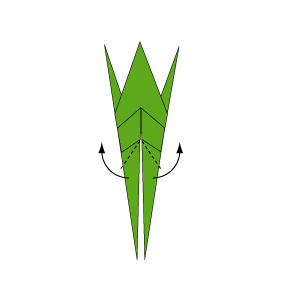
 Fold the paper along the dotted line in the direction of the arrow.
Fold all the flaps in the same direction, one on top of the other.
 Open the paper as shown to create a small pocket. Then flatten down the sides of the pocket.
 Fold the remaining three flaps in the same way.
 Fold the paper along the dotted line in the direction of the arrow.
Fold the reverse side in the same manner.
 Fold the paper along the dotted line in the direction of the arrow.
 Fold the remaining three flaps in the same way.
 Fold the paper along the dotted line in the direction of the arrow.
Fold the reverse side in the same manner.
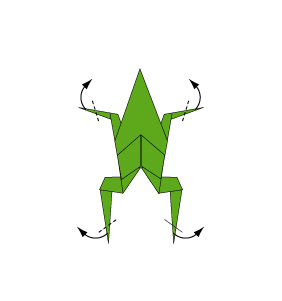
 Fold the paper with the dotted line on the inside.
 Fold the paper with the dotted line on the inside.
 Fold the paper with the dotted line on the inside.
 Fold the paper with the dotted line on the inside.
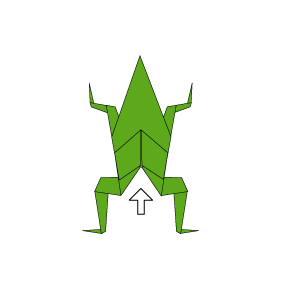 Hold at the back and blow air into the mouth to inflate the body.
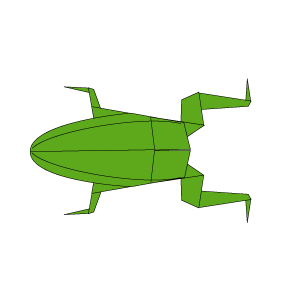 Complete.
Enjoy the process of folding and creating your very own Origami Frog. This project not only fosters creativity but also provides a playful break from the everyday. Embrace the joy of origami and let your new paper frog brighten your space.
Comments