
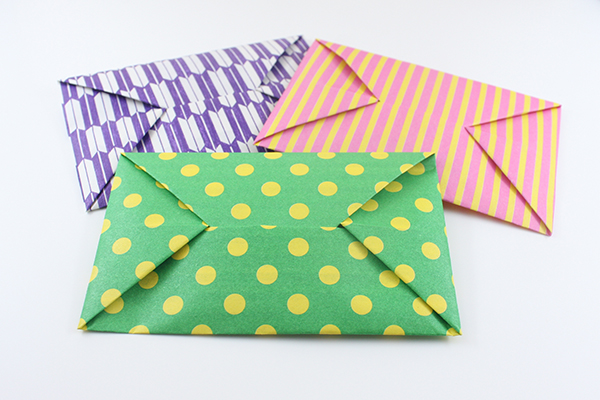
Step into the art of origami with our DIY envelope tutorial. This straightforward guide transforms a single sheet of paper into a beautiful envelope—ideal for letters, cards, or creative projects. Use any paper you have, from A4 to gift wrap, and add a personal, artistic touch to your communications.
How to Make an ORIGAMI Envelope
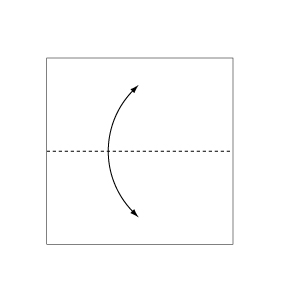 Step 1: Fold and crease in the direction of the arrow.
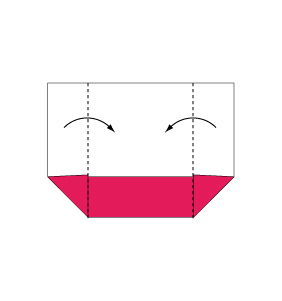
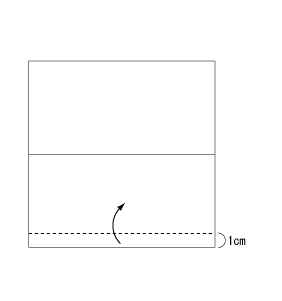 Step 2: Fold the paper along the dotted line in the direction of the arrow.
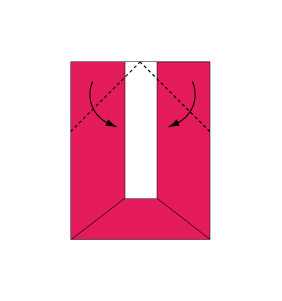
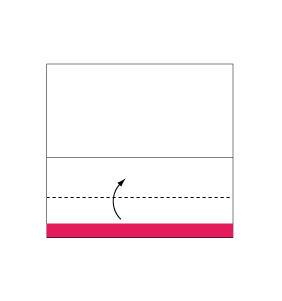 Step 3: Fold the paper along the dotted line in the direction of the arrow.
 Step 4: Fold the paper along the dotted line in the direction of the arrow.
 Step 5: Fold the paper along the dotted line in the direction of the arrow.
 Step 6: Fold the paper along the dotted line in the direction of the arrow.
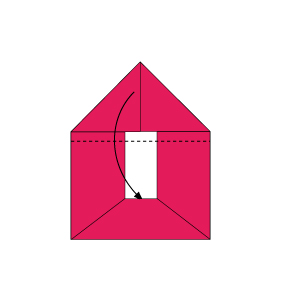 Step 7: Fold along the dotted line in the direction of the arrow and insert the edge into the pocket.
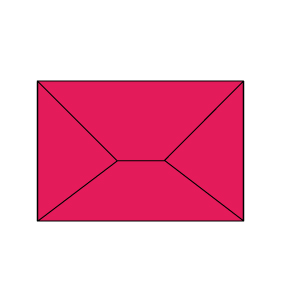 Step 8: Complete.
Congratulations on making your very own origami envelope! This practical and versatile project not only adds a creative flair to your mail but also lets you repurpose any paper you have on hand. Enjoy sending handwritten notes or using it for creative storage, and keep exploring the wonderful world of origami.
Comments