

Discover how to fold a practical and charming origami fun tray with our step-by-step guide. This creative paper craft is not only simple to make but also serves as a perfect tray to hold your favorite candies or small trinkets. Ideal for kids and seniors alike, this project boosts creativity and fine motor skills while adding a touch of playful elegance to your space.
How to Make an ORIGAMI Fun Tray
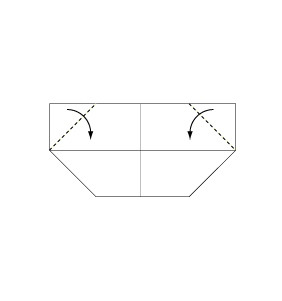
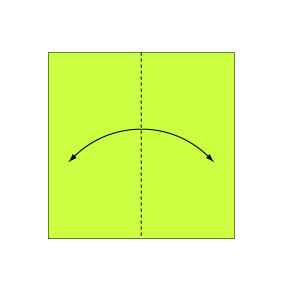 Step 1: Fold and crease in the direction of the arrow.
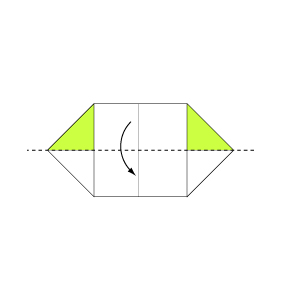
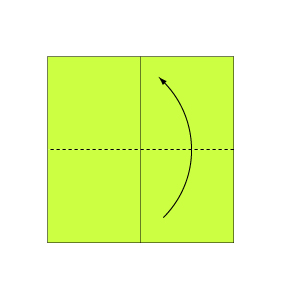 Step 2: Fold the paper along the dotted line in the direction of the arrow.
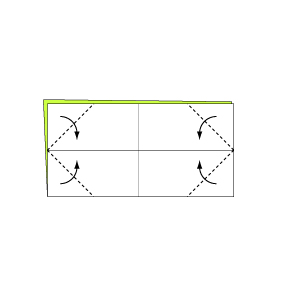
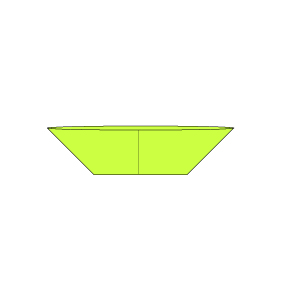
 Step 3: Fold and crease in the direction of the arrow.
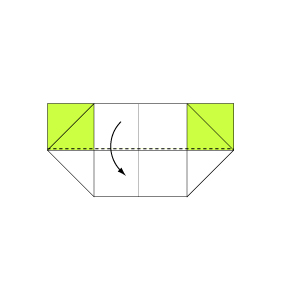
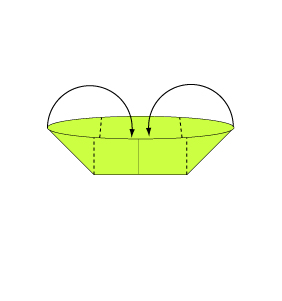
 Step 4: Fold the paper along the dotted line in the direction of the arrow.
 Step 5: Fold the paper along the dotted line in the direction of the arrow.
 Step 6: Turn over the paper.
 Step 7: Fold the paper along the dotted line in the direction of the arrow.
 Step 8: Fold the paper along the dotted line in the direction of the arrow.
 Step 9: Continue from Step 8.
 Step 10: Fold the paper with the dotted line on the inside.
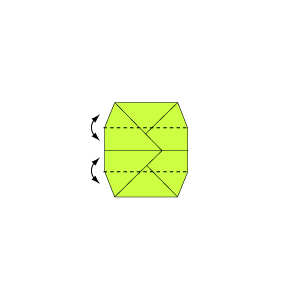 Step 11: Fold and crease in the direction of the arrow.
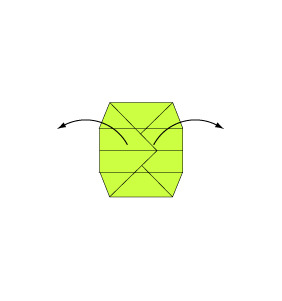 Step 12: Open the paper in the direction of the arrow.
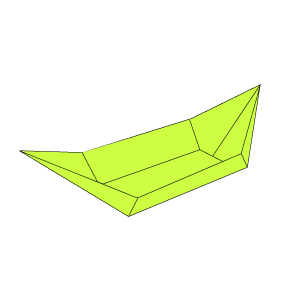 Step 13: Your origami fun tray is complete!
By following these straightforward instructions, you’ve created a delightful origami fun tray that’s both functional and fun. Whether used to organize candy or display small items, this craft project is a great way to enjoy quality time with family or engage in mindful, creative activity. Enjoy your new creation and keep exploring the world of origami!
Comments