
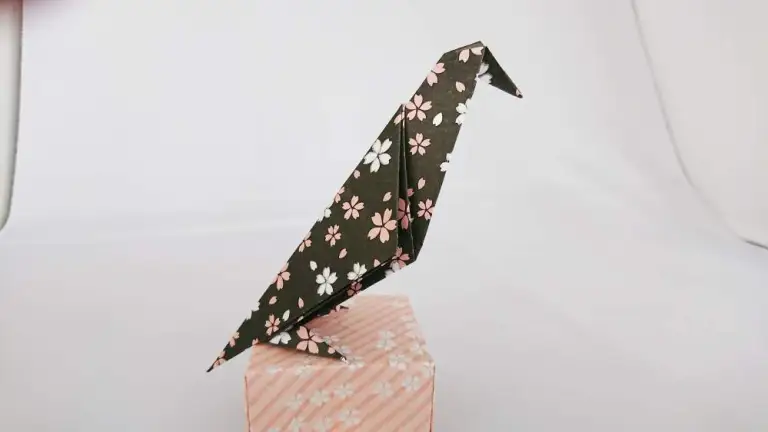
Step into the world of origami with our detailed tutorial on making an origami crow. With just one sheet of square paper and a few simple folds, you can create this elegant and eye-catching design. Perfect for a fun craft session, this project is accessible to both kids and adults.
How to Make an ORIGAMI Crow
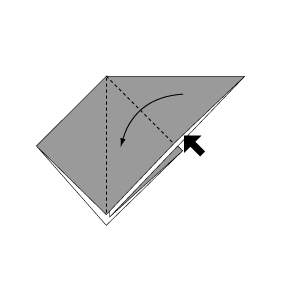
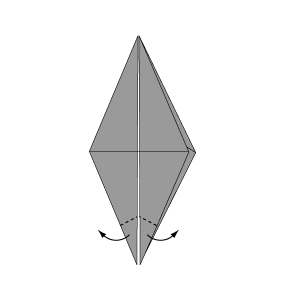
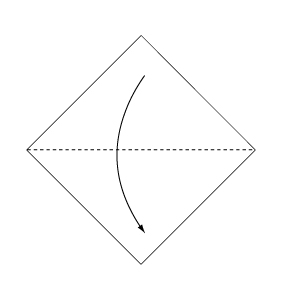 Step 1: Fold the paper along the dotted line in the direction of the arrow.
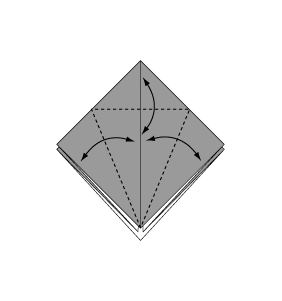
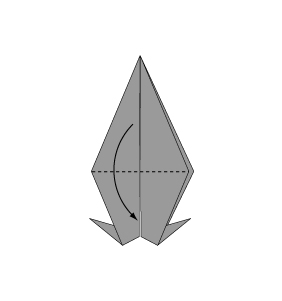
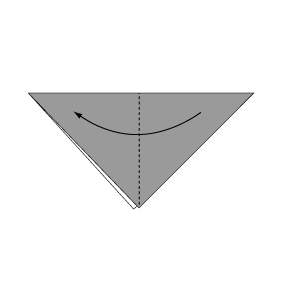 Step 2: Fold the paper along the dotted line in the direction of the arrow.
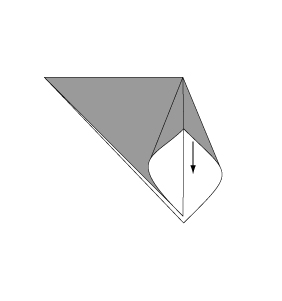
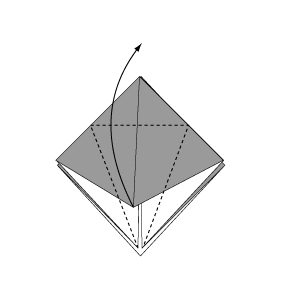
 Step 3: Open the paper as shown to create a small pocket. Then flatten down the sides of the pocket.
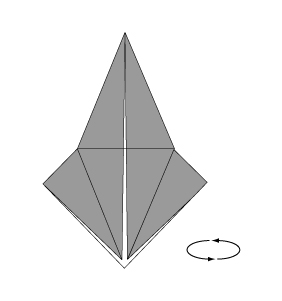
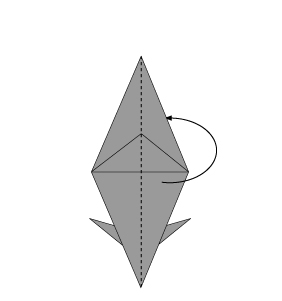
 Step 4: Continue from step 3.
 Step 5: Turn over the paper.
 Step 6: Open the paper as shown to create a small pocket. Then flatten down the sides of the pocket.
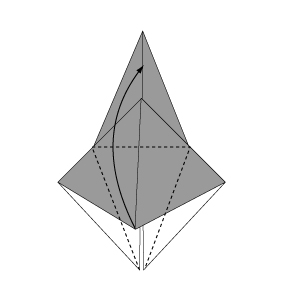
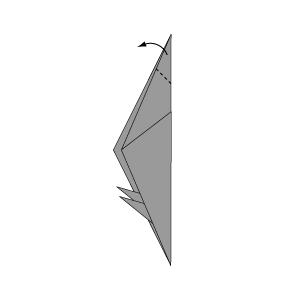
 Step 7: Fold and crease in the direction of the arrow.
 Step 8: Open the paper as shown to create a small pocket. Then flatten down the sides of the pocket.
 Step 9: Continue from step 8.
 Step 10: Turn over the paper.
 Step 11: Open the paper as shown to create a small pocket. Then flatten down the sides of the pocket.
 Step 12: Fold the paper along the dotted line in the direction of the arrow.
 Step 13: Fold the paper along the dotted line in the direction of the arrow.
 Step 14: Fold backwards along the dotted line.
 Step 15: Fold the paper with the dotted line on the inside.
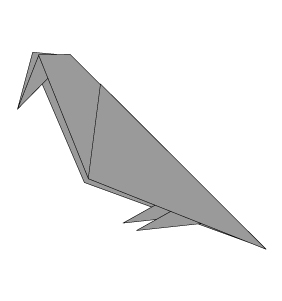 Step 16: Complete.
You’ve now mastered the art of folding an origami crow! This project demonstrates how simple paper folds can transform a basic sheet into a stunning work of art. Keep experimenting with origami and enjoy the endless creative possibilities it offers.
Comments