

Unleash your creativity with our detailed guide on crafting Origami Box 7. This versatile box not only offers a stylish solution for storage but also serves as a delightful personalized gift idea.
How to make an ORIGAMI Star Box
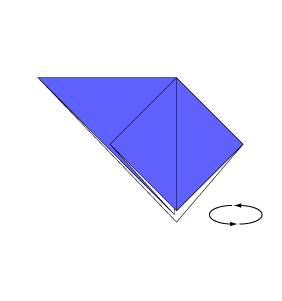
Step 1
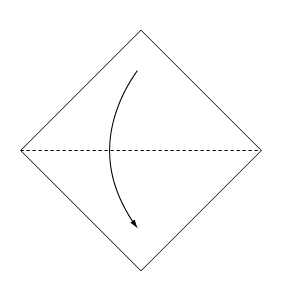
Fold the paper along the dotted line in the direction of the arrow.
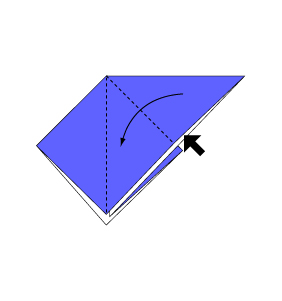
Step 2
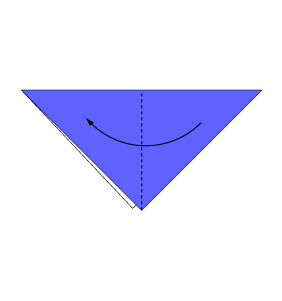
Fold the paper along the dotted line in the direction of the arrow.
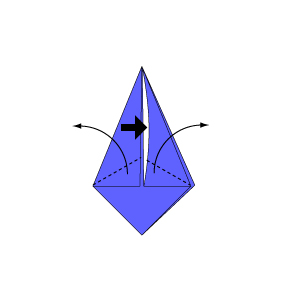
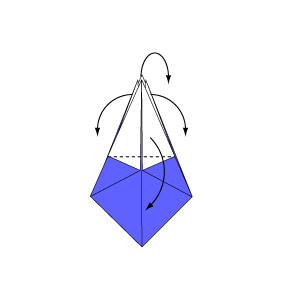
Step 3
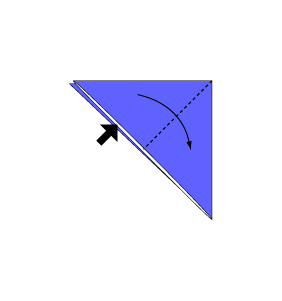
Open the paper as shown to create a small pocket. Then flatten down the sides of the pocket.
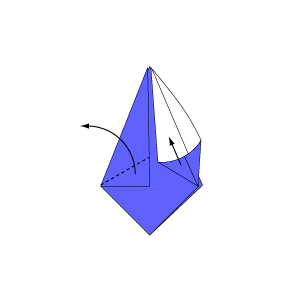
Step 4
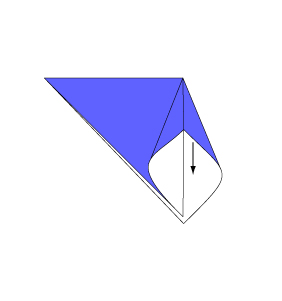
Continue from Step 3.
Step 5
Turn over the paper.
Step 6
Open the paper as shown to create a small pocket. Then flatten down the sides of the pocket.
Step 7

Fold the paper along the dotted line in the direction of the arrow. Fold the reverse side in the same manner.
Step 8

Rotate the paper 180 degrees.
Step 9
Open the paper as shown to create a small pocket. Then flatten down the sides of the pocket.
Step 10
Continue from Step 9. Fold the reverse side in the same manner.
Step 11

Fold backwards along the dotted line. Fold the reverse side in the same manner.
Step 12
Open the paper in the direction of the arrow.
Step 13

Complete.
You’ve successfully crafted a beautiful Origami Box 7. Not only is it a functional container, but it also makes a unique personalized gift. Keep honing your origami skills and enjoy every fold!
Comments