

The origami box is a truly beautiful design that, while a bit more challenging than simpler boxes, is incredibly rewarding. This tutorial guides you through each step so you can create a pretty, personalized container perfect for gifts or storage.
How to make an origami box
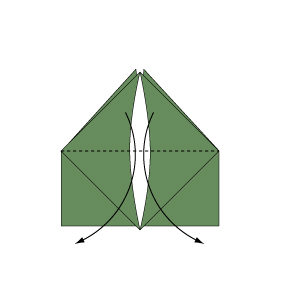
Step 1
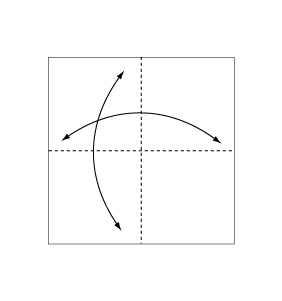
Fold and crease in the direction of the arrow.
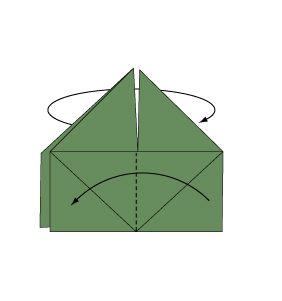
Step 2
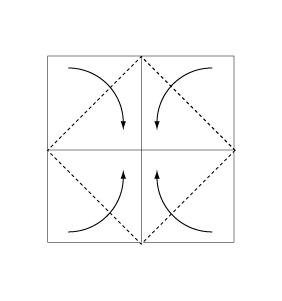
Fold the paper along the dotted line in the direction of the arrow.
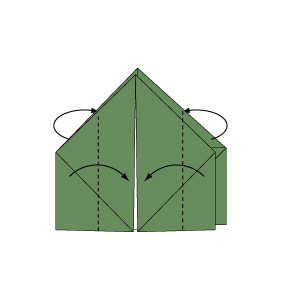
Step 3
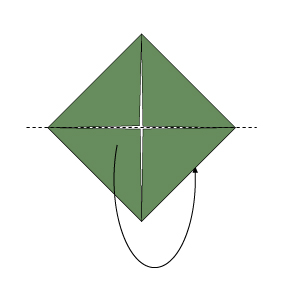
Fold backwards along the dotted line.
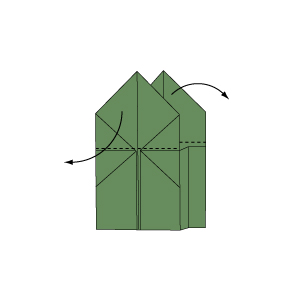
Step 4
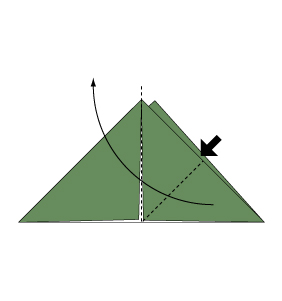
Open the paper as shown to create a small pocket. Then flatten down the sides of the pocket.
Step 5
Continue from Step 4.
Step 6
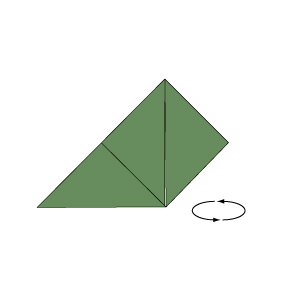
Turn over the paper.
Step 7
Open the paper as shown to create a small pocket. Then flatten down the sides of the pocket.
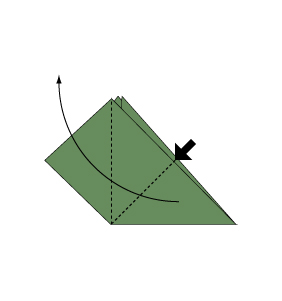
Step 8

Open the paper as shown to create a small pocket. Then flatten down the sides of the pocket.
Step 9
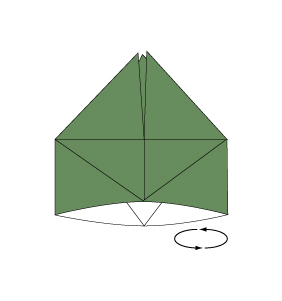
Turn over the paper.
Step 10
Open the paper as shown to create a small pocket. Then flatten down the sides of the pocket.
Step 11
Fold the paper along the dotted line in the direction of the arrow. Fold the reverse side in the same manner.
Step 12
Fold the paper along the dotted line in the direction of the arrow. Fold the reverse side in the same manner.
Step 13
Fold the paper along the dotted line in the direction of the arrow. Fold the reverse side in the same manner.
Step 14

Open the paper in the direction of the arrow.
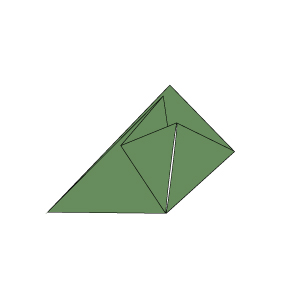
Step 15
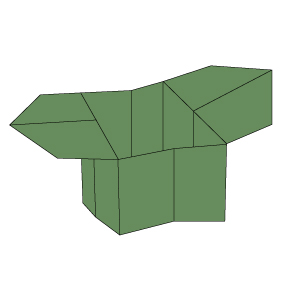
Complete.
Congratulations on completing your origami box! Enjoy the blend of creativity and functionality as you use your new container for storage or as a personalized gift. Happy folding and crafting!
Comments