

Experience the joy of origami with our detailed guide on making a paper box with a sliding lid. This classic design is a hit in nurseries and kindergartens and offers a fun, engaging activity for all ages. Learn the simple steps to create a practical and decorative container.
How to make an origami paper box with lid
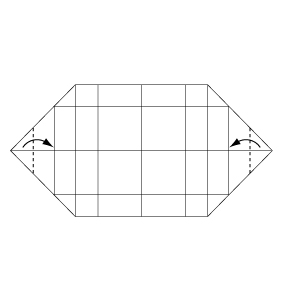
Step 1
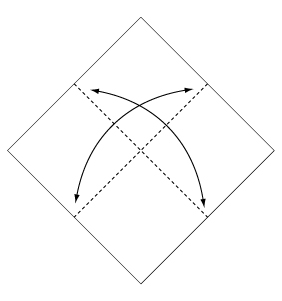
Fold and crease in the direction of the arrow.
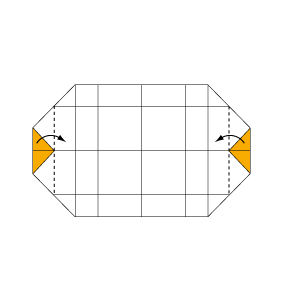
Step 2

Fold the paper along the dotted line in the direction of the arrow.
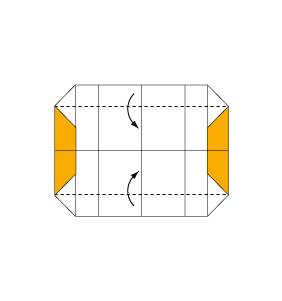
Step 3
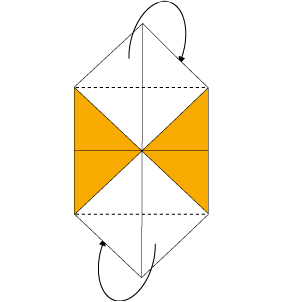
Fold backwards along the dotted line.
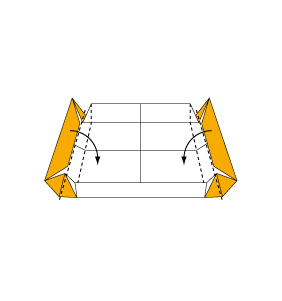
Step 4
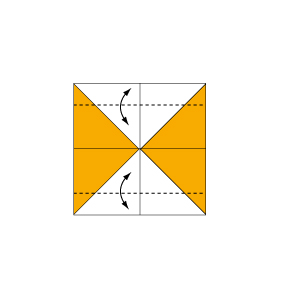
Fold and crease in the direction of the arrow.
Step 5
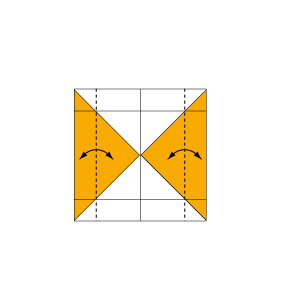
Fold and crease in the direction of the arrow.
Step 6

Open the paper in the direction of the arrow.
Step 7
Fold the paper along the dotted line in the direction of the arrow.
Step 8
Fold the paper along the dotted line in the direction of the arrow.
Step 9
Fold the paper along the dotted line in the direction of the arrow.
Step 10
Assemble.
Step 11

Complete.
Well done! Your new origami paper box with lid is a testament to your creative skills. This classic project offers endless fun and serves as a wonderful gift or storage solution. Keep exploring new origami designs!
Comments