Unleash your creativity with our origami bookmark tutorial. This fun and easy project is ideal for kids and beginners who want to add a little art to their reading. With clear diagrams and simple instructions, you can make a bookmark that is both decorative and functional.
How to Make an ORIGAMI Bookmark
 Step 1: Fold and crease in the direction of the arrow.
 Step 2: Fold the paper along the dotted line in the direction of the arrow.
 Step 3: Fold and crease in the direction of the arrow.
 Step 4: Fold and crease in the direction of the arrow.
 Step 5: Flatten the paper along the dotted line.
 Step 6: Fold the paper along the dotted line in the direction of the arrow.
 Step 7: Fold along the dotted line in the direction of the arrow and insert the edge into the pocket.
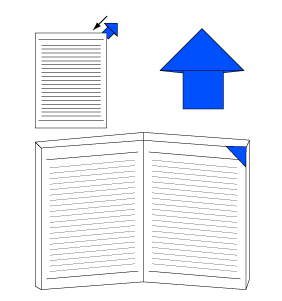 Step 8: Complete.
Well done on making your origami bookmark! This practical paper craft is not only a wonderful accessory for your books but also a creative project to enjoy with family and friends. Keep folding and let your imagination take flight with more origami crafts.


Comments