
Elevate your origami skills with our comprehensive guide to making a graceful origami bird. This tutorial is designed to be enjoyable and educational—encouraging children to explore art while providing seniors with a stimulating mental activity. With clear diagrams and easy-to-follow steps, you can create an elegant paper bird that soars beyond ordinary crafts.
How to make an ORIGAMI Bird
Some of the most elegant and beautiful origami models are birds. Follow these steps to create a graceful origami bird that showcases your creativity.
Step 1
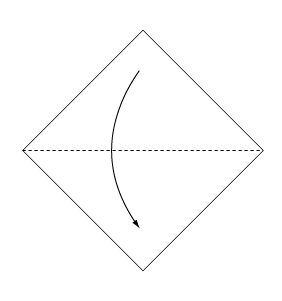 Fold the paper along the dotted line in the direction of the arrow.
Step 2
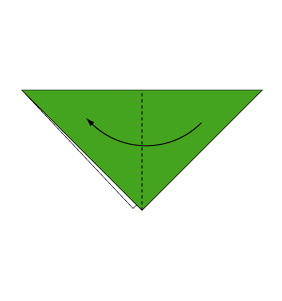 Fold the paper along the dotted line in the direction of the arrow.
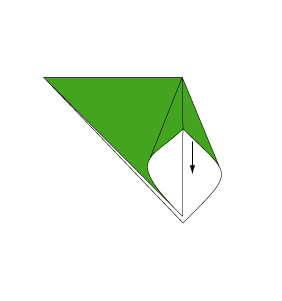
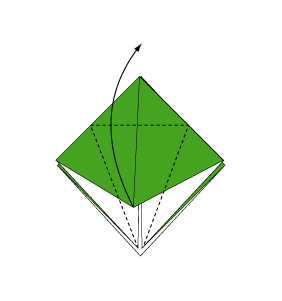
Step 3
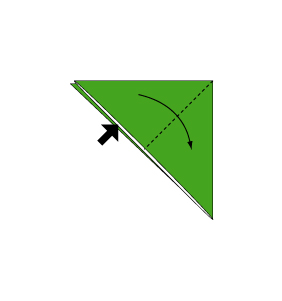 Open the paper as shown to create a small pocket. Then flatten down the sides of the pocket.
Step 4
 Continue from Step 3.
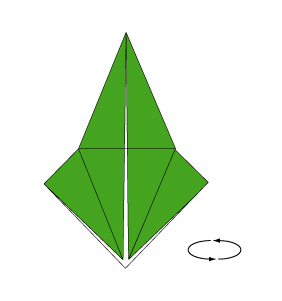
Step 5
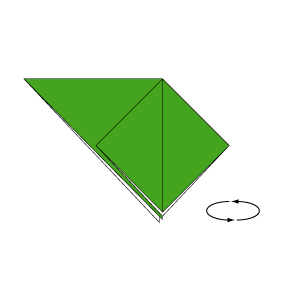 Turn over the paper.
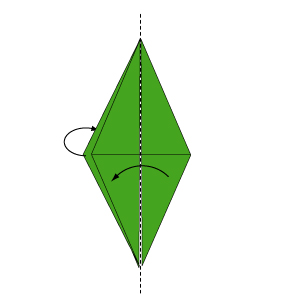
Step 6
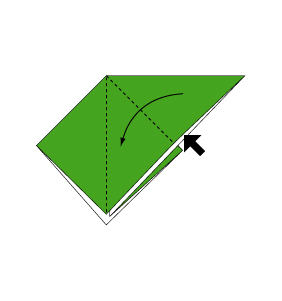 Open the paper as shown to create a small pocket. Then flatten down the sides of the pocket.
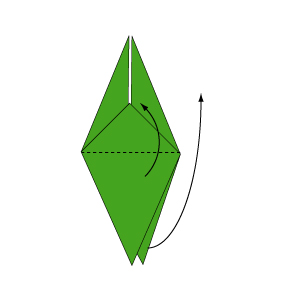
Step 7
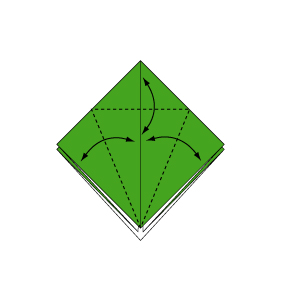 Fold and crease in the direction of the arrow.
Step 8
 Open the paper as shown to create a small pocket. Then flatten down the sides of the pocket.
Step 9
 Continue from Step 8.
Step 10
 Turn over the paper.
Step 11
 Same as previous step. Open the paper as shown to create a small pocket and flatten the sides.
Step 12
 Fold the paper along the dotted line in the direction of the arrow. Fold the reverse side in the same manner.
Step 13
 Fold the paper along the dotted line in the direction of the arrow. Fold the reverse side in the same manner.
Step 14
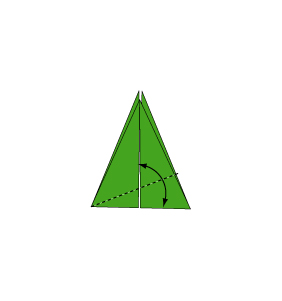 Fold and crease in the direction of the arrow.
Step 15
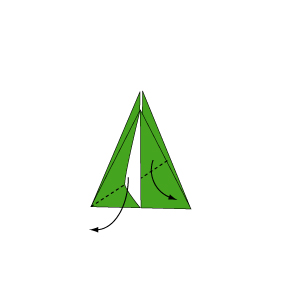 Open the paper as shown to create a small pocket. Then flatten down the sides of the pocket. Fold the reverse side in the same manner.
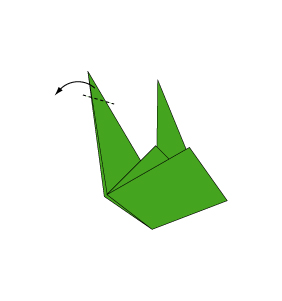
Step 16
 Pull out the left side of the triangle to create a tail and a neck. After doing so, press down hard on the body to secure.
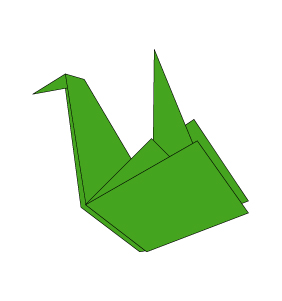
Step 17
 Fold the paper with the dotted line on the inside.
Step 18
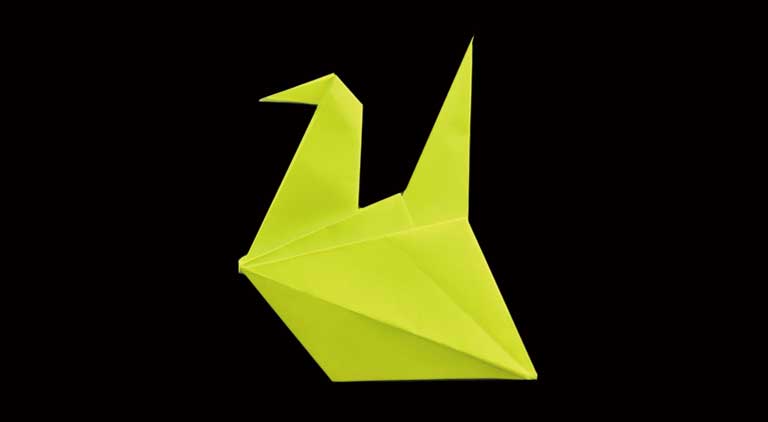
 Complete.
Your origami bird is complete—a true symbol of elegance and creativity. This project offers more than just a beautiful decoration; it’s a wonderful way to foster learning in children and provide a fun brain exercise for seniors. Celebrate your achievement and let this craft inspire future artistic adventures!
Comments