
Discover how to transform a simple rectangular sheet into a stylish vertical box that’s perfect as a pen holder, storage container, or even a mini trash can. Using materials like newspaper, flyers, or quality paper, this versatile design adapts to your needs. Whether you’re repurposing old paper or enjoying a creative craft with your children, this project is both fun and practical. With clear, step-by-step instructions, you’ll quickly build a functional box that adds a unique touch to your desk or workspace.
Step-by-Step Guide: DIY Vertical Box
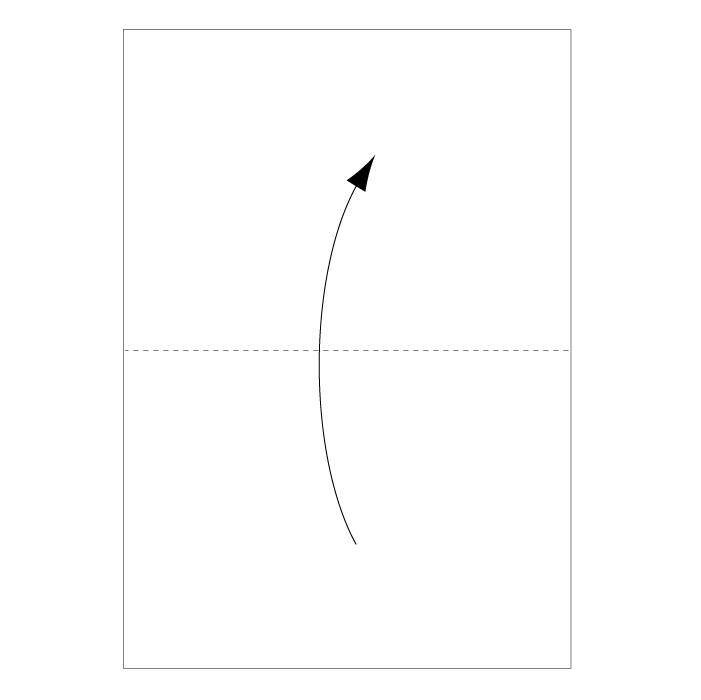
Step 1
Fold along the dotted line in the direction of the arrow.
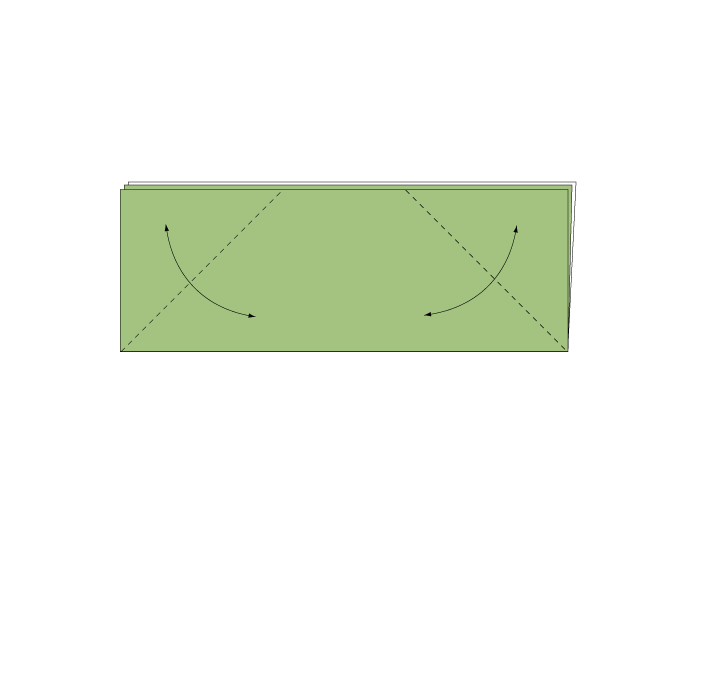
Step 2
Fold the top layer in the direction of the arrow, following the dotted line.

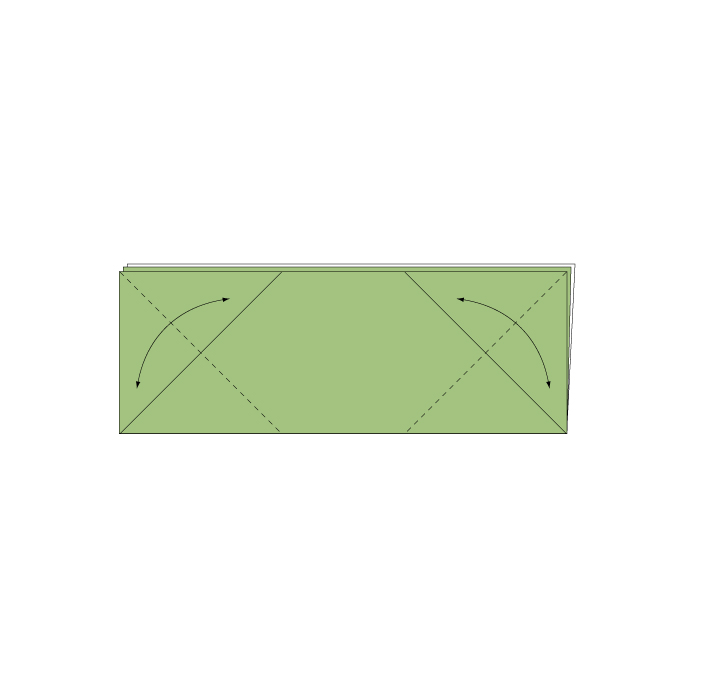
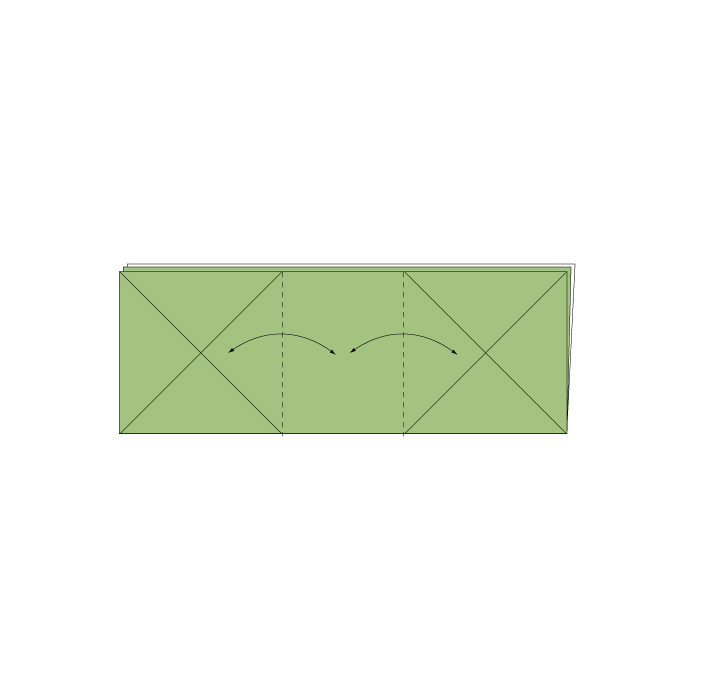
Step 3
Fold the top layer again along the arrow direction and set the crease.
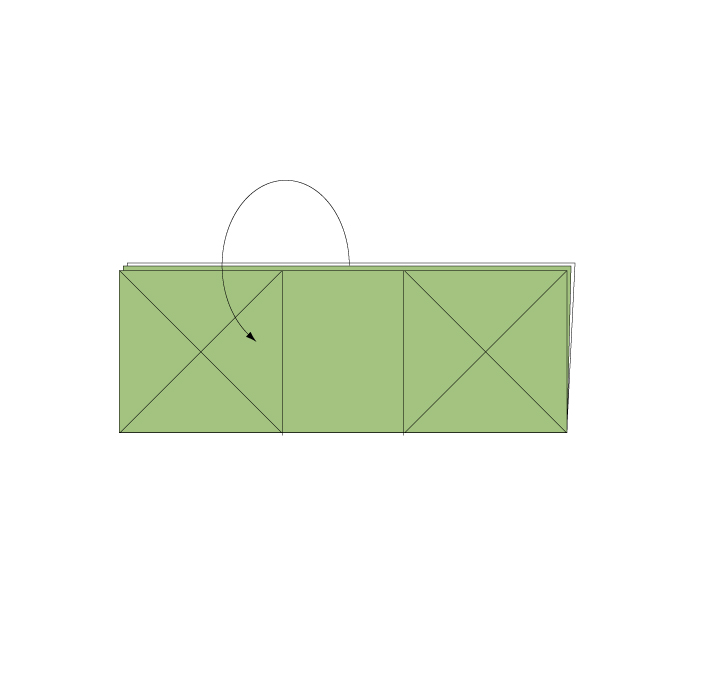
Step 4
Fold once more in the arrow direction, creasing firmly as you go.
Step 5
Fold again along the arrow direction and make a clear crease.
Step 6
Open up the fold to reveal the inner structure.
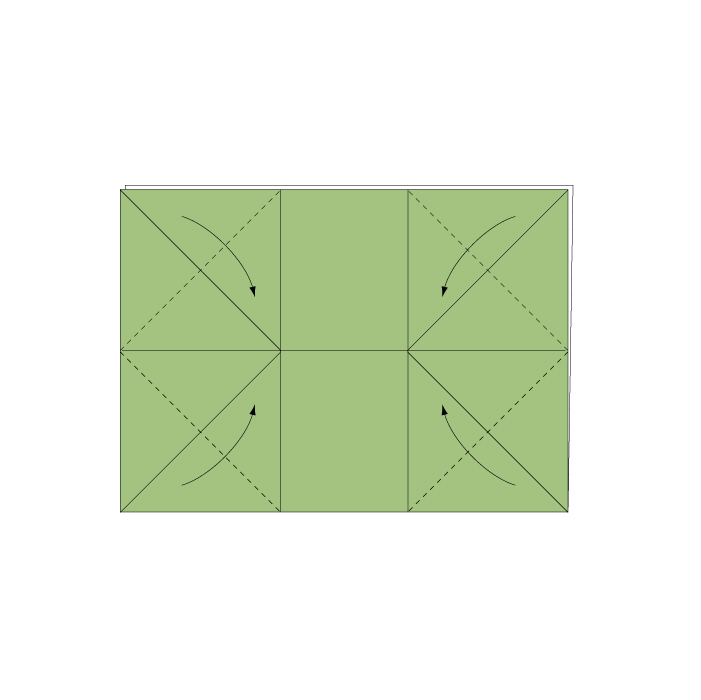
Step 7
Fold the top layer again along the dotted line in the arrow direction.
Step 8
Fold along the dotted line in the direction of the arrow once more.
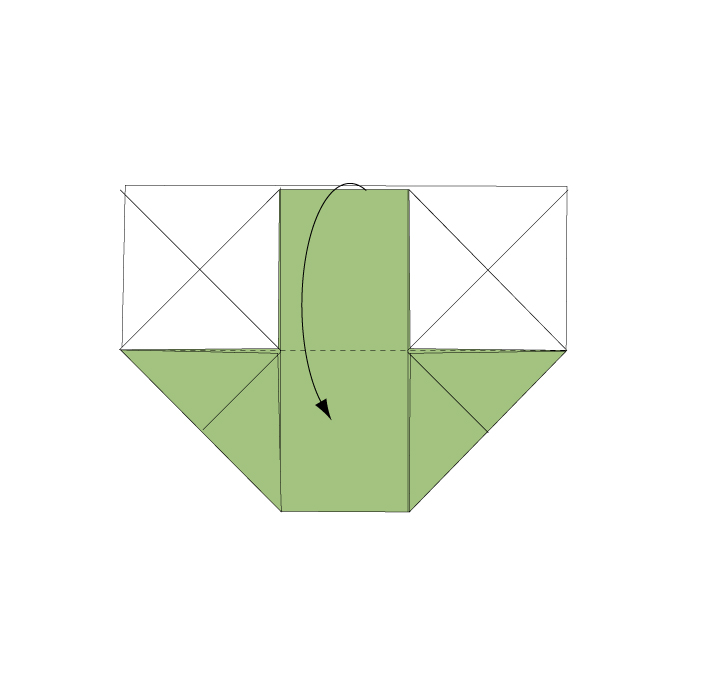
Step 9
Rotate and open up the bottom section, folding along the dotted line to form the box shape.

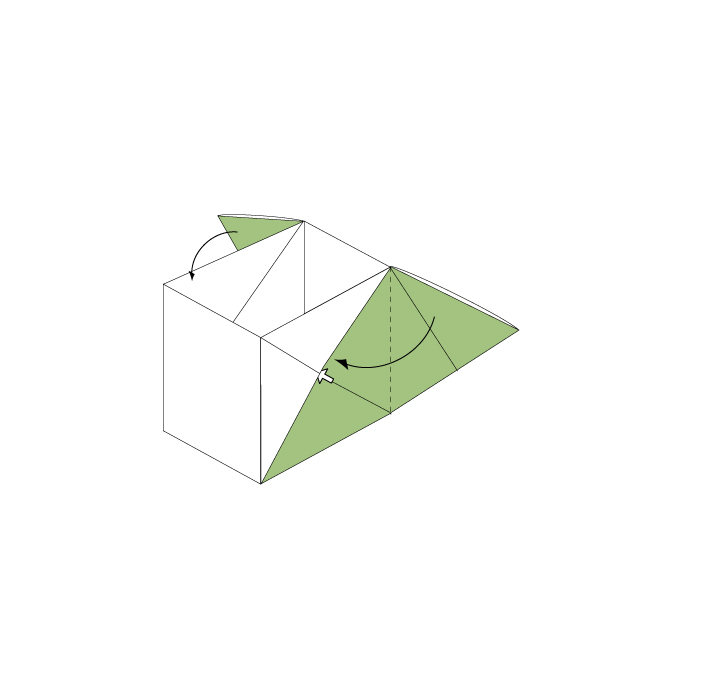
Step 10
Fold along the dotted line and insert the pointed end into the pocket of the box.
Step 11
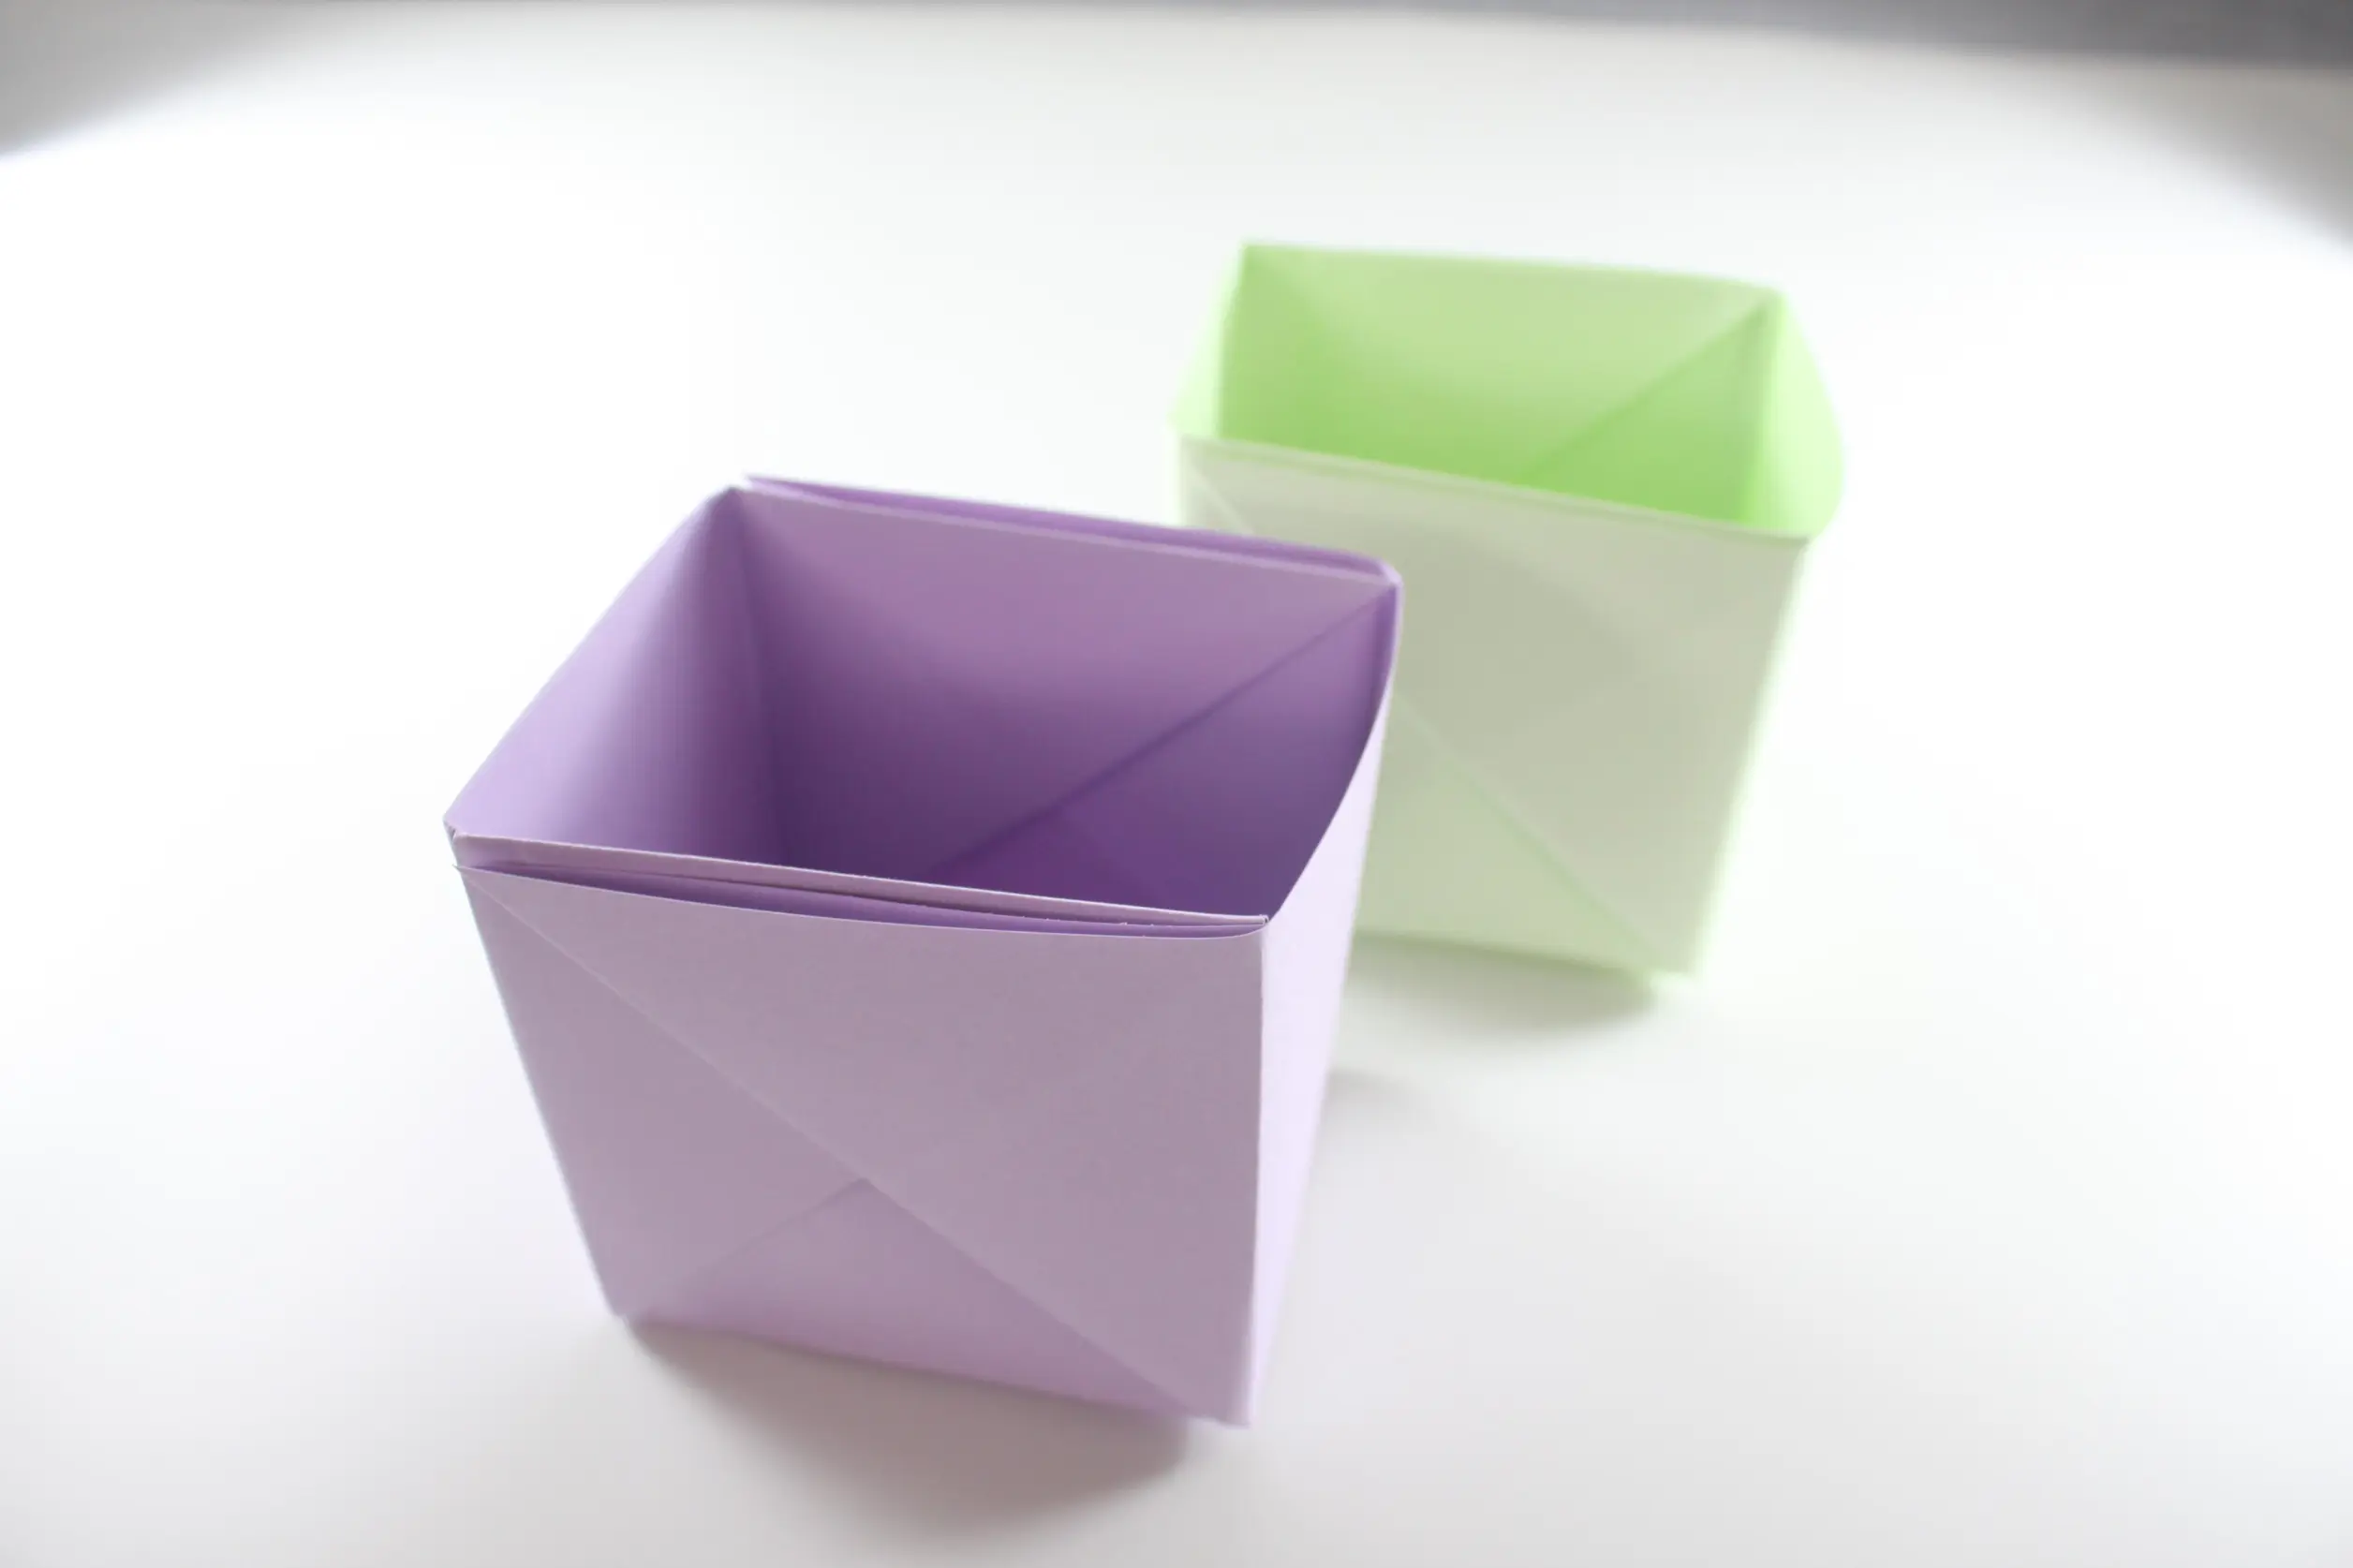
Your vertical box is now complete!

Conclusion:
Your very own DIY vertical box is now complete! Enjoy the practicality of this multi-purpose container that can hold pens, small items, or even serve as a mini trash can. With a little creativity, you can customize the design using different types of paper and decorations. It’s a great project to share with kids or fellow craft enthusiasts, and it’s sure to brighten up any space. Happy crafting!
Comments