
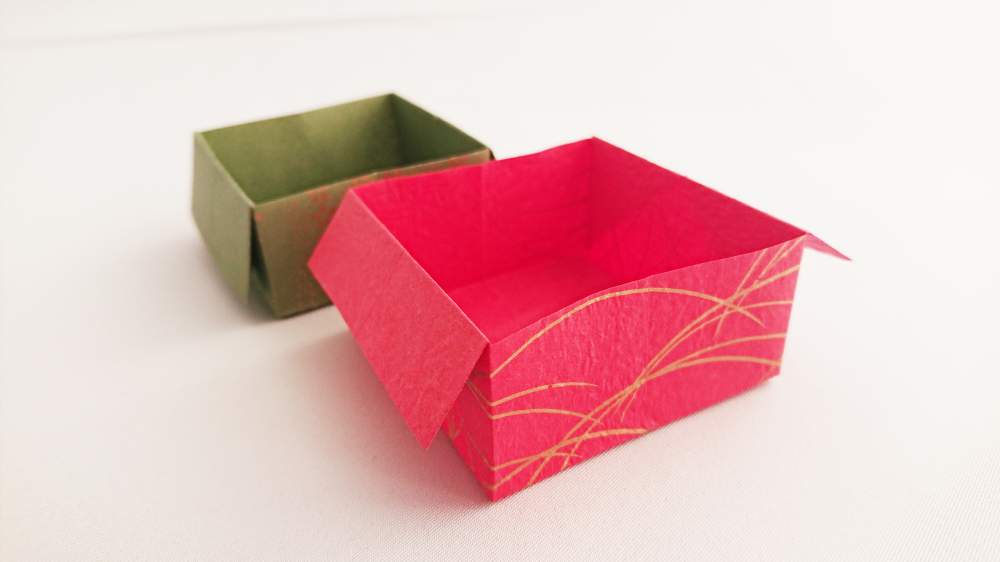
Learn how to create a sturdy yet simple box using rectangular paper—whether it’s A4 paper, cut origami, or even newspaper. This versatile project is perfect for making elegant storage boxes or even mini trash bins. For a polished look, try using patterned or colorful paper and cut a square sheet into a rectangle (by trimming about one-quarter of the edge) before folding. Once you master this classic box folding method, you’ll find it incredibly useful for a variety of projects. It’s a craft that both kids and adults can enjoy, and with a few clever tweaks, the applications are endless!
How to Make a Rectangular Box with A4 Paper
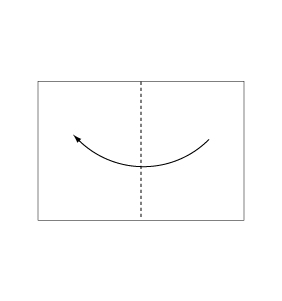
Step 1
Fold the paper along the dotted line in the direction of the arrow.
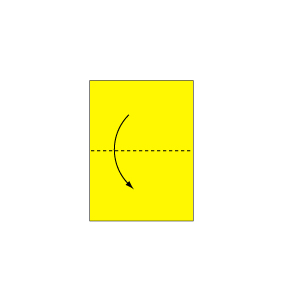
Step 2
Fold again along the dotted line in the direction of the arrow.
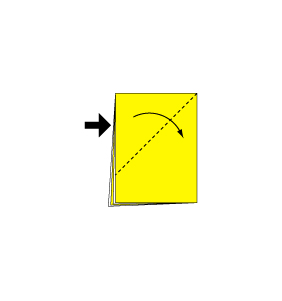
Step 3
Continue folding along the dotted line in the arrow’s direction.

Step 4
Open the paper as shown to create a small pocket, then flatten the sides of the pocket.
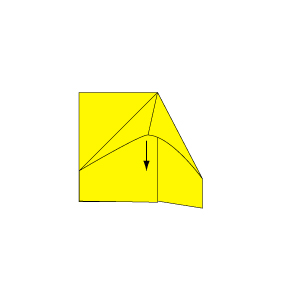
Step 5
Continue from Step 4 to further define the pocket.
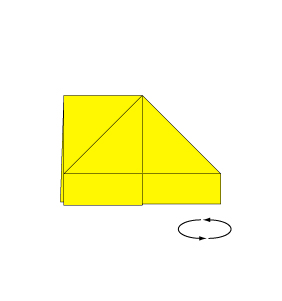
Step 6
Turn the paper over.
Step 7
Open the paper as shown to create another small pocket and flatten the sides.
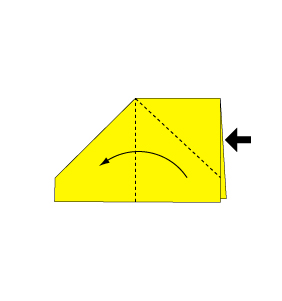
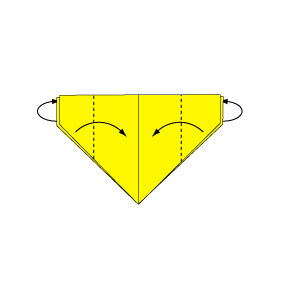
Step 8
Fold the paper along the dotted line in the direction of the arrow. Then, fold the reverse side in the same manner.
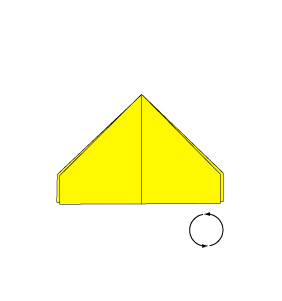
Step 9
Rotate the paper 180 degrees.
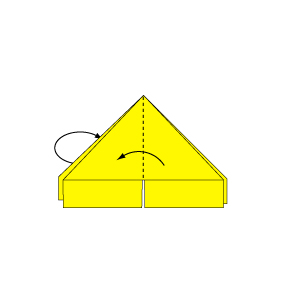
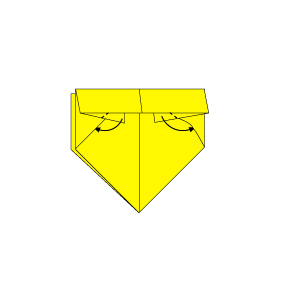
Step 10
Fold along the dotted line in the direction of the arrow. Repeat the same fold on the reverse side.
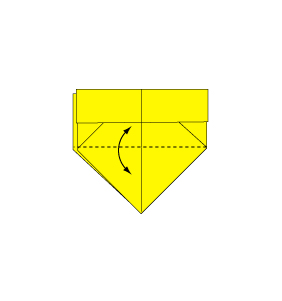
Step 11
Fold again along the dotted line in the direction of the arrow, making sure to fold the reverse side similarly.

Step 12
Fold along the dotted line in the direction of the arrow and insert the edge into the pocket. Repeat on the reverse side.
Step 13
Fold and crease the paper in the direction of the arrow.
Step 14
Open the paper along the arrow direction.
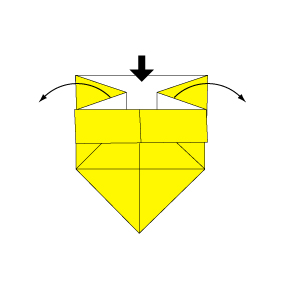
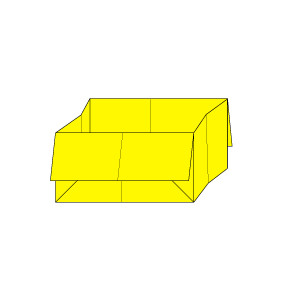
Step 15
Your box is complete!
Conclusion:
Your DIY box is now complete in just 15 simple steps! Whether you use high-quality origami paper for a beautiful accessory or repurpose everyday paper for a practical mini trash can, this project offers both creativity and functionality. With a little practice, you can create boxes in various sizes and styles to suit any need. Give it a try and enjoy the satisfaction of a craft that’s as useful as it is fun!
Comments