

This table design is perfect for origami beginners—it’s quick, easy, and looks lovely when complete. In this tutorial, you’ll learn how to fold a charming paper table in just 2–3 minutes, making it a wonderful addition to any origami collection.
DIY Origami Table Tutorial
This table design is perfect for origami beginners—simple, quick, and adorable. Fold your own charming paper table in just 2–3 minutes!
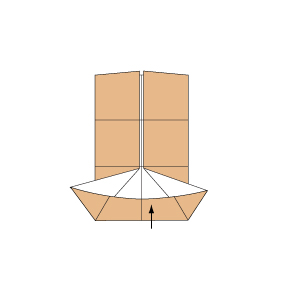
Step 1
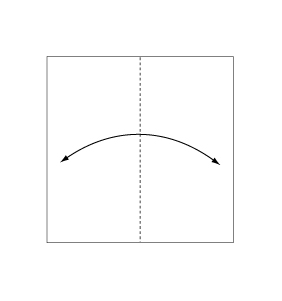 Fold and crease in the direction of the arrow.
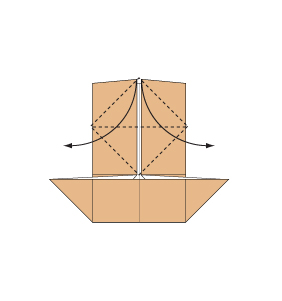
Step 2
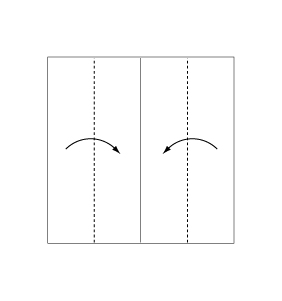 Fold the paper along the dotted line in the direction of the arrow.
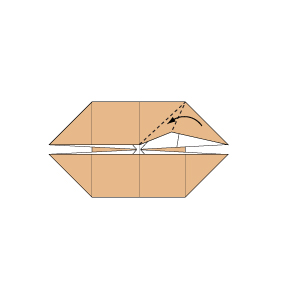
Step 3
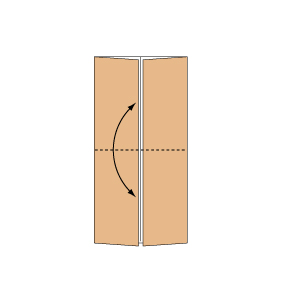 Fold and crease in the direction of the arrow.
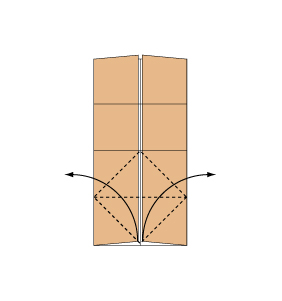
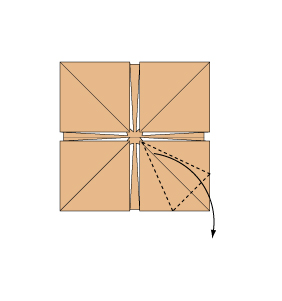
Step 4
 Fold and crease in the direction of the arrow.
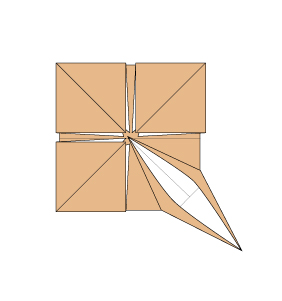
Step 5
 Open the paper as shown to create a small pocket. Then flatten down the sides of the pocket.
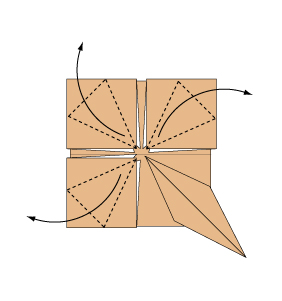
Step 6
 Continue from Step 5.
Step 7
 Do the same on the reverse side.
Step 8
 Open the paper as shown to create a small pocket, then flatten down the sides.
Step 9
 Fold remaining corners the same as the previous step.
Step 10
 Open the paper as shown to create a small pocket. Then flatten down the sides of the pocket.
Step 11
 Continue from Step 10.
Step 12
 Fold remaining corners the same as the previous step.
Step 13
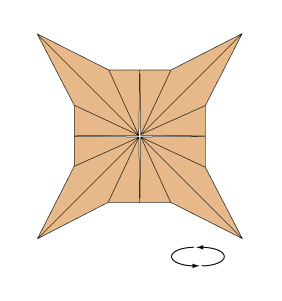 Turn over the paper.
Step 14
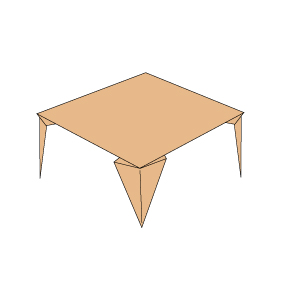 Your origami table is now complete!
Need an origami chair to go with your new table? Check out the instructions at origamijapan.net/chair.
Congratulations on completing your origami table! Display it proudly or pair it with an origami chair for a delightful paper furniture set. This simple project helps build confidence in folding techniques and sets the stage for more advanced origami creations.
Comments