

Discover a simple origami sparrow design that’s both easy to make and incredibly cute! In this tutorial, you’ll learn how to fold an adorable paper sparrow with clear, step-by-step instructions. Whether you’re new to origami or looking for a fun craft project, this guide is perfect for you.
DIY Origami Sparrow Tutorial
A simple origami sparrow design that is both easy to fold and absolutely adorable. Follow our step-by-step guide to create your very own cute paper sparrow!
Step 1
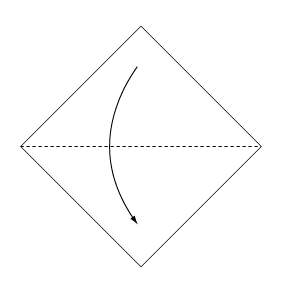 Fold the paper along the dotted line in the direction of the arrow.
Step 2
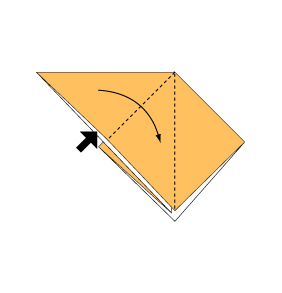
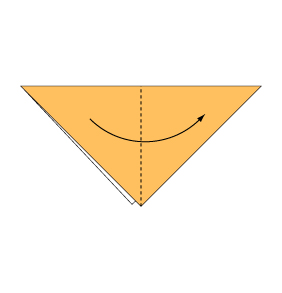 Fold the paper along the dotted line in the direction of the arrow.
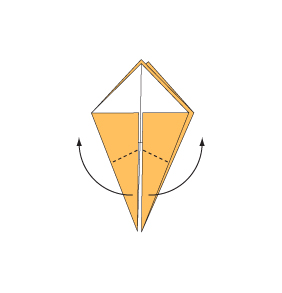
Step 3
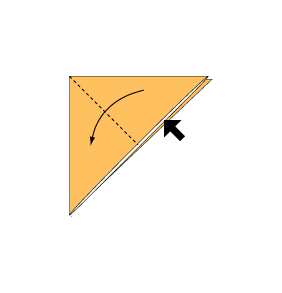 Open the paper as shown to create a small pocket. Then flatten down the sides of the pocket.
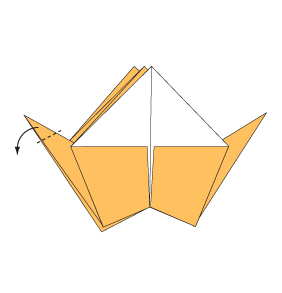
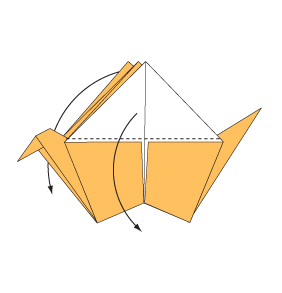
Step 4
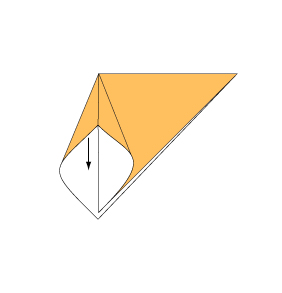 Continue from Step 3.
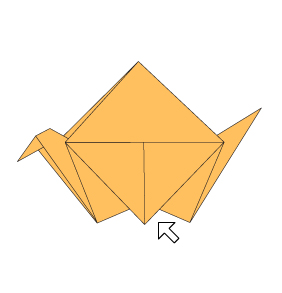
Step 5
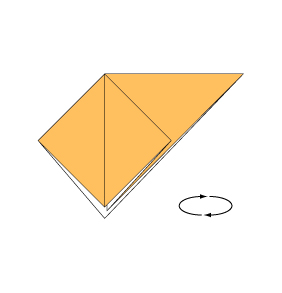 Turn over the paper.
Step 6
 Open the paper as shown to create a small pocket. Then flatten down the sides of the pocket.
Step 7
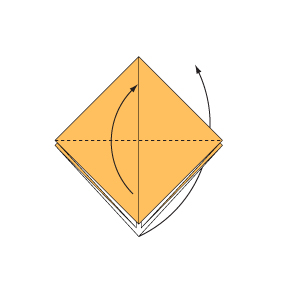 Fold the paper along the dotted line in the direction of the arrow and fold the reverse side in the same manner.
Step 8
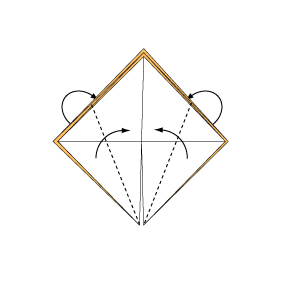 Fold the paper along the dotted line in the direction of the arrow and fold the reverse side in the same manner.
Step 9
 Fold the paper with the dotted line on the inside.
Step 10
 Fold the paper with the dotted line on the inside.
Step 11
 Fold the paper along the dotted line in the direction of the arrow and fold the reverse side in the same manner.
Step 12
 Hold the sides and blow air into the small hole to inflate the sparrow.
Step 13
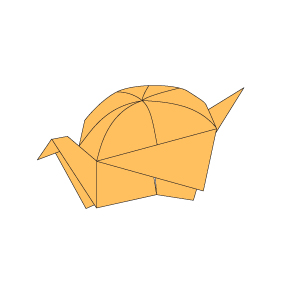 Your origami sparrow is complete!
Learn how to fold an adorable origami sparrow with our easy step-by-step tutorial. Perfect for beginners, this fun paper craft is simple to make and adds a touch of charm to any project.
Comments