
Unleash your creativity with our origami rabbit face tutorial. This classic paper craft is designed for simplicity and fun, making it a great project for kids. With no scissors required, just follow our clear instructions to fold a cute rabbit face that you can decorate and enjoy.
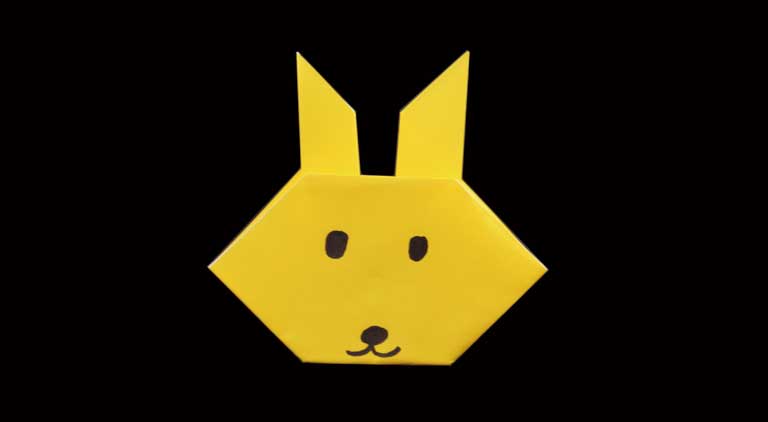
How to Make an ORIGAMI Rabbit Face
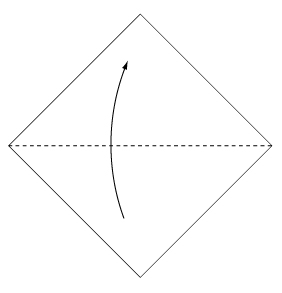 Step 1: Fold the paper along the dotted line in the direction of the arrow.
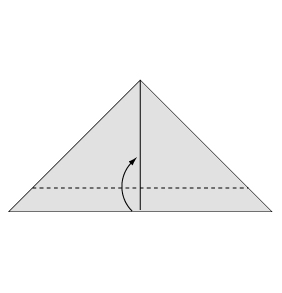 Step 2: Fold the paper along the dotted line in the direction of the arrow.
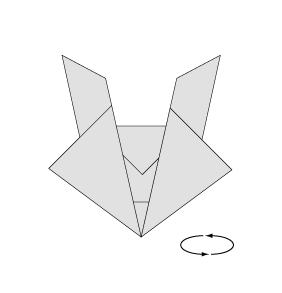
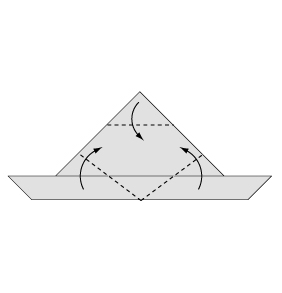 Step 3: Fold the paper along the dotted line in the direction of the arrow.
 Step 4: Turn over the paper.
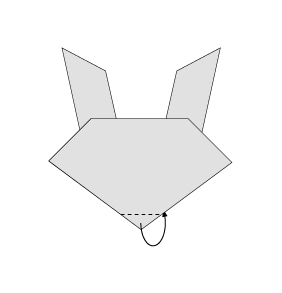 Step 5: Fold backwards along the dotted line.
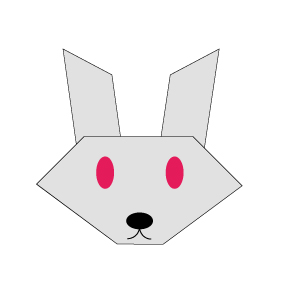 Step 6: Draw on eyes and a nose with a marker. Complete.
Well done on crafting your origami rabbit face! This engaging project is a perfect blend of tradition and creativity, ideal for decorating your space or gifting to someone special. Keep folding and exploring new origami designs for endless fun.
Comments