
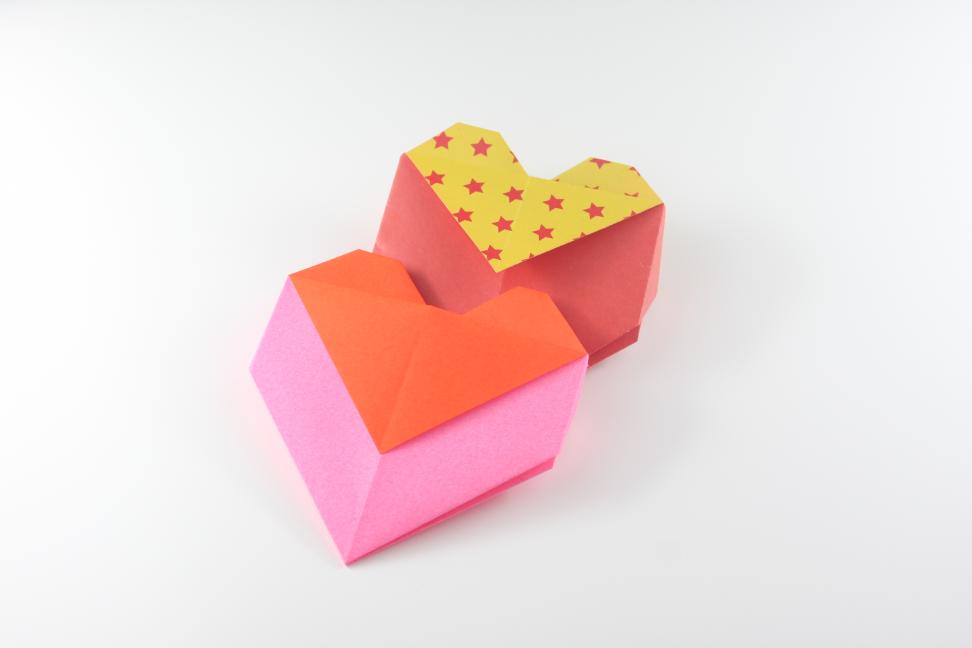
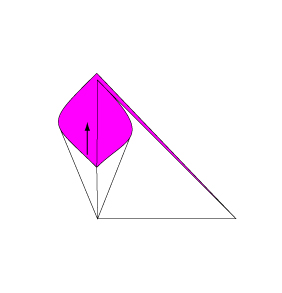
Discover how to make an origami heart envelope that opens like a box! This unique craft lets you write a romantic message on a heart-shaped card and fold it into a beautiful envelope. Perfect for creating a personalized gift, this project is also an excellent activity for nurturing child education and providing a fun brain exercise for seniors. Use drawing paper, gift wrap, or special origami paper to make your creation even more memorable.
How to make an ORIGAMI Heart Envelope / Bag
The Heart envelope that opens like a box! Write a romantic message to a special someone on the inside of the heart-shaped card, then fold it into an envelope and seal it with a gift tag and string. Use nice paper such as drawing paper, gift wrap, or special origami paper. You can make it from a rectangular sheet like A4 or even a square piece of paper.
Step 1
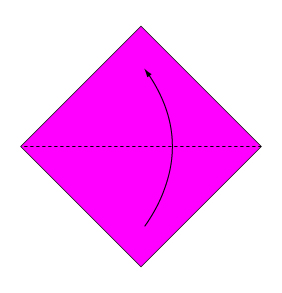 Fold the paper along the dotted line in the direction of the arrow.
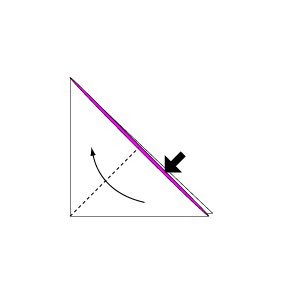
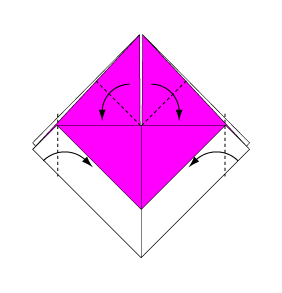
Step 2
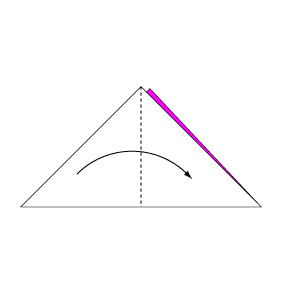 Fold the paper along the dotted line in the direction of the arrow.
Step 3
 Open the paper as shown to create a small pocket. Then flatten down the sides of the pocket.
Step 4
 Continue from Step 3.
Step 5
 Turn over the paper.
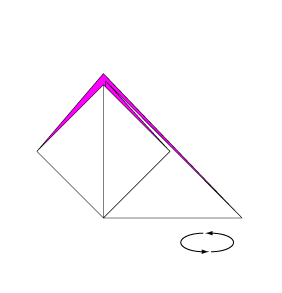
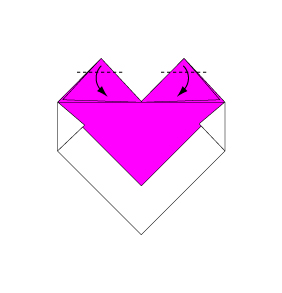
Step 6
 Open the paper as shown to create a small pocket. Then flatten down the sides of the pocket.
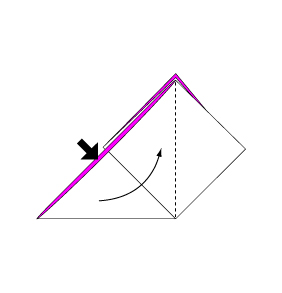
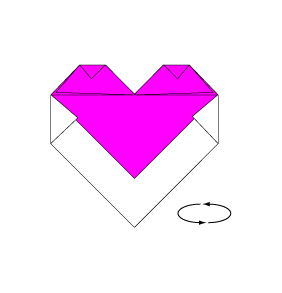
Step 7
 Fold the paper along the dotted line in the direction of the arrow. Fold the reverse side in the same manner.
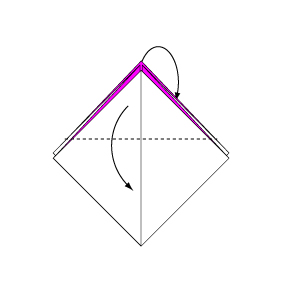
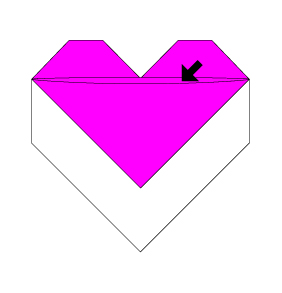
Step 8
 Fold the paper along the dotted line in the direction of the arrow.
Step 9
 Fold the paper along the dotted line in the direction of the arrow.
Step 10
 Turn over the paper.
Step 11
 Complete.
You’ve successfully crafted a charming origami heart envelope. Beyond its beauty and functionality, this project is an excellent tool for enhancing child learning and providing a stimulating challenge for seniors. Celebrate your creative achievement and spread the love!
Comments