
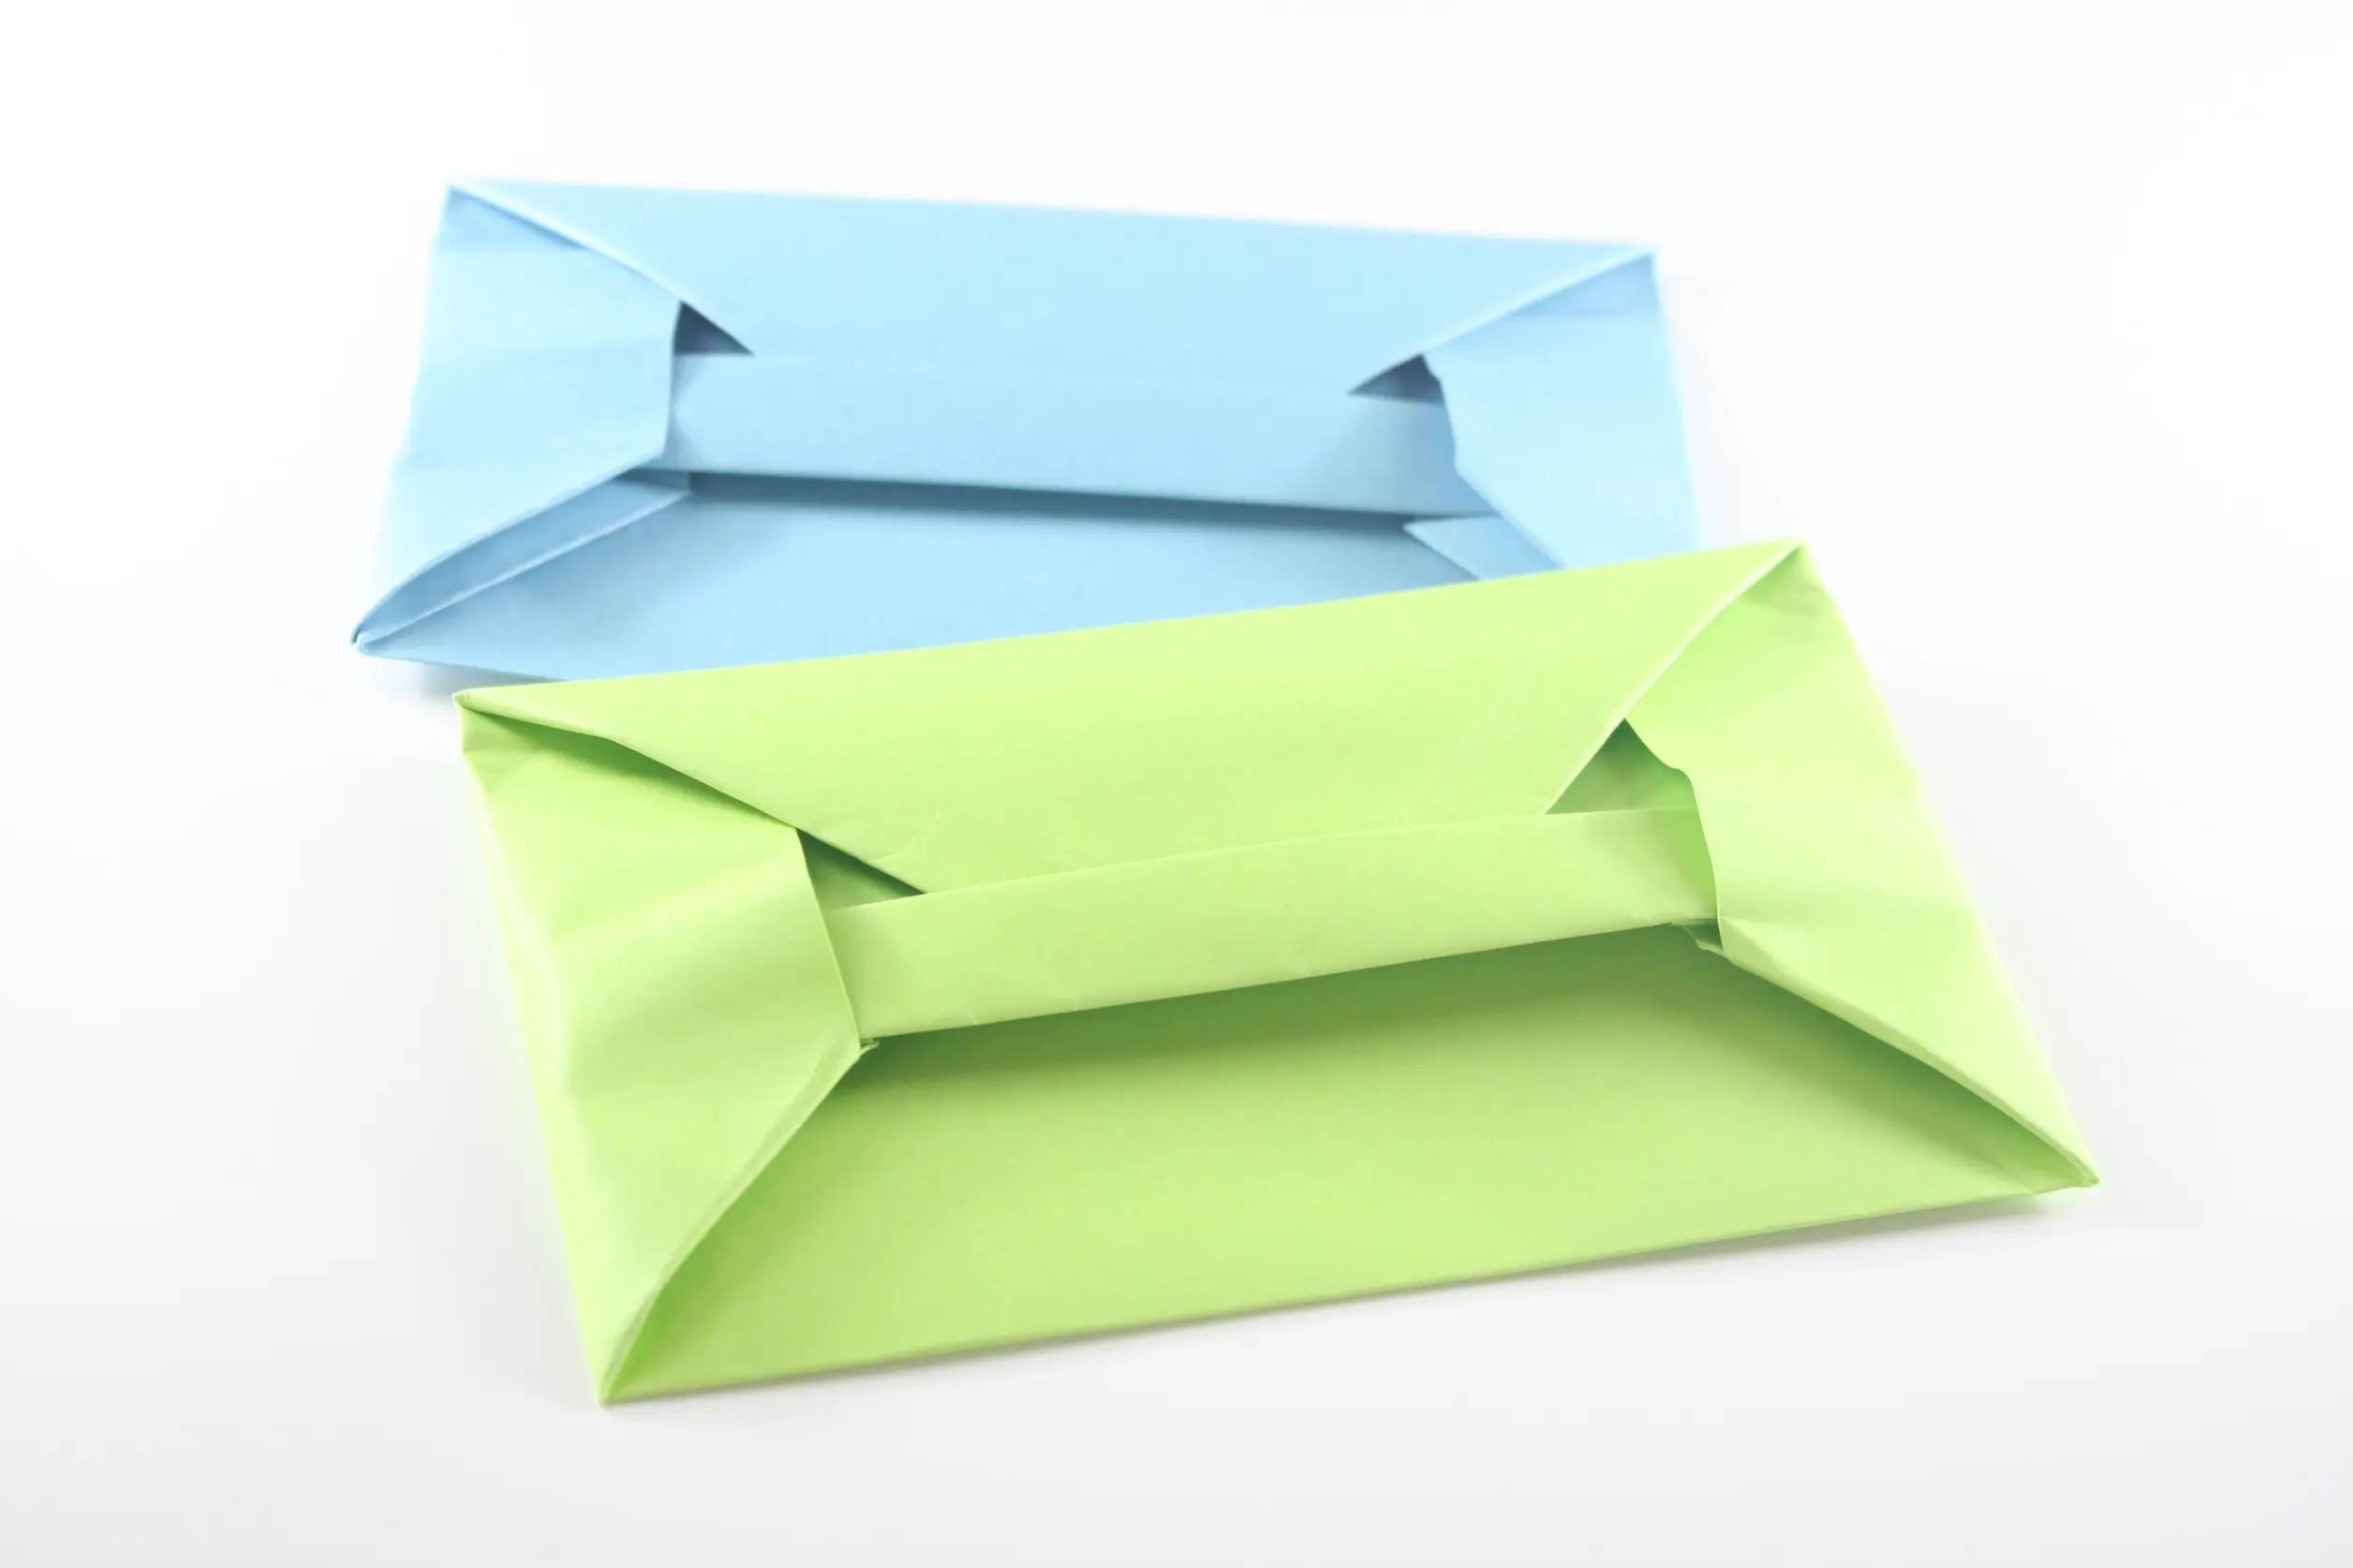
Discover how to transform a simple sheet of rectangular paper—such as A4—into a beautiful, custom envelope in just 16 easy steps. Whether you’re using high-quality paper, adding stickers, or even printing unique designs, this versatile envelope is perfect for leaving a special message or organizing your letters. Plus, you can even use square origami paper if you prefer! Ideal for both creative adults and kids, this fun DIY project lets you add a personal touch to your mail while enjoying a crafty moment with your little ones.
Step-by-Step Guide: DIY A4 Envelope
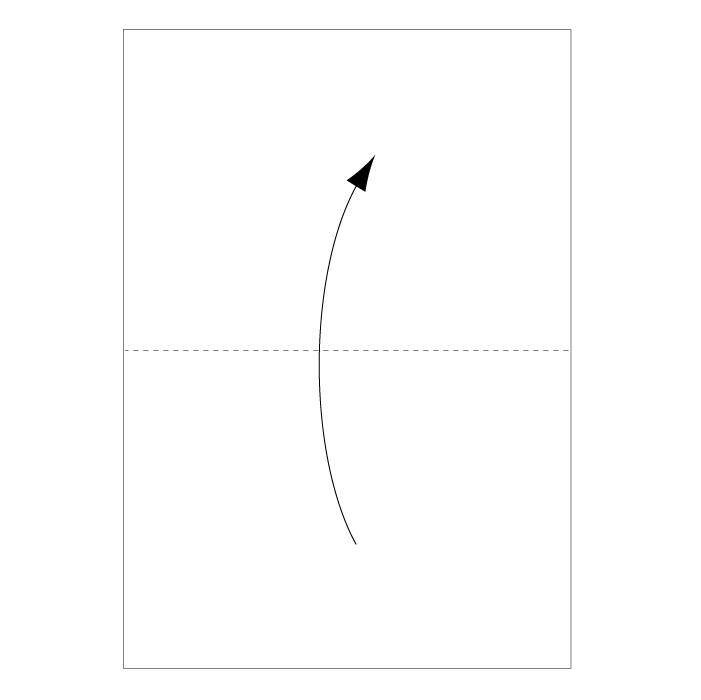
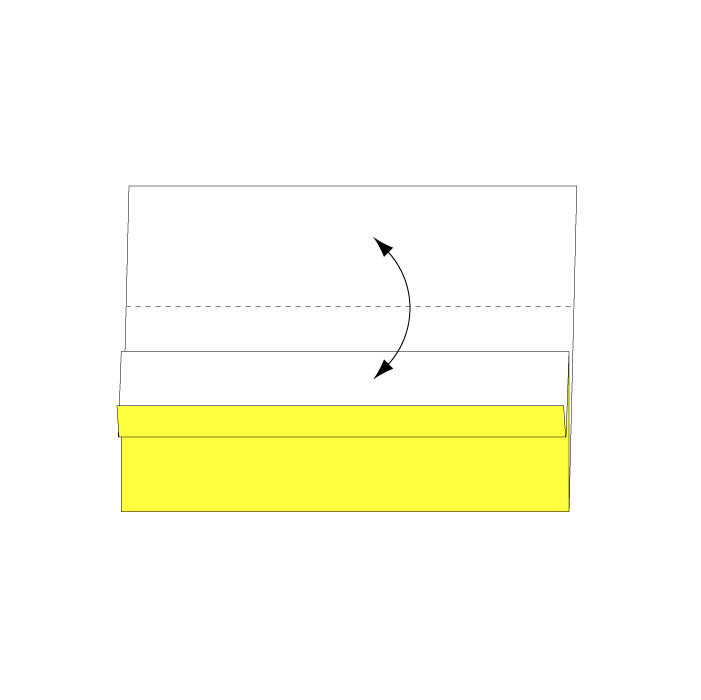
Step 1
Fold along the dotted line in the direction of the arrow.
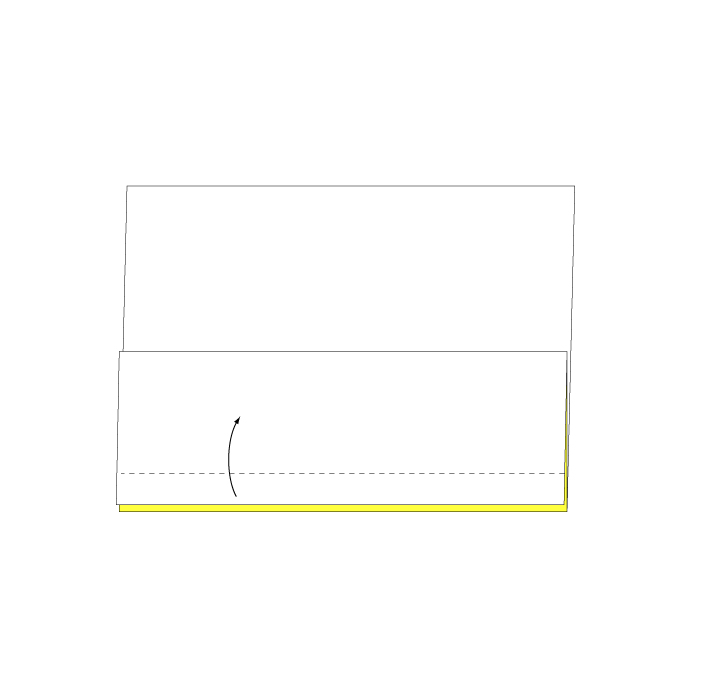
Step 2
Fold the top layer along the dotted line in the direction of the arrow.

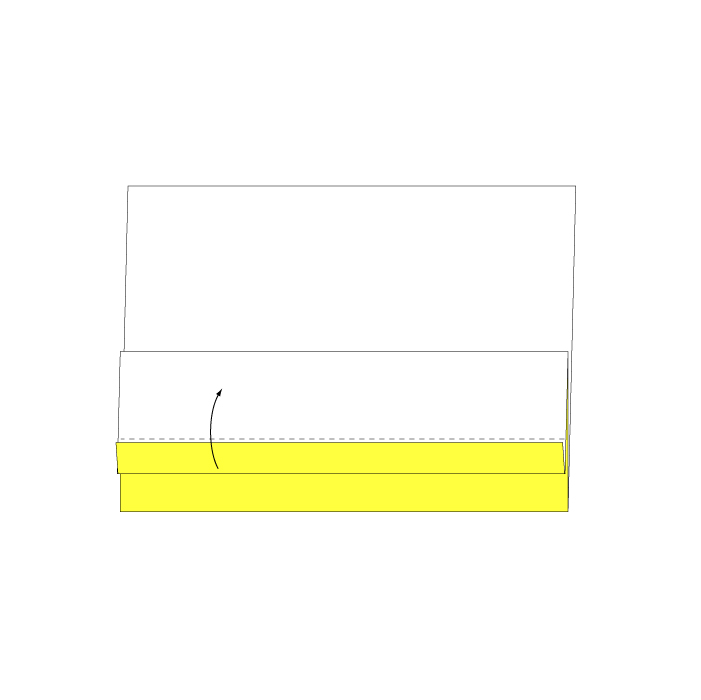
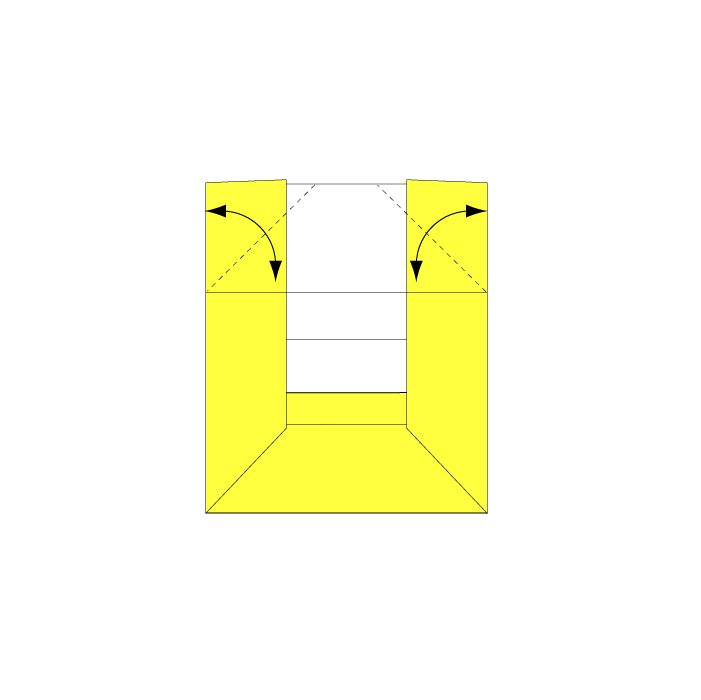
Step 3
Fold the top layer again along the dotted line in the arrow’s direction.
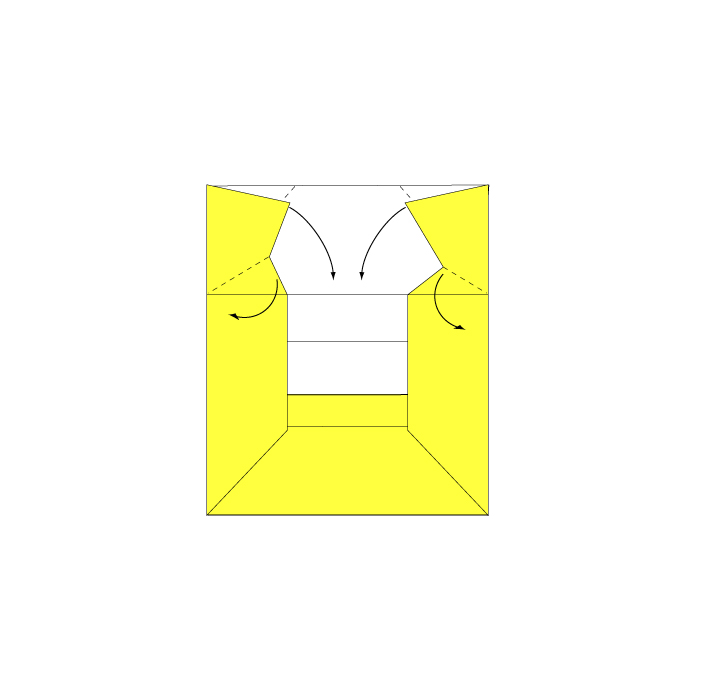
Step 4
Fold the top layer once more along the dotted line, tucking it in neatly.
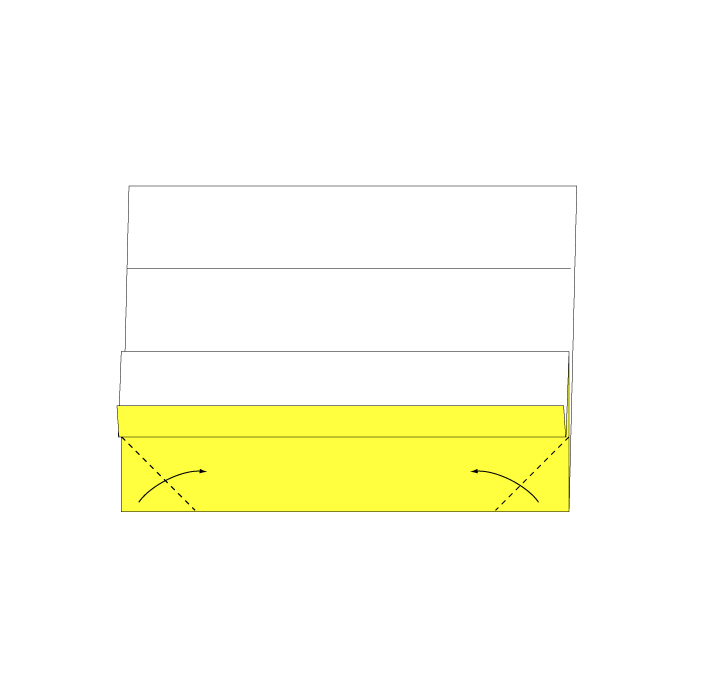
Step 5
Fold in the direction of the arrow and crease firmly.
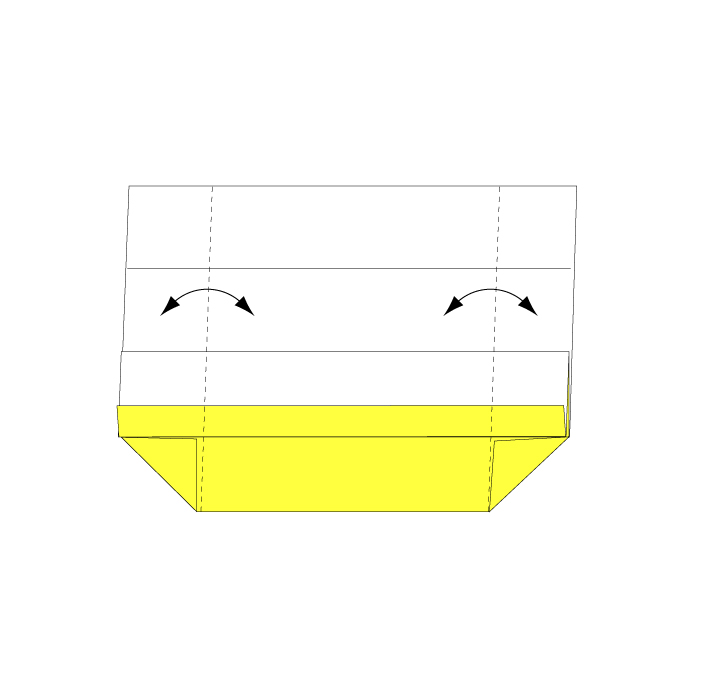
Step 6
Fold along the dotted line toward the arrow direction.
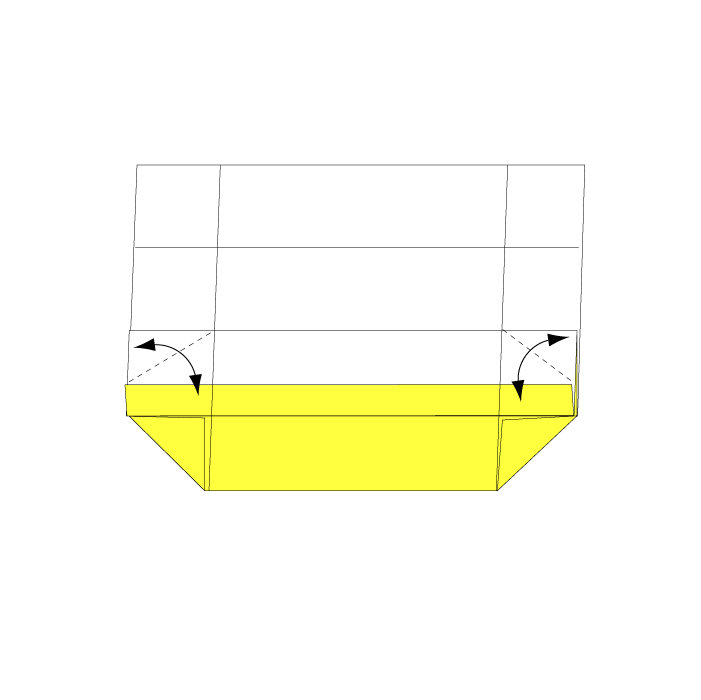
Step 7
Fold in the direction of the arrow and set the crease.
Step 8
Fold in the arrow’s direction and create a firm crease.
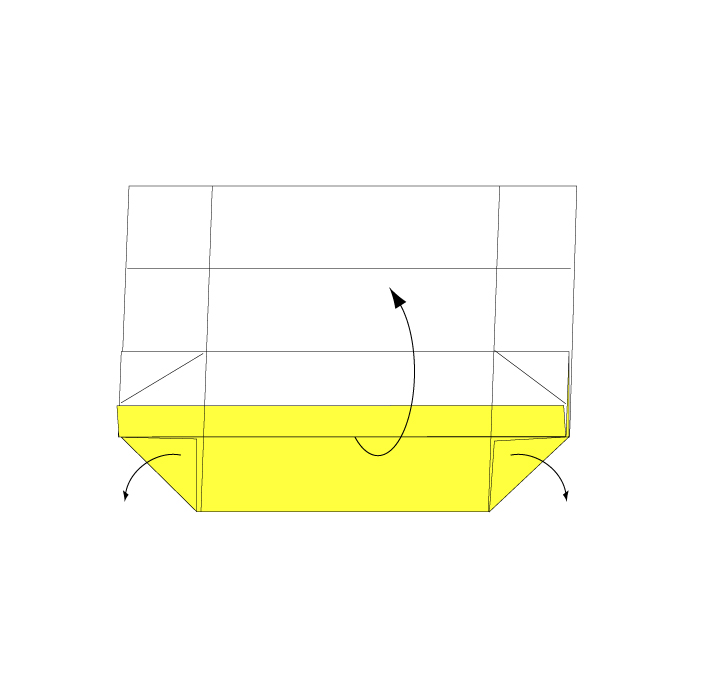
Step 9
Open up the fold in the direction of the arrow.
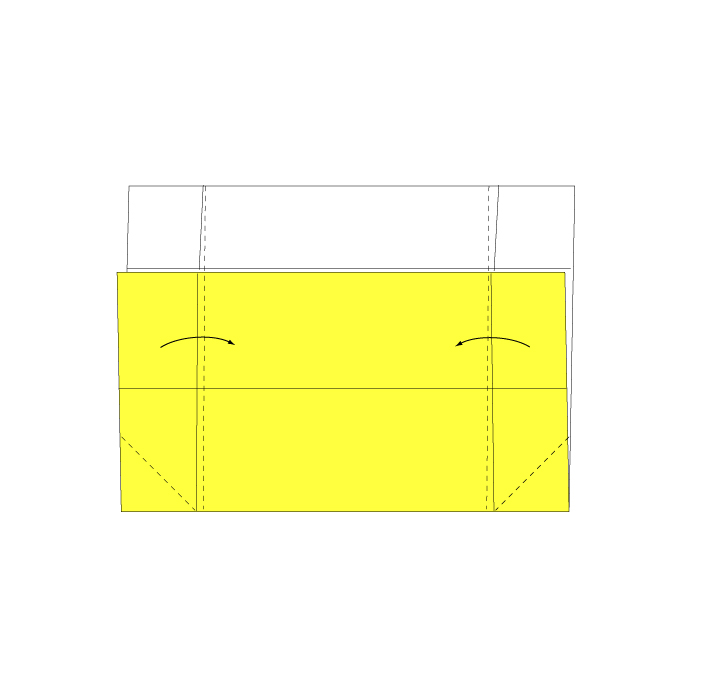
Step 10
Fold the bottom part along the dotted line in the arrow’s direction to open it up.
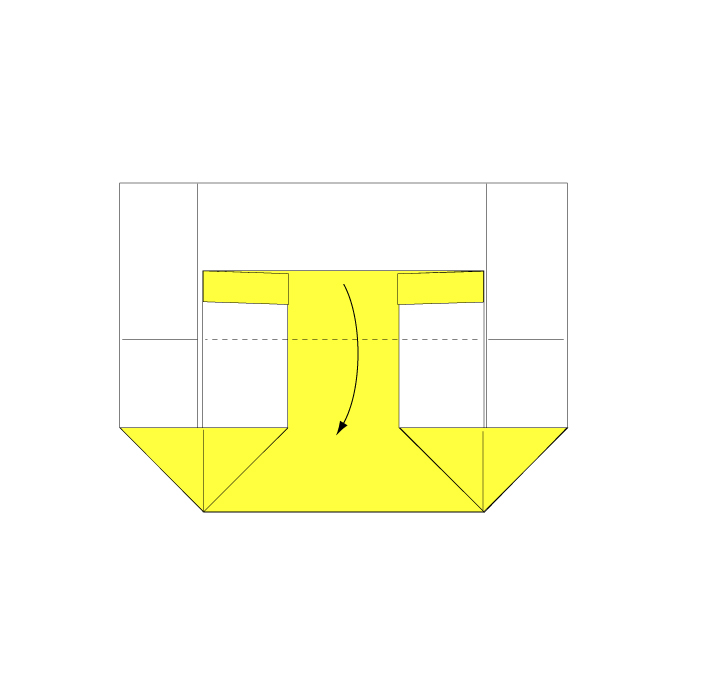
Step 11
Fold along the dotted line in the direction of the arrow.
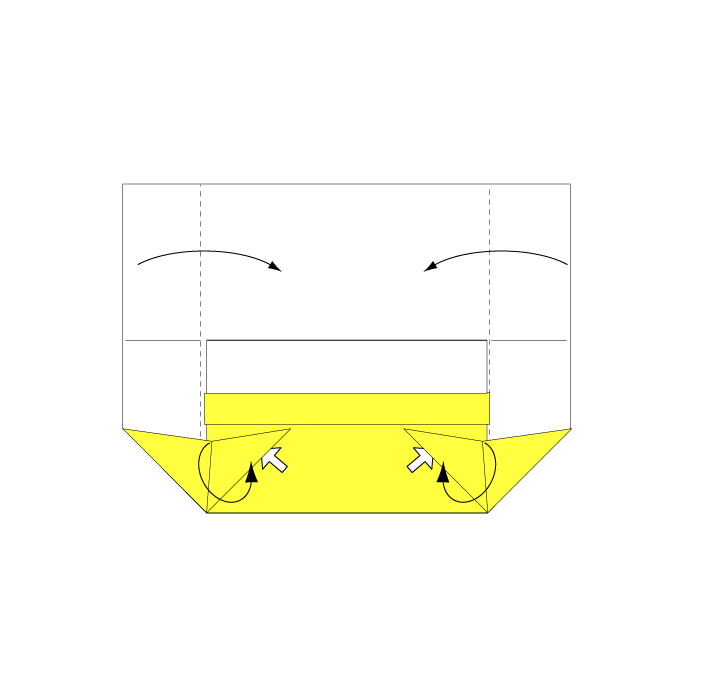
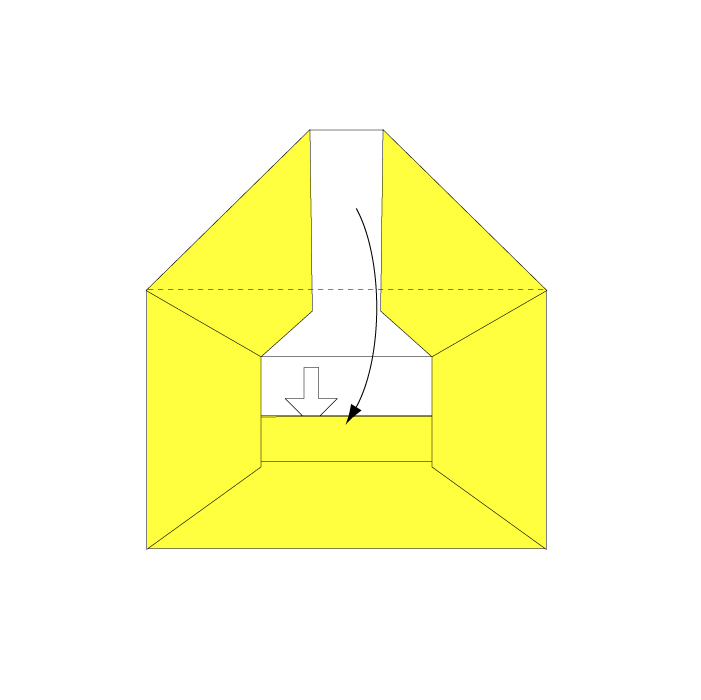
Step 12
Fold along the dotted line in the arrow’s direction, then tuck the bottom part into the envelope pocket.
Step 13
Fold in the direction of the arrow and crease firmly.
Step 14
Open up and fold along the arrow direction as if tucking the flap in.
Step 15
Fold along the dotted line in the arrow’s direction and insert the pointed end into the bag section.
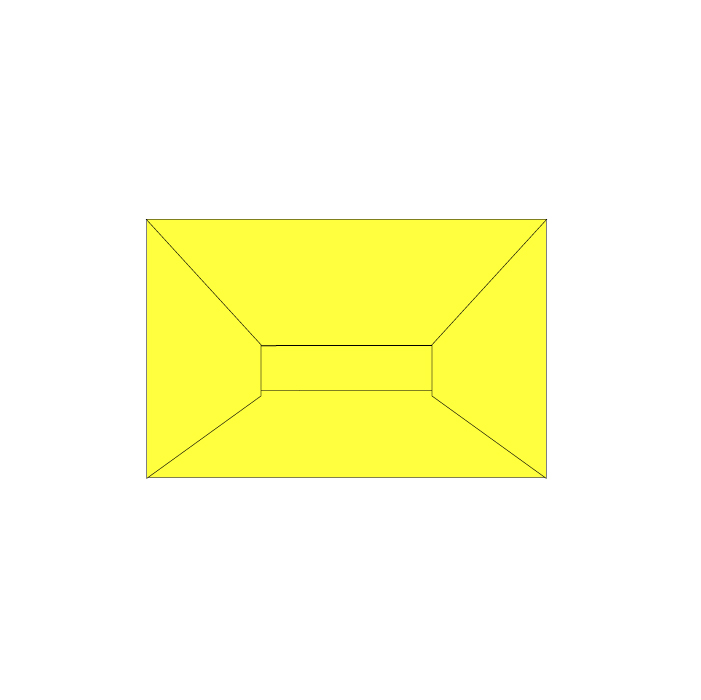
Step 16
Your envelope is complete!
Conclusion:
Your very own DIY envelope is now complete! This stylish and customizable envelope is not only practical for everyday use but also makes a wonderful keepsake for your special messages. Enjoy experimenting with different papers and decorations to create envelopes that truly reflect your personal style. Happy crafting!
Comments