
Unlock your creativity with our comprehensive guide on making a paper airplane using the ORIGAMI Airplane design. Whether you’re using standard A4 paper, a flyer, or any other paper size, this fun, step-by-step tutorial is perfect for kids improving their fine motor skills, seniors seeking a stimulating brain exercise, and origami enthusiasts eager to try something new. Follow along as we transform a simple sheet of paper into a soaring masterpiece that is both entertaining and mentally engaging.
How to make an ORIGAMI Airplane 6.
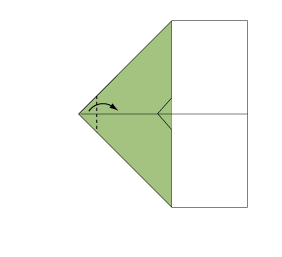
Step 1
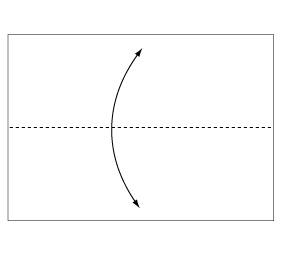
Fold and crease in the direction of the arrow.
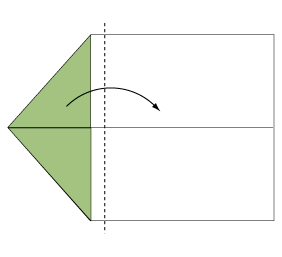
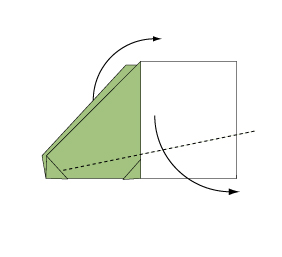
Step 2

Fold the paper along the dotted line in the direction of the arrow.
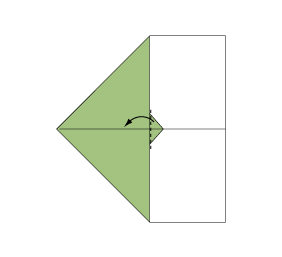
Step 3
Fold the paper along the dotted line in the direction of the arrow.
Step 4

Fold the paper along the dotted line in the direction of the arrow.
Step 5
Fold the paper along the dotted line in the direction of the arrow.
Step 6
Fold the paper along the dotted line in the direction of the arrow.
Step 7

Fold backwards along the dotted line.
Step 8
Fold the paper along the dotted line in the direction of the arrow.
Then, fold the reverse side in the same manner.
Step 9
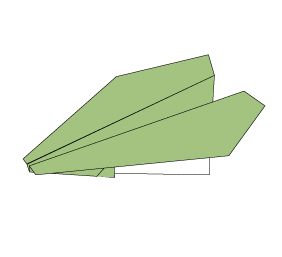
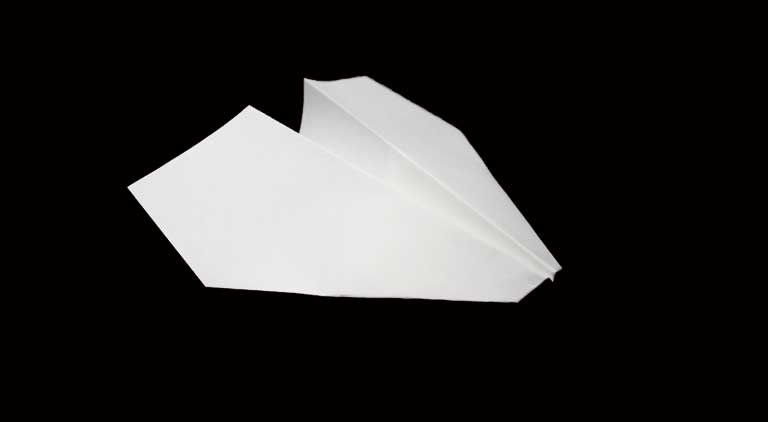
Complete your ORIGAMI airplane!
In summary, our ORIGAMI Airplane 6 guide is more than just a craft project—it’s a creative journey that fosters imagination, sharpens cognitive abilities, and provides endless fun for everyone. Whether you’re a child, a senior, or simply a fan of paper folding, this project is a fantastic way to challenge yourself and enjoy a relaxing, artistic activity. Start folding today and watch your paper airplane take flight!
Comments